Home Blog Page 40

Hunters Element Contour Pack

0

Contour-Pack-(8-of-13)

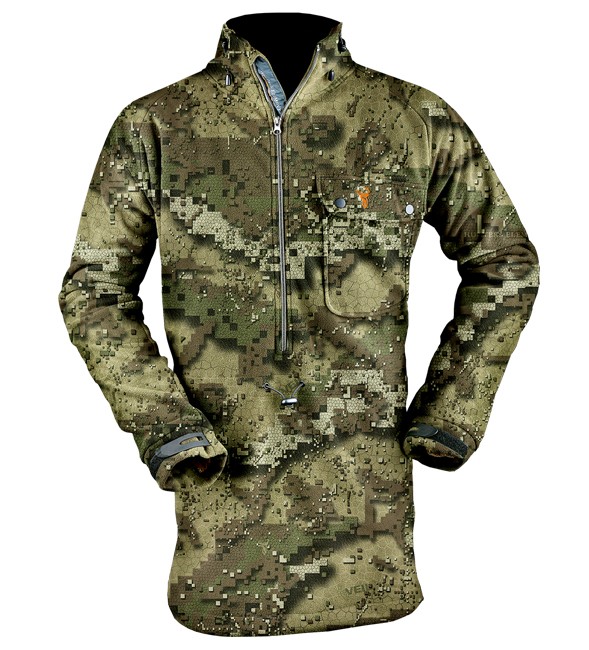
While my Mystery Ranch Crew Cab and High Ground Gear HG831 are awesome for their ability to grow or shrink to fit the job at hand, the simple fact is that the Cordura material is far too noisy for stalking in the bush. Every time you brush by a branch or bush you hear that slow scraping sound that makes you wince. It was time to sort a decent ‘day-bag’ made out of silent material.

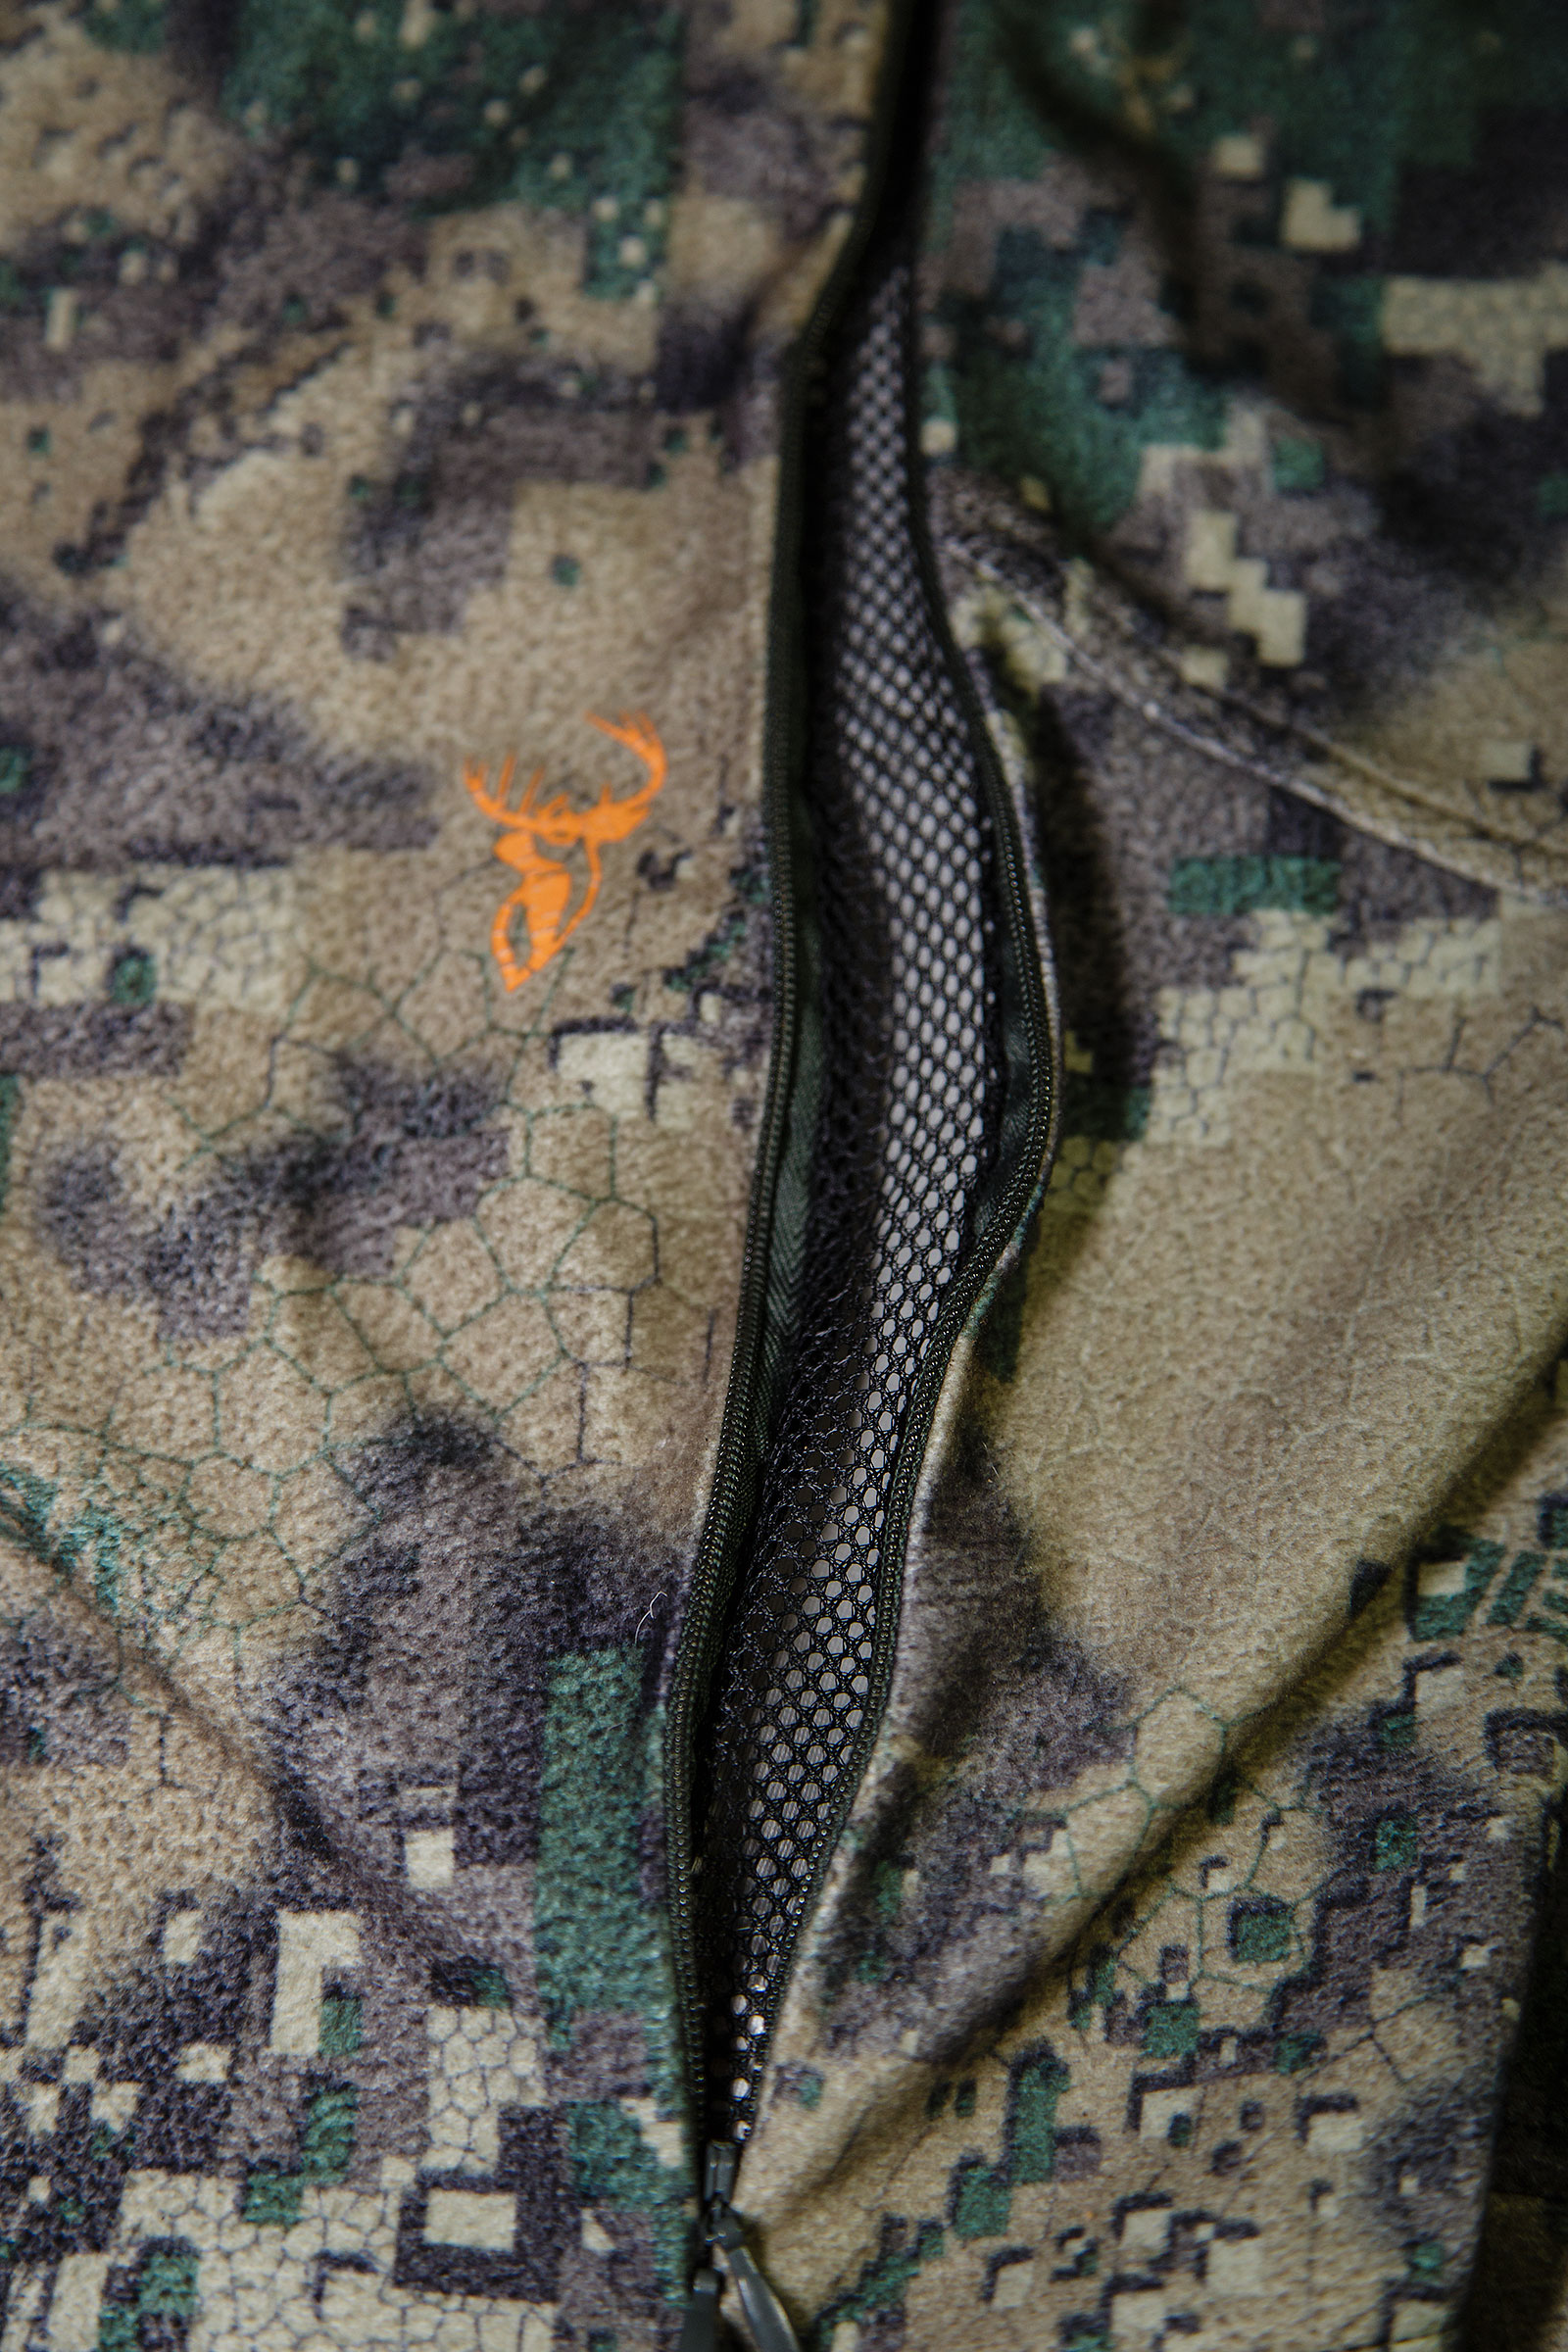
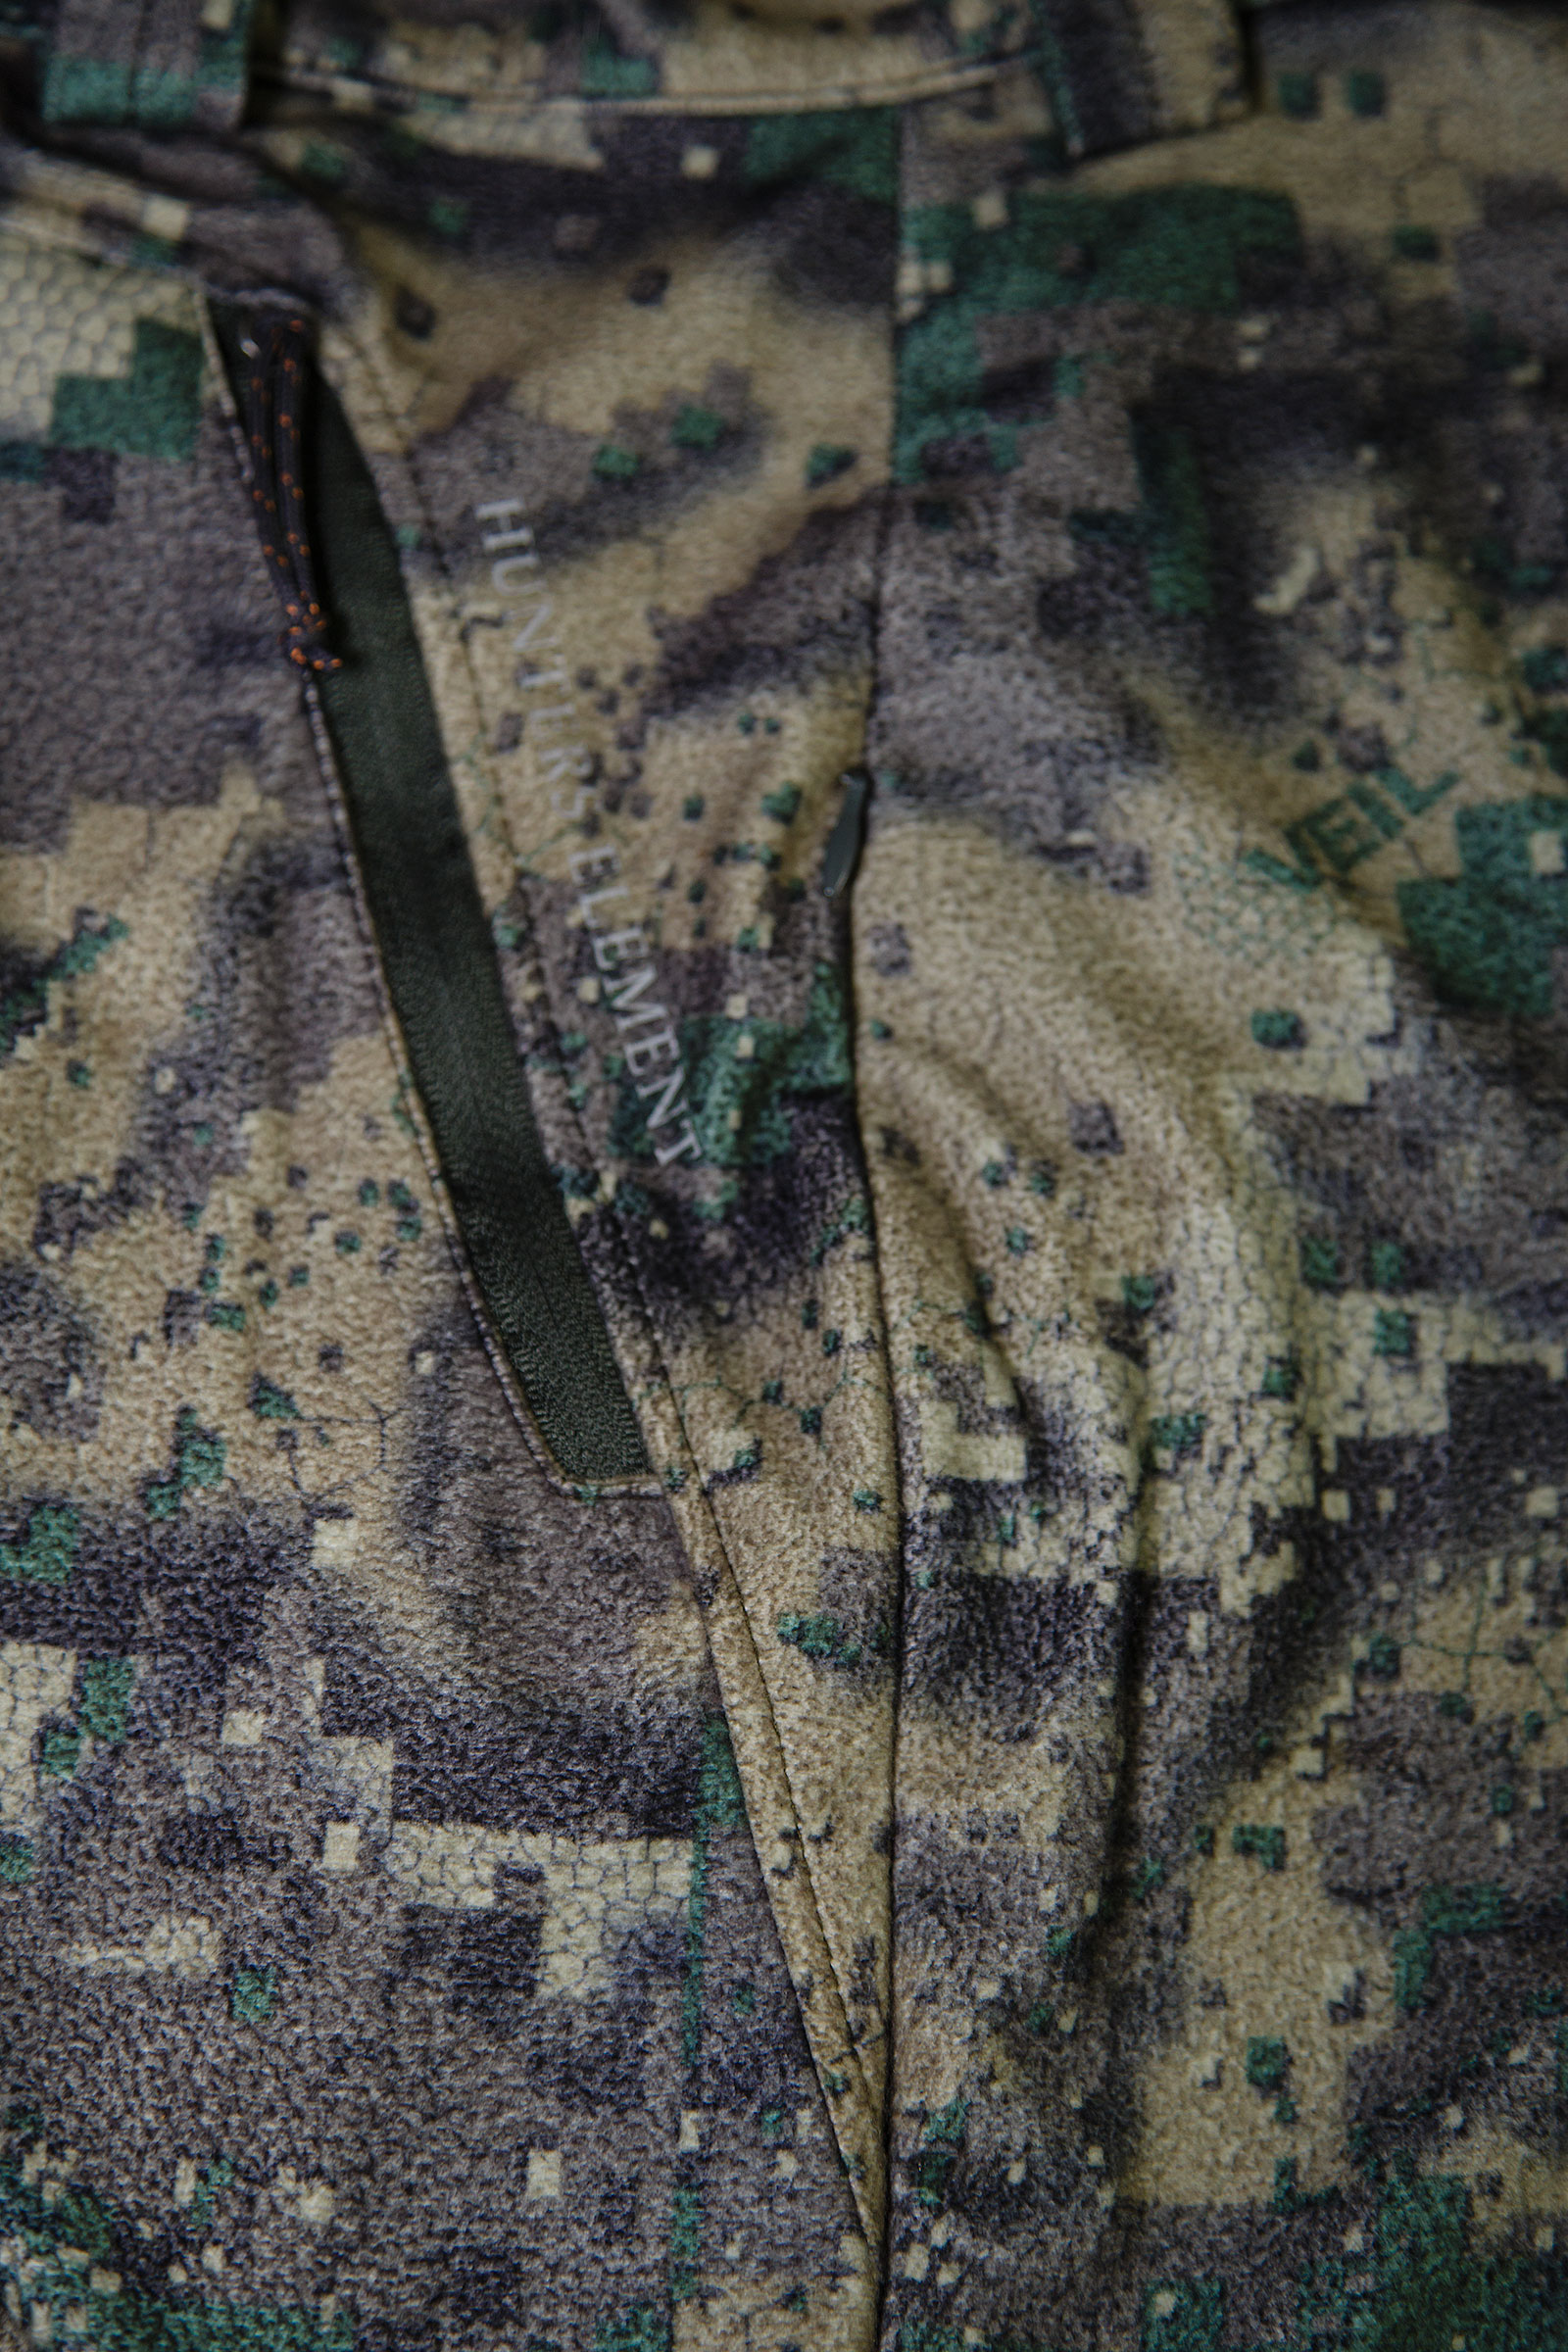
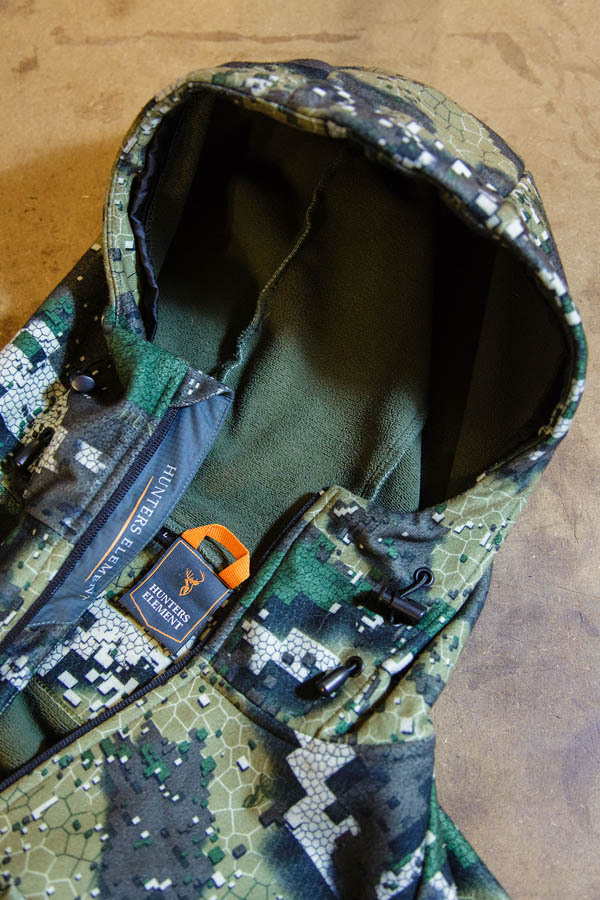
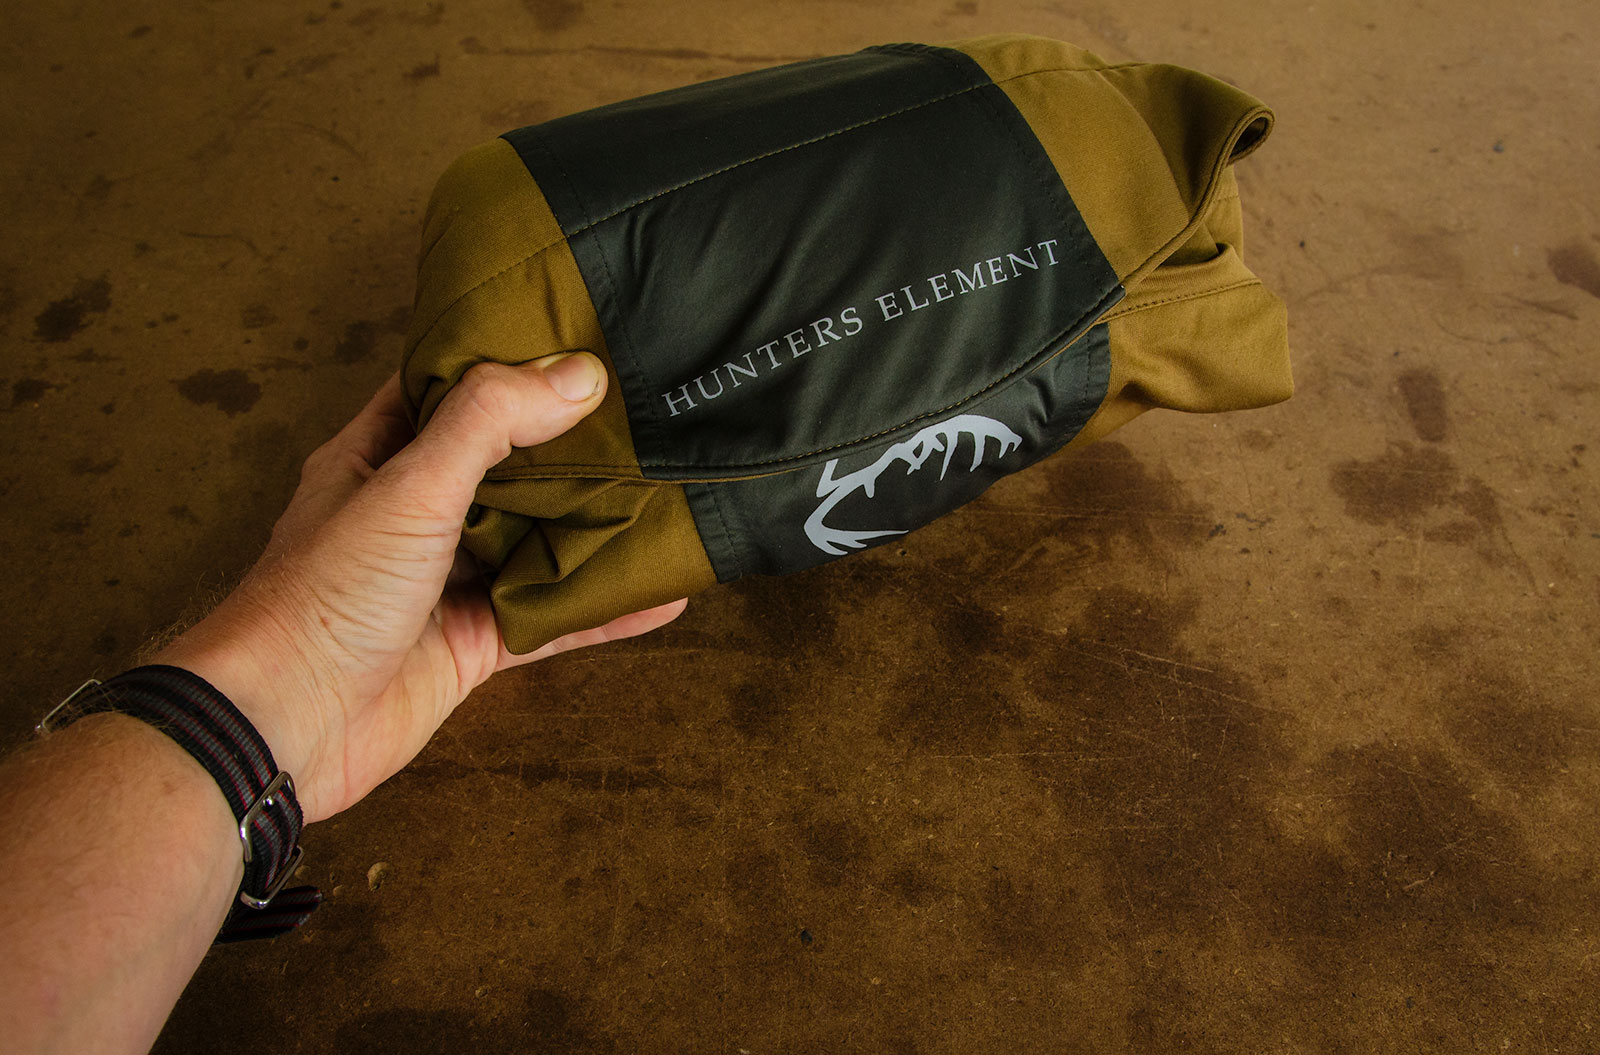
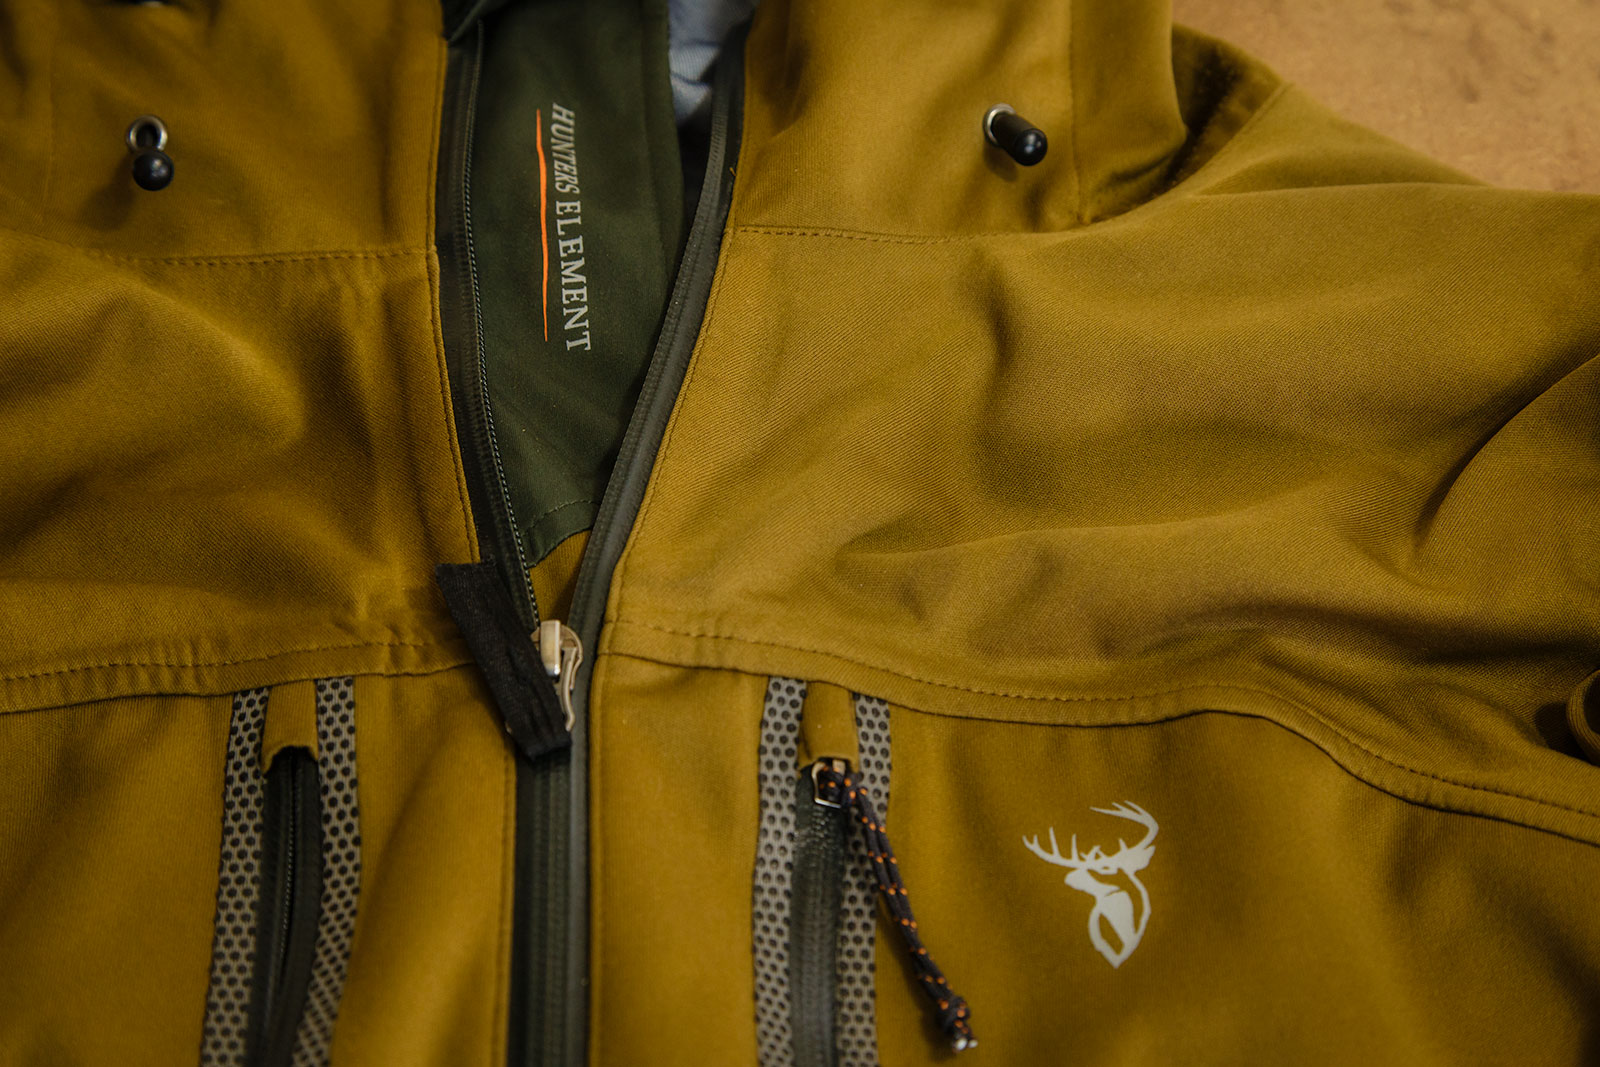
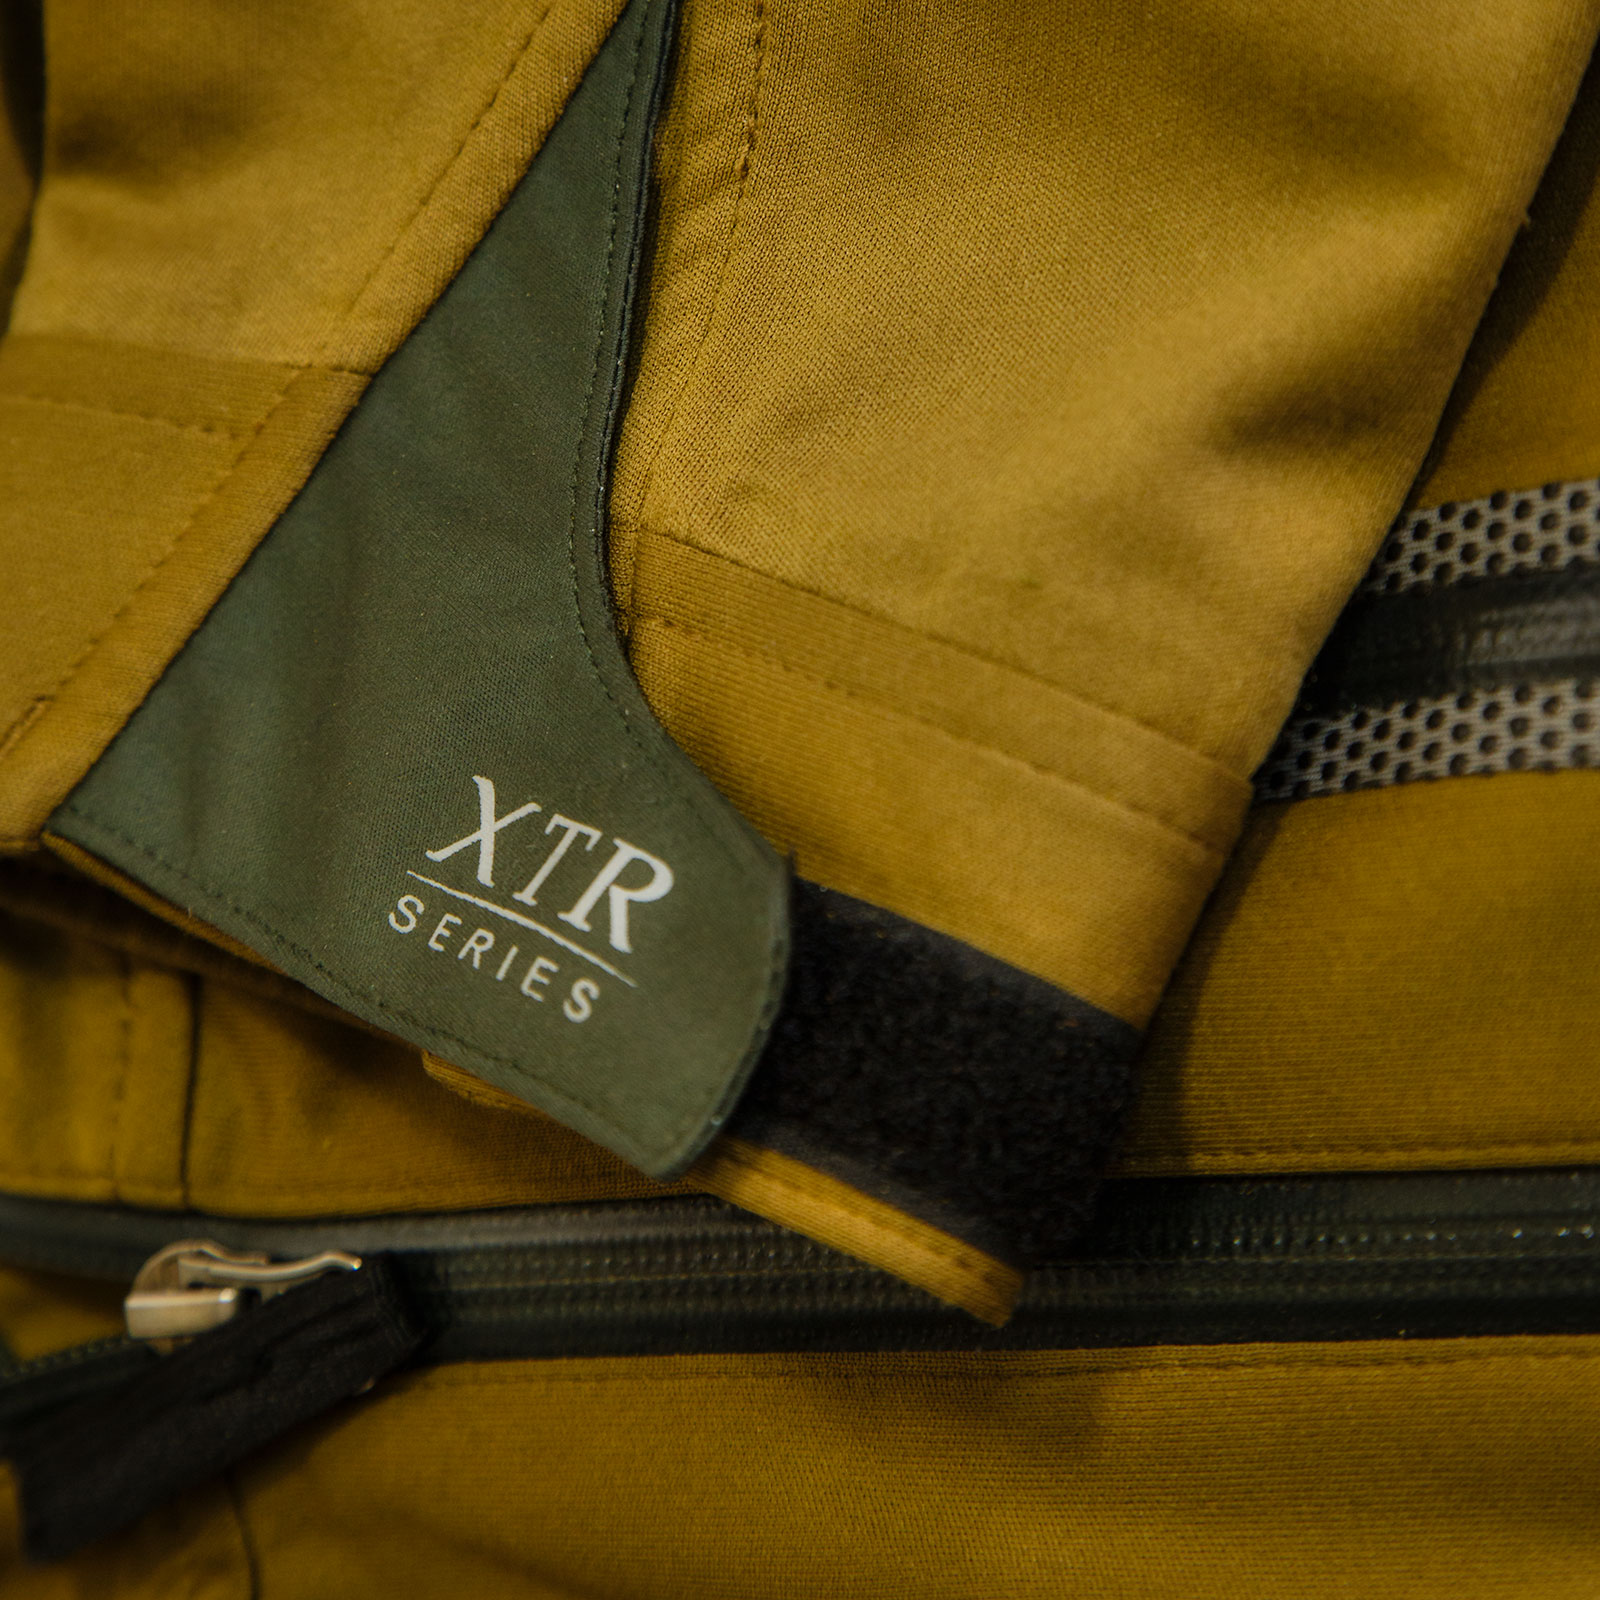
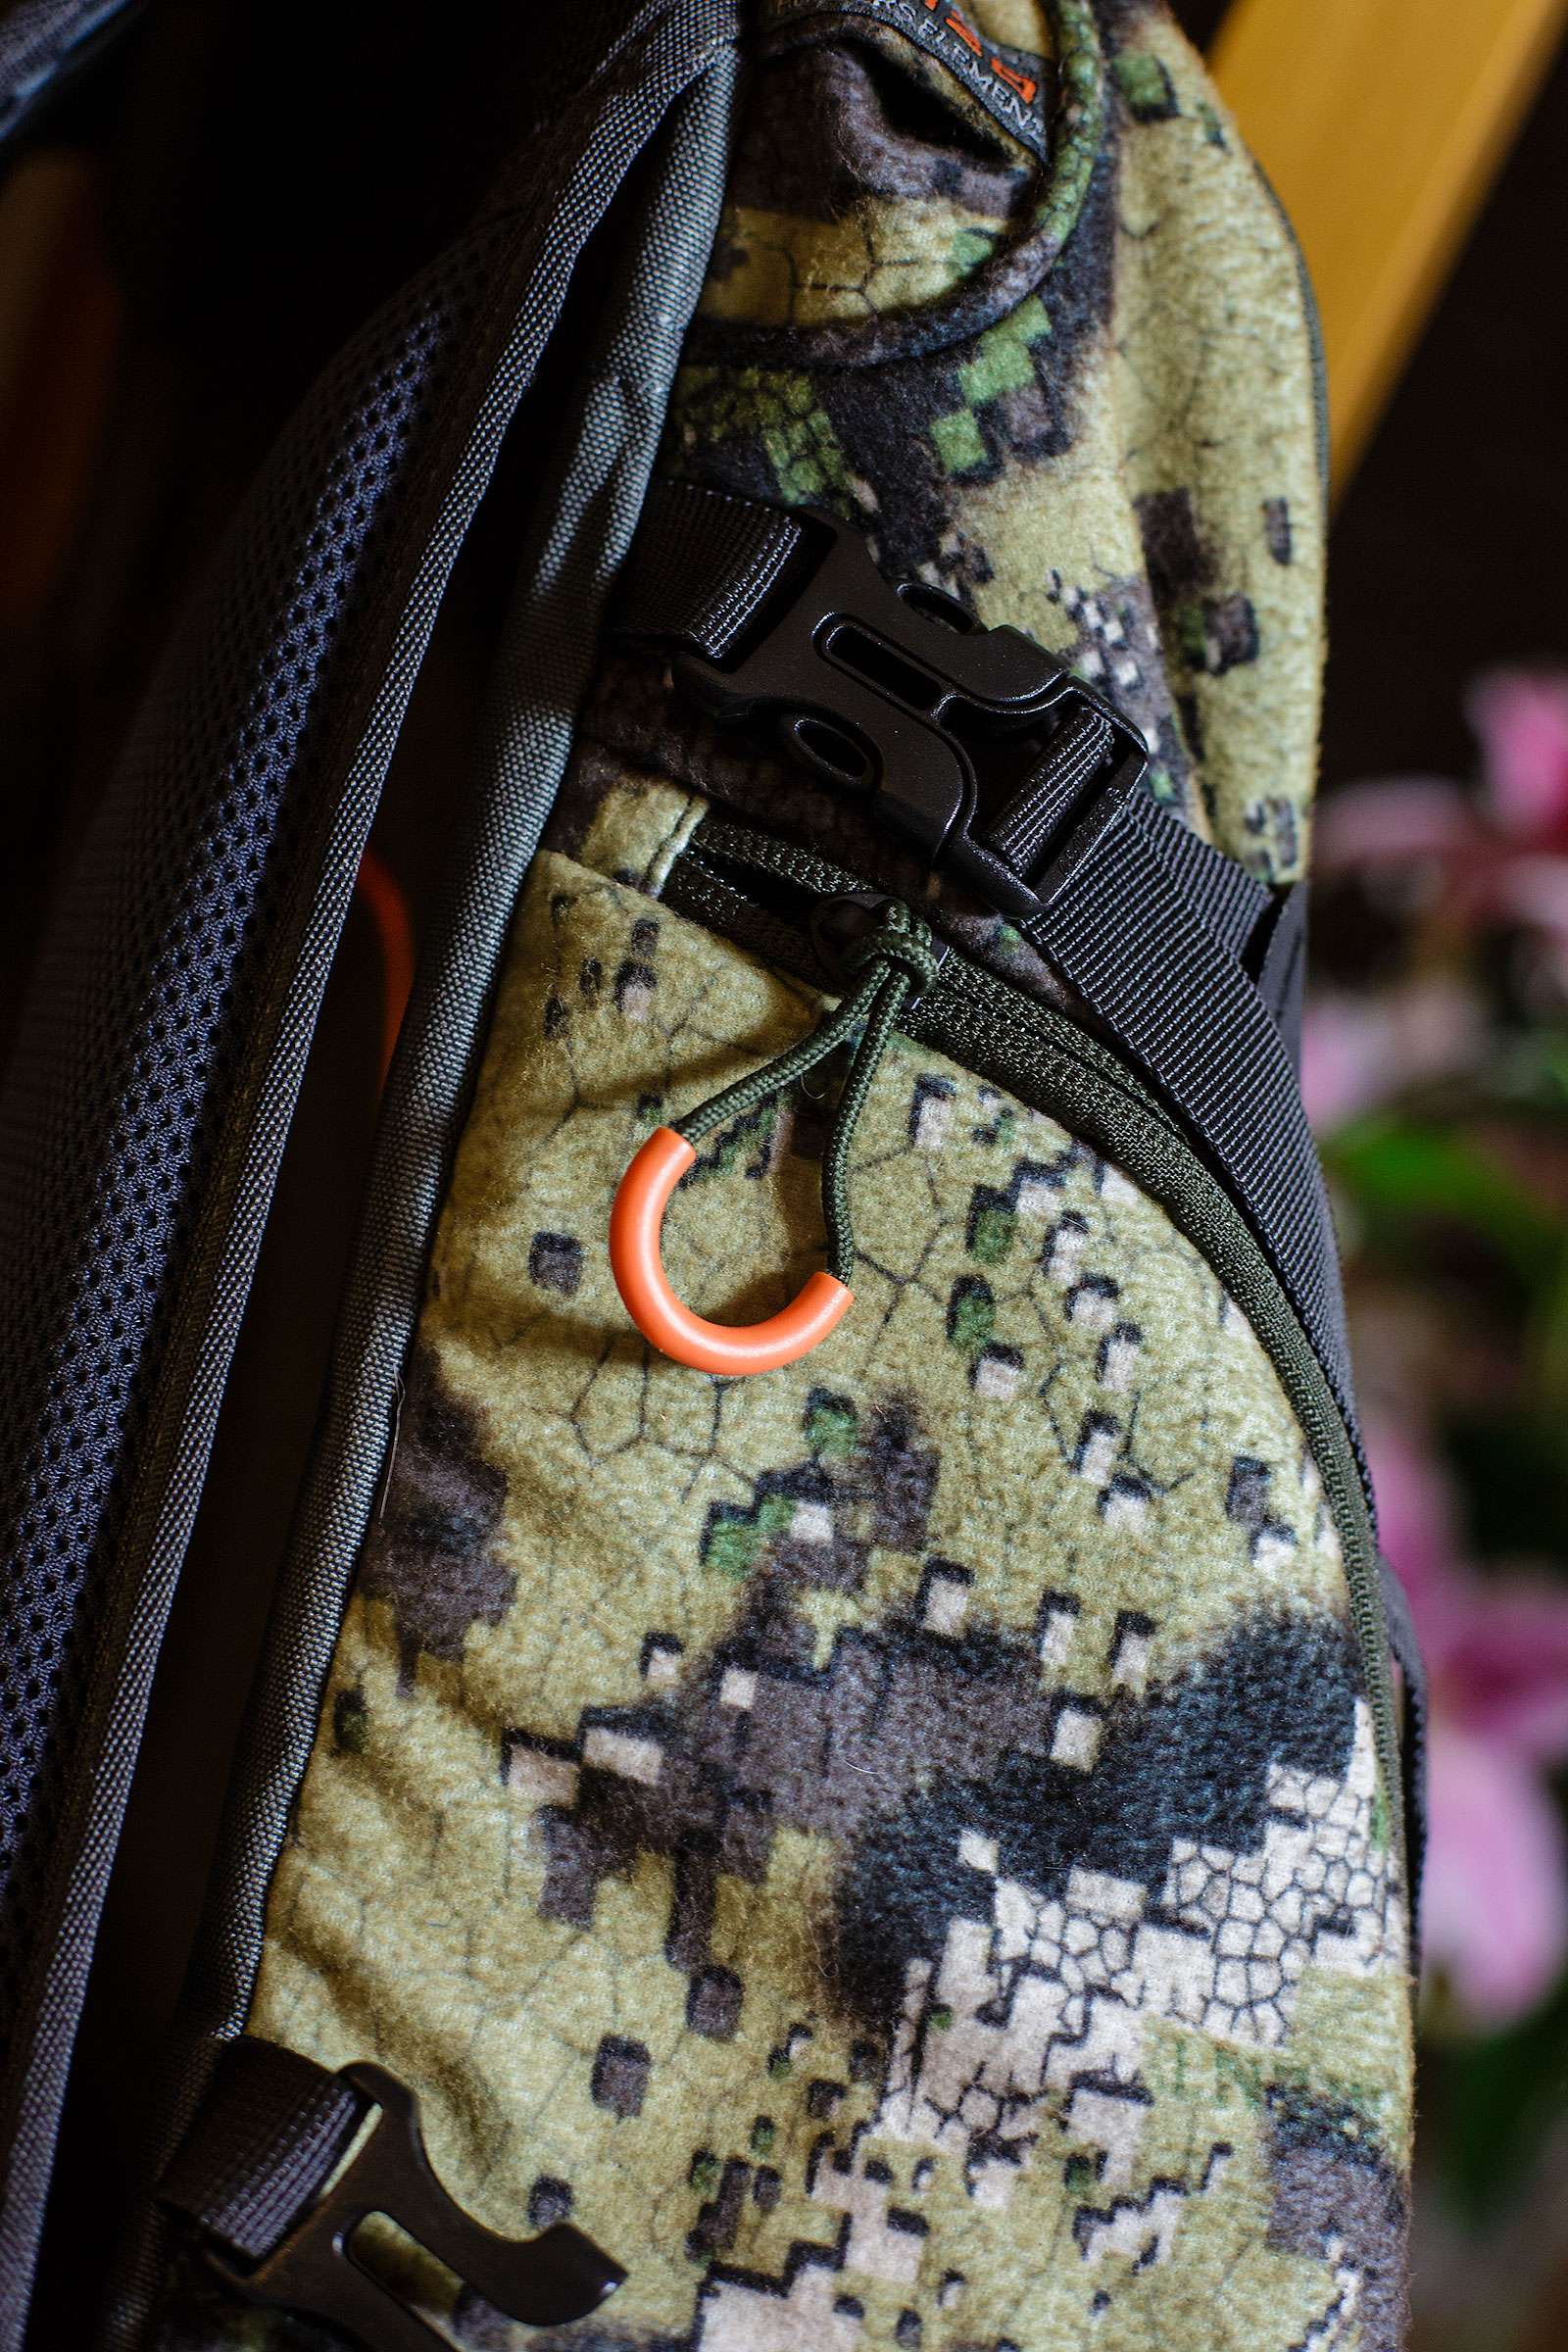
The Hunters Element Contour Pack is made out of WaterTEC DRYstealth – essentially a dual layer water resistant material. Similar in feel to the material used in their Rugged Bush coat and other clothing items. Brushed Tricot in nature, it is a waterproof layer sandwiched with the soft, silent outer.

Contour-Pack-(7-of-13)

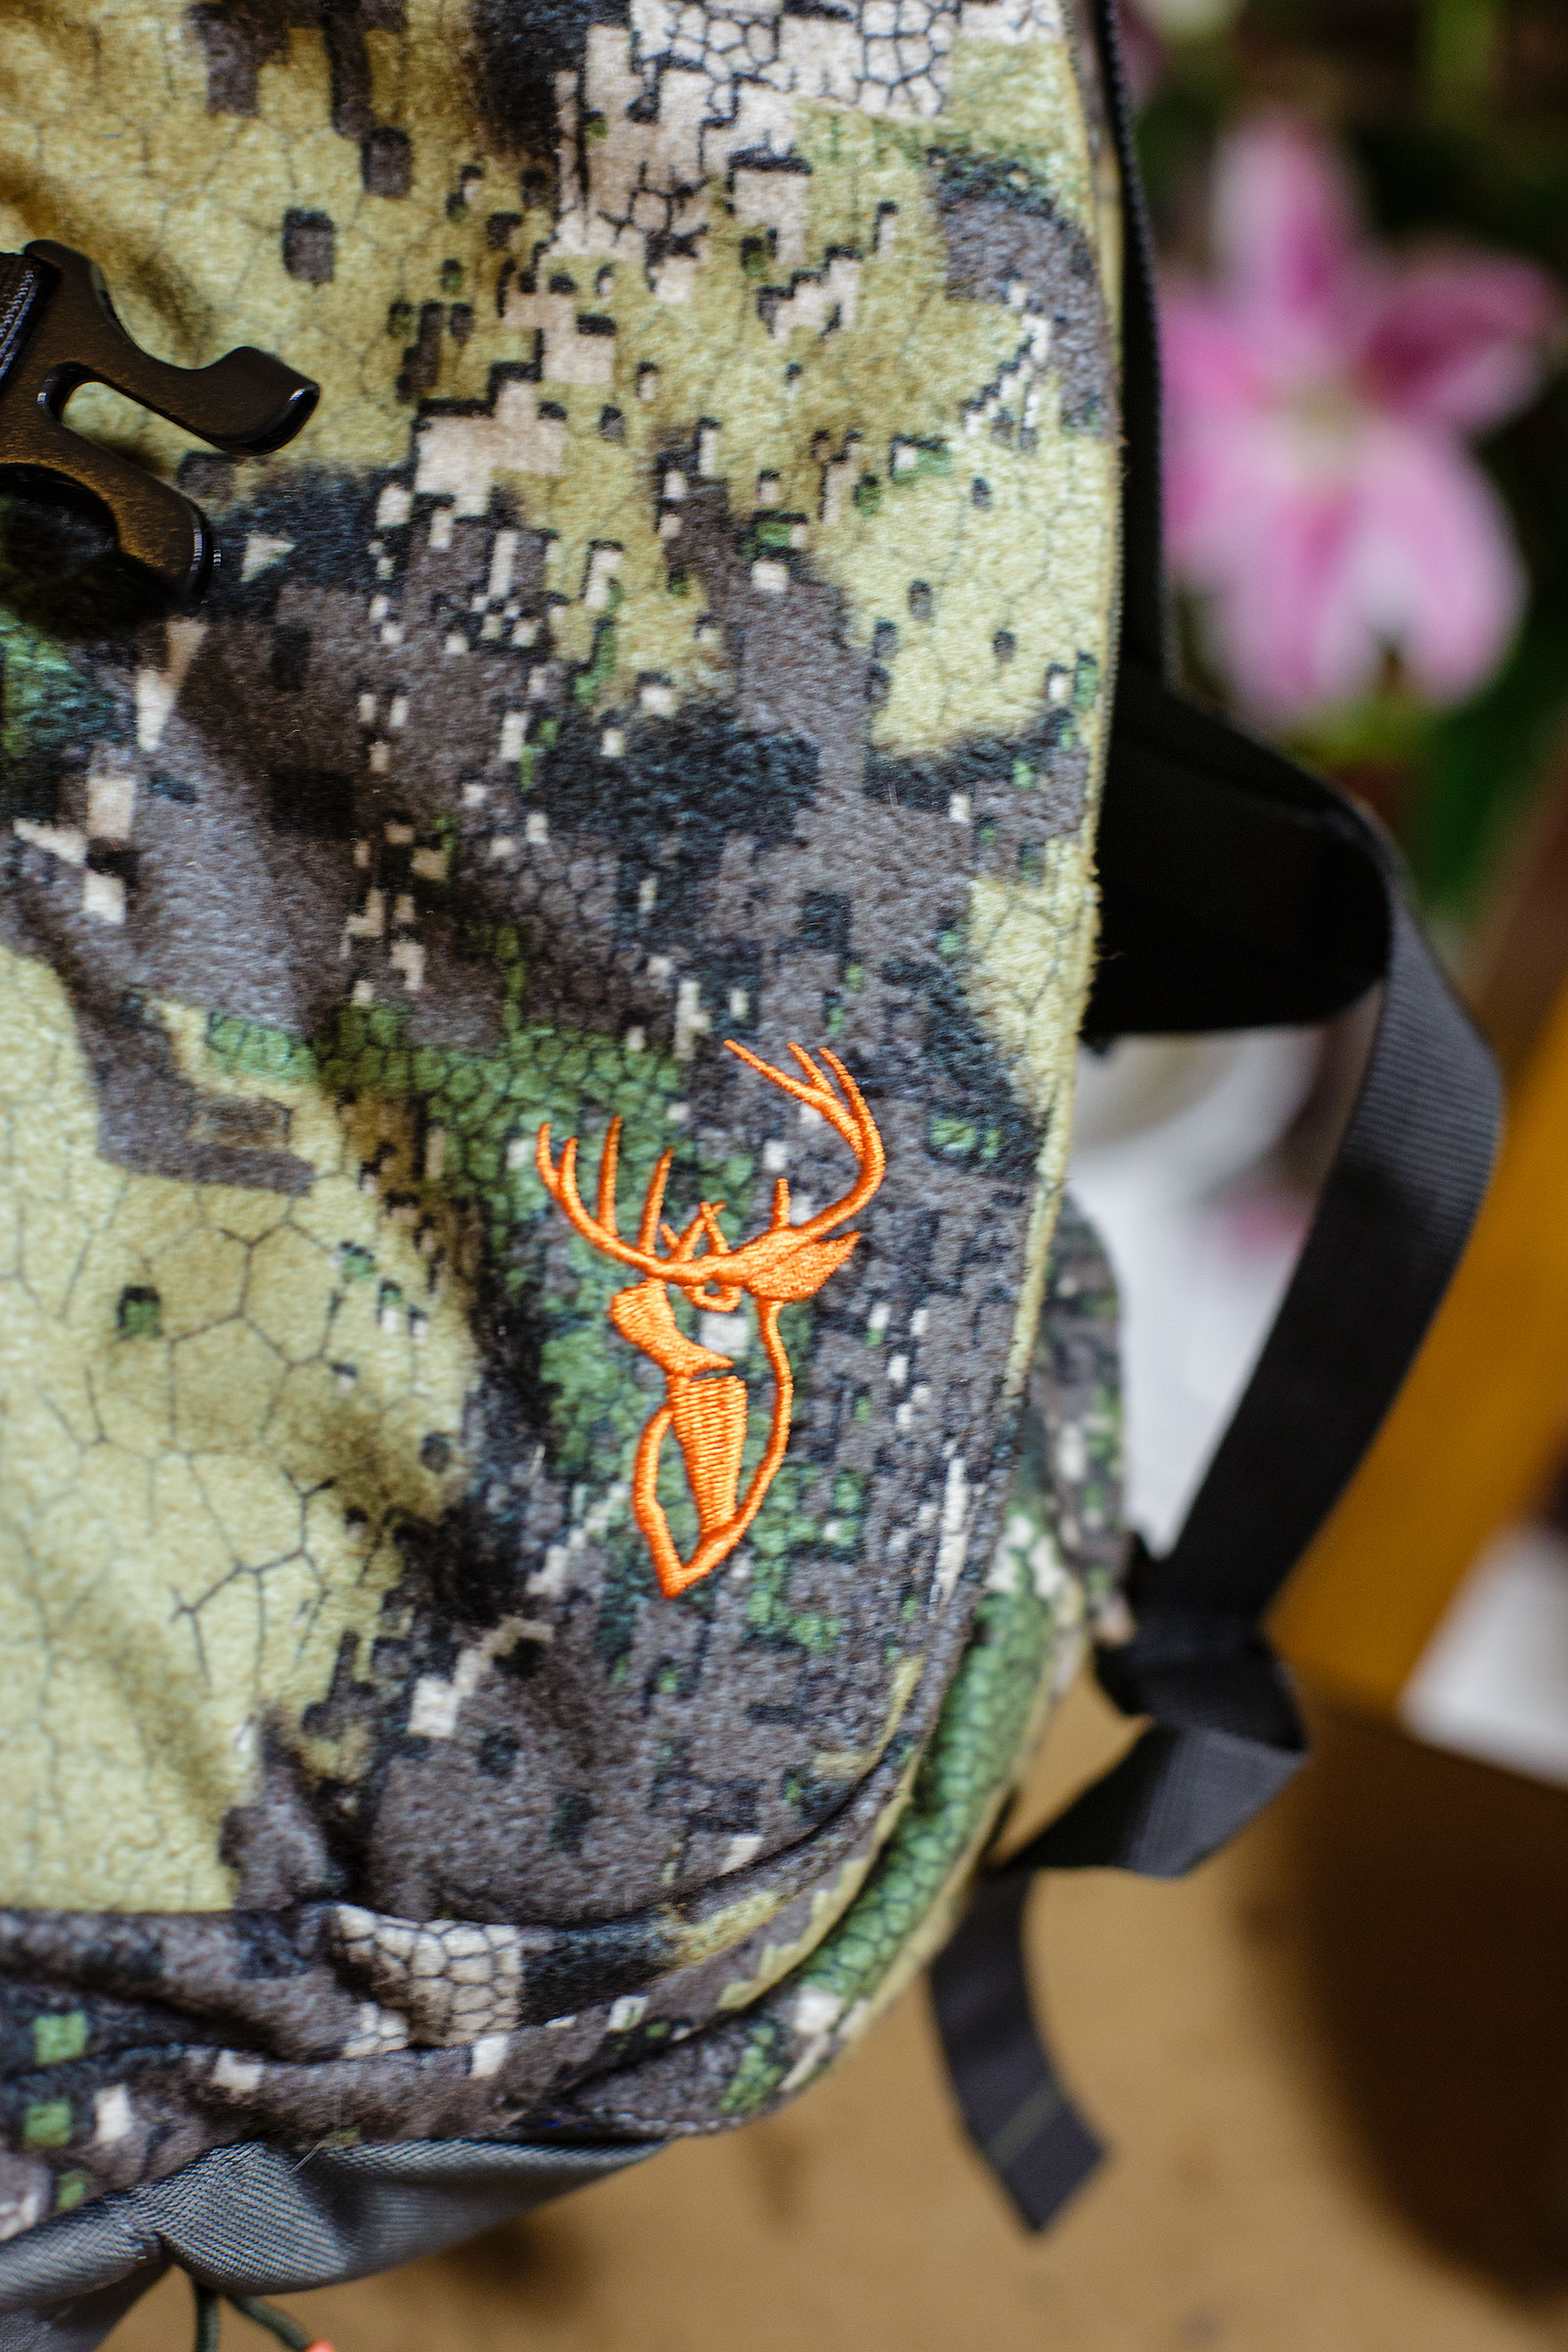
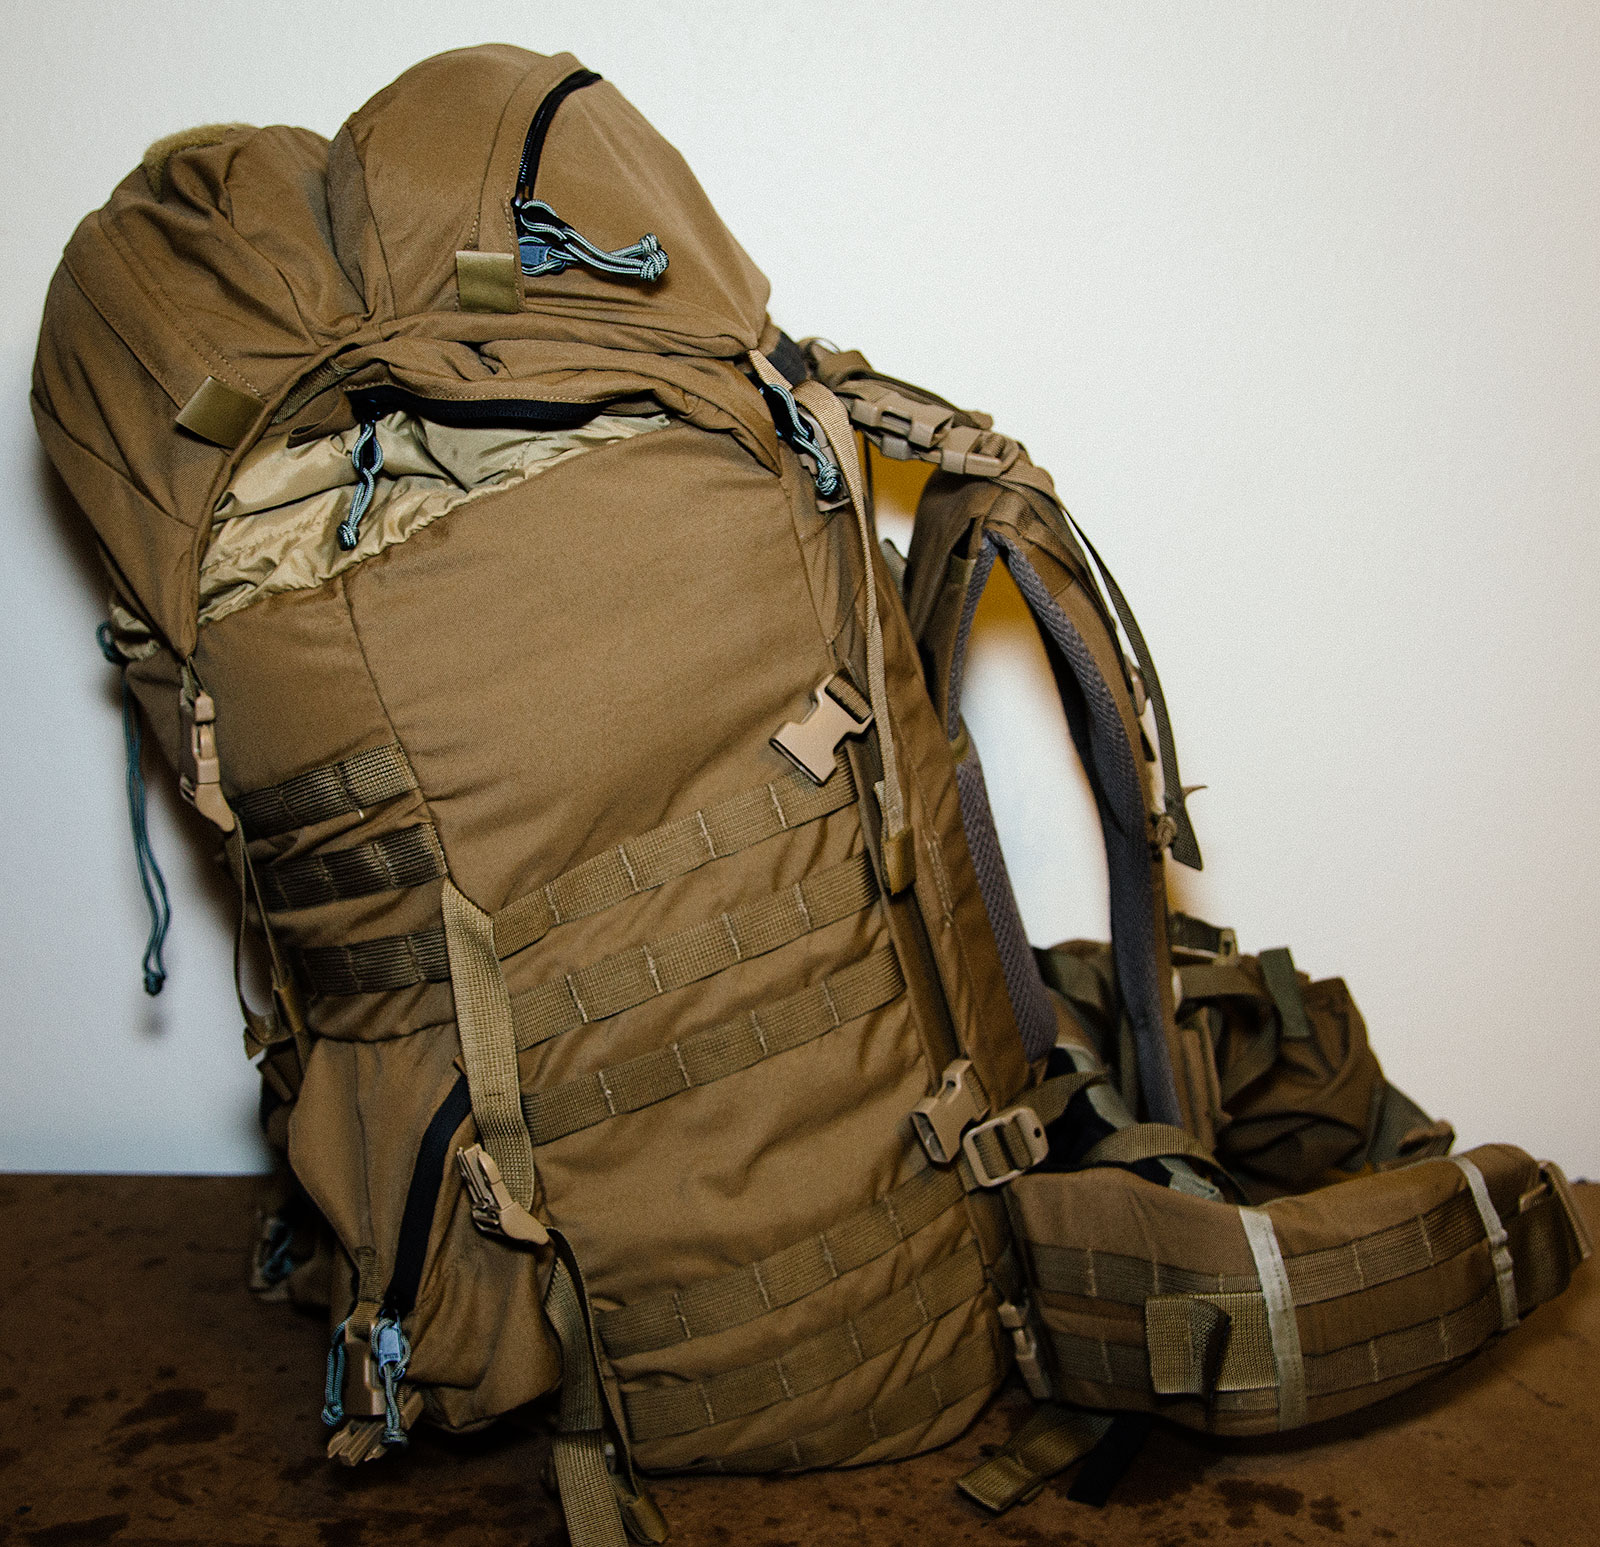
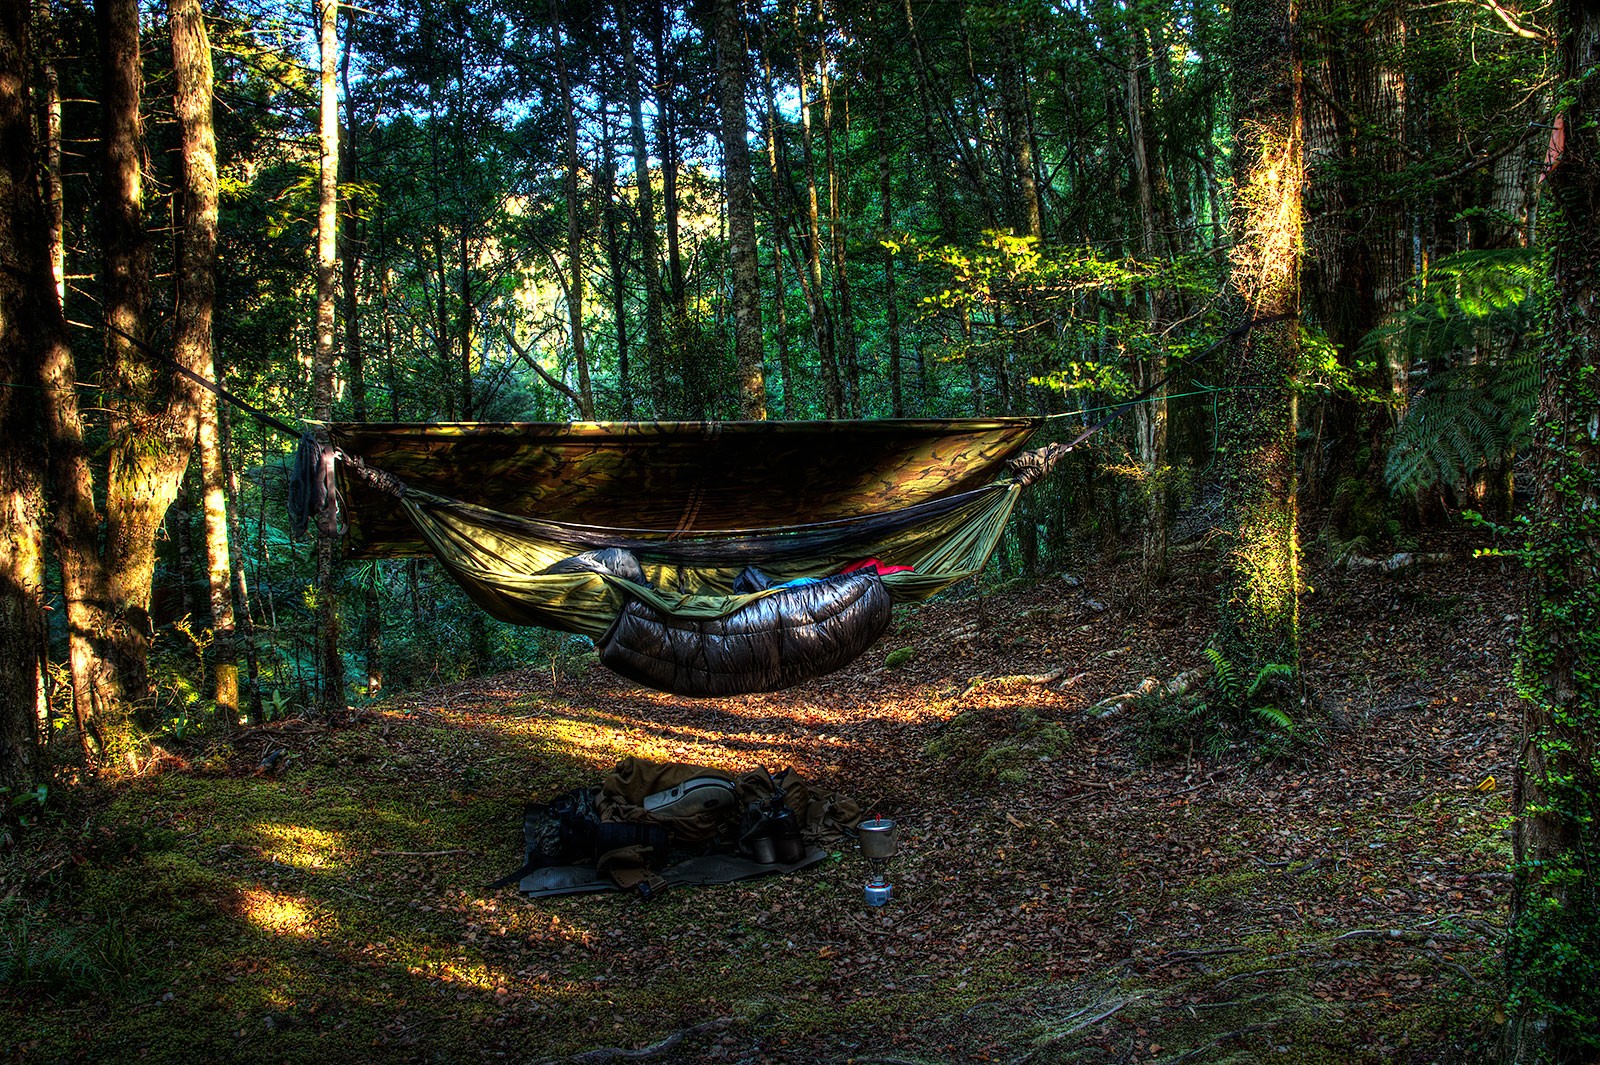
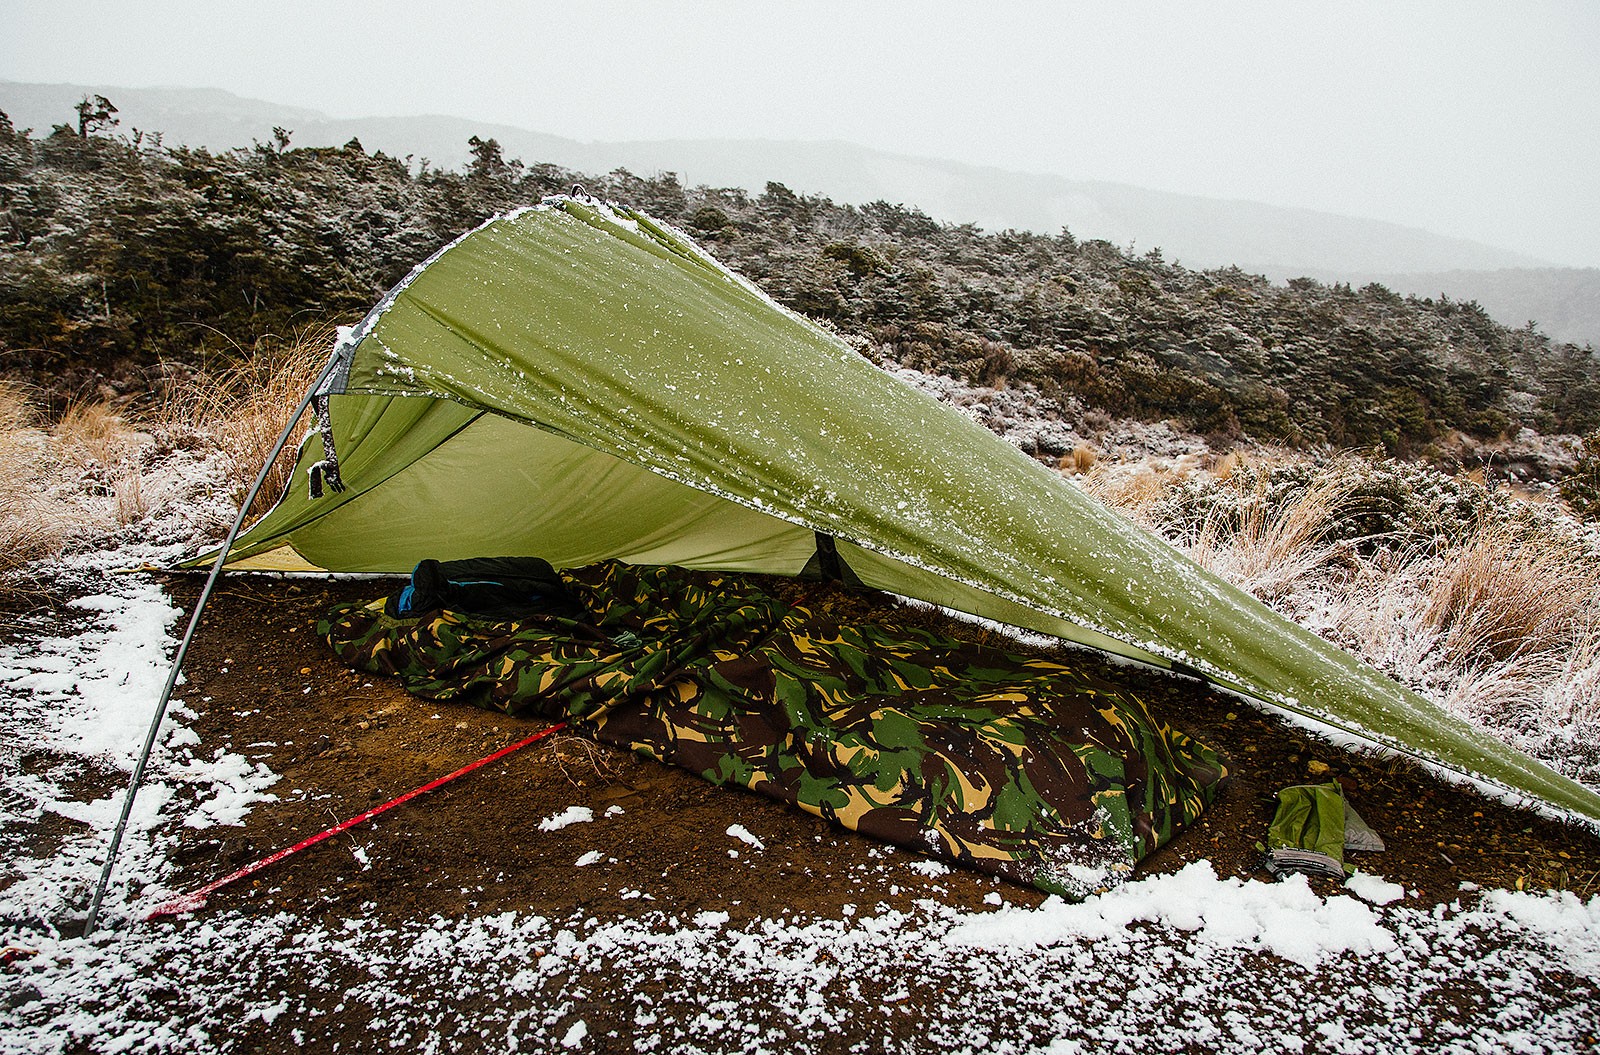
The Contour Pack is in the middle of Hunters Element’s range. At 25 liters its about right for a proper daypack – the type where you are carrying not on the ‘essentials’ but everything appropriate given you are likely off track, bush-bashing. Extra clothing, some shelter, first aid, your lunch and water – all fit into the pack easily.

Pockets, more pockets

The Hunters Element Contour Pack has (I guess depending how you count them) a total of 5 pockets. A large main area with a smaller hydration slot in the back, a smaller top pocket for incidentals two side pockets, one with additional organisation in it and one without and a smaller pocket under the pack that holds the rain cover.

Contour-Pack-(1-of-13)

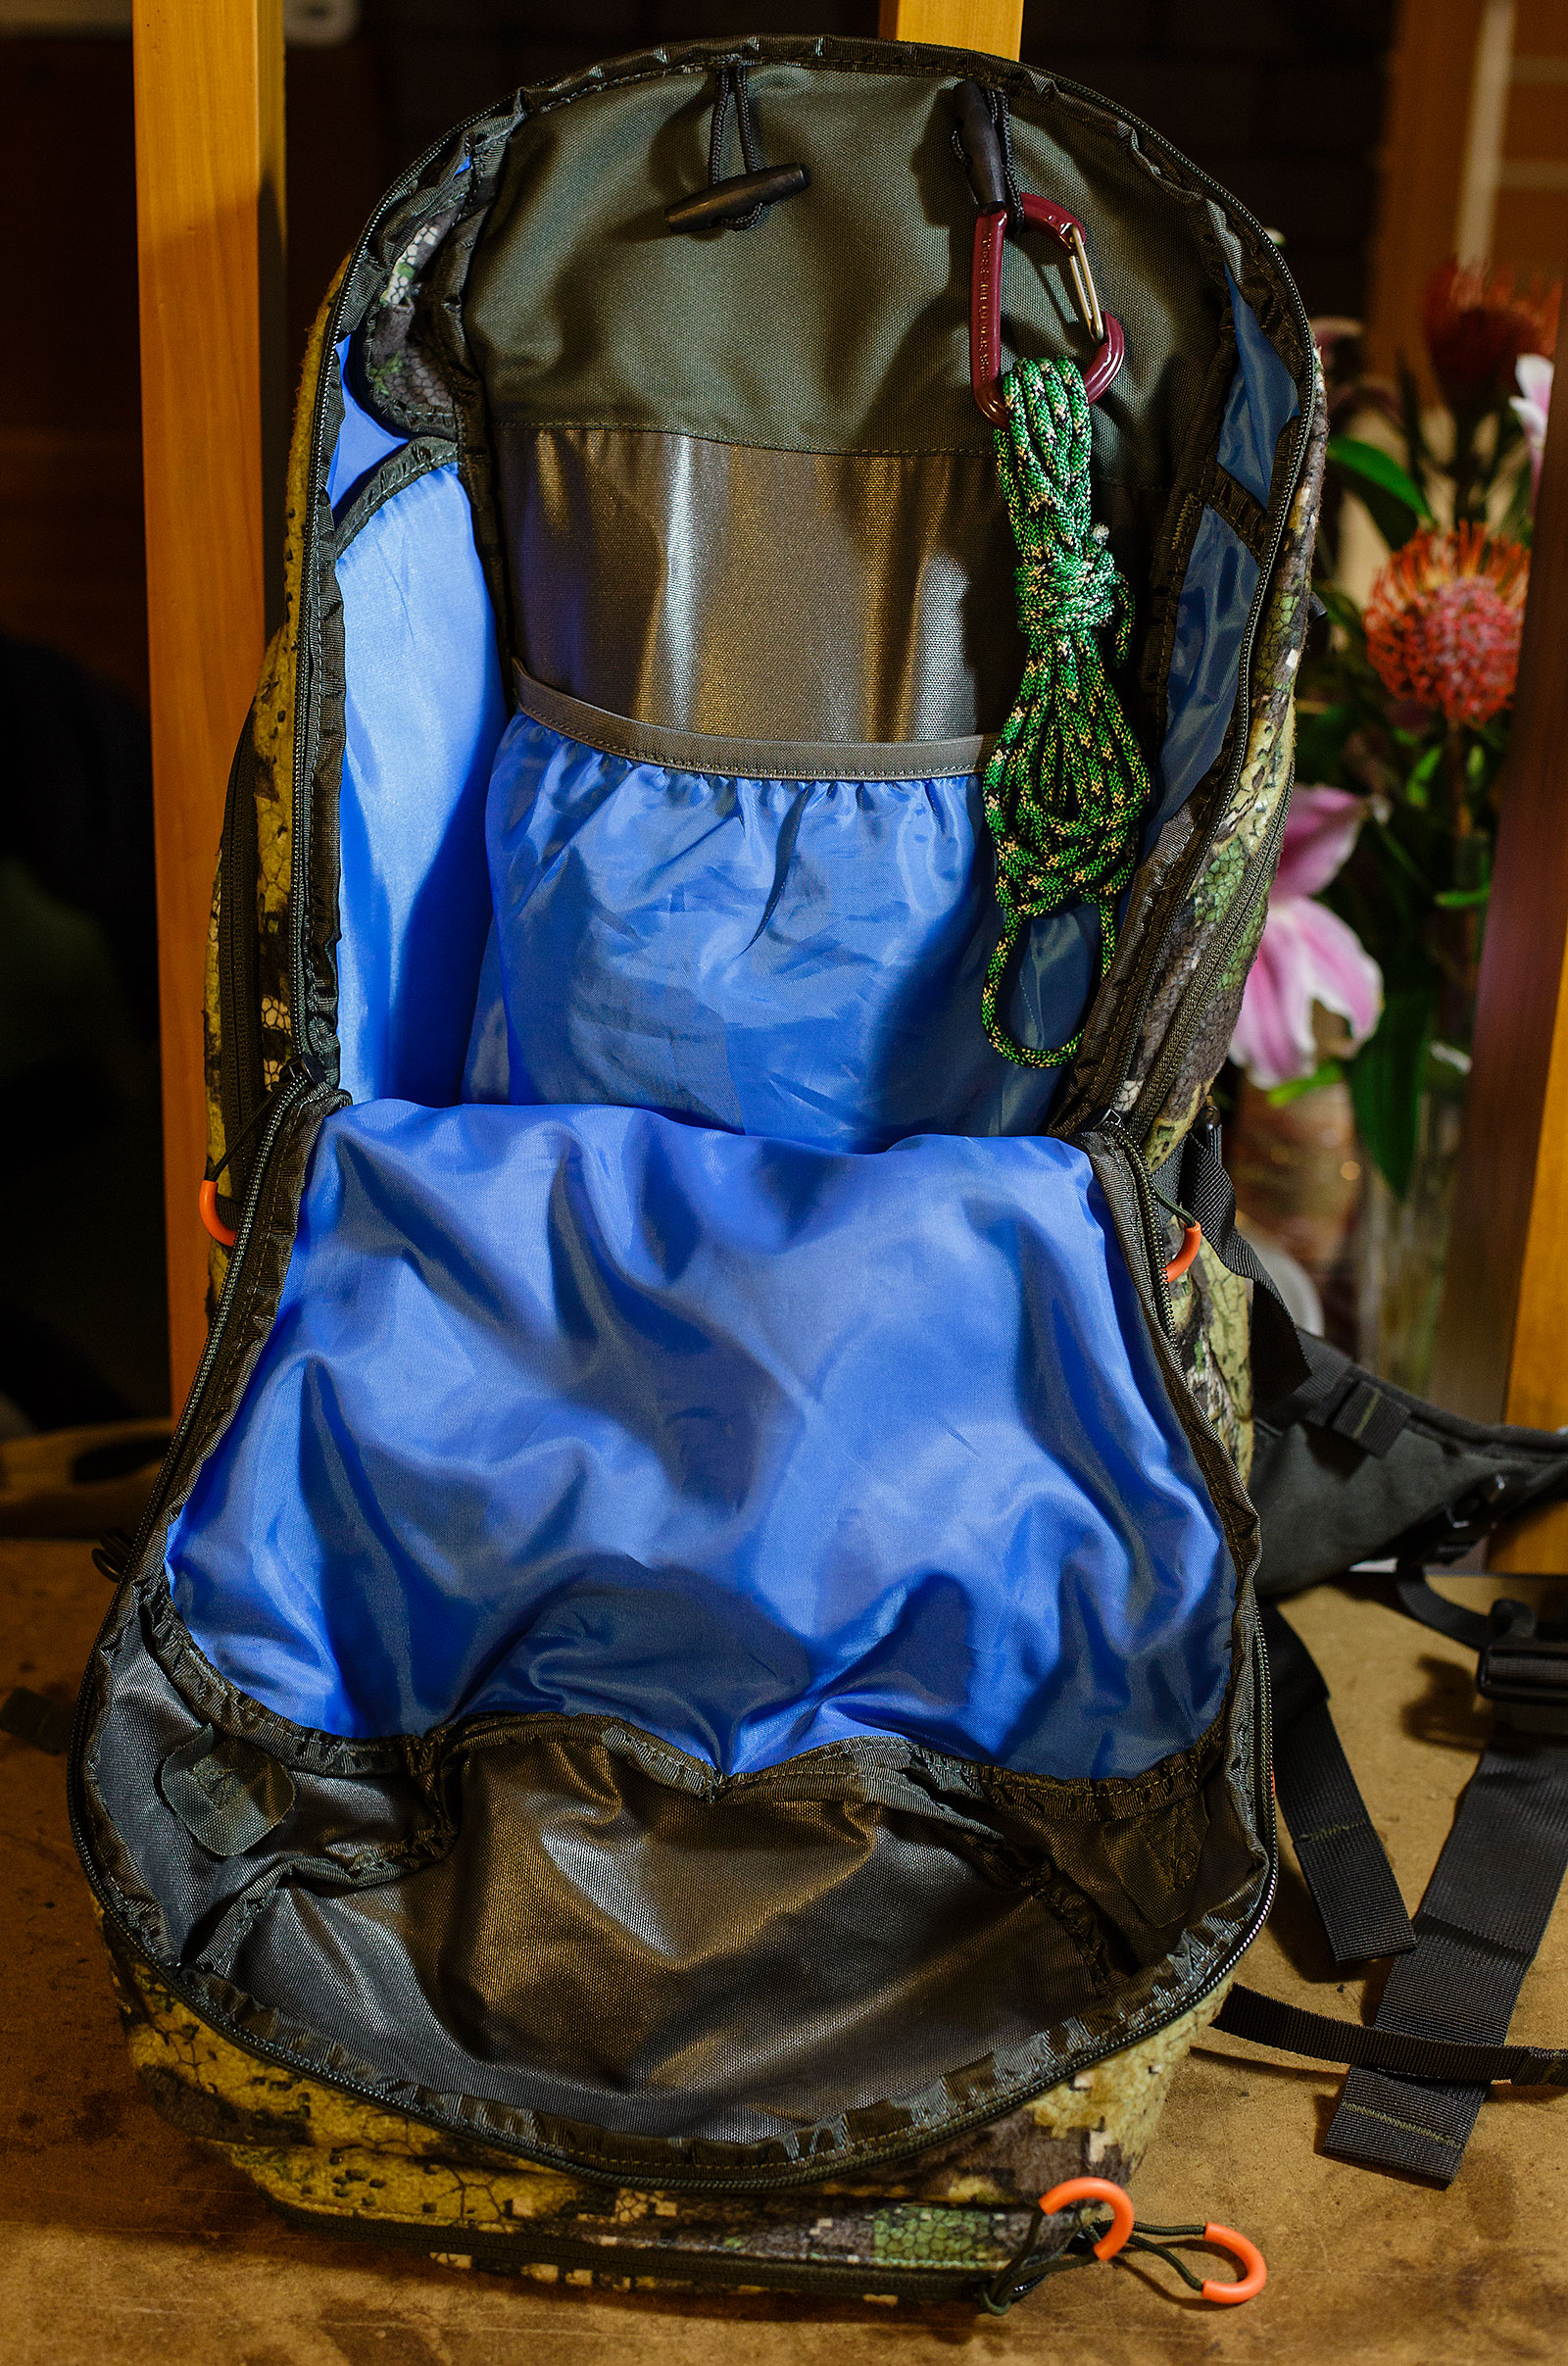
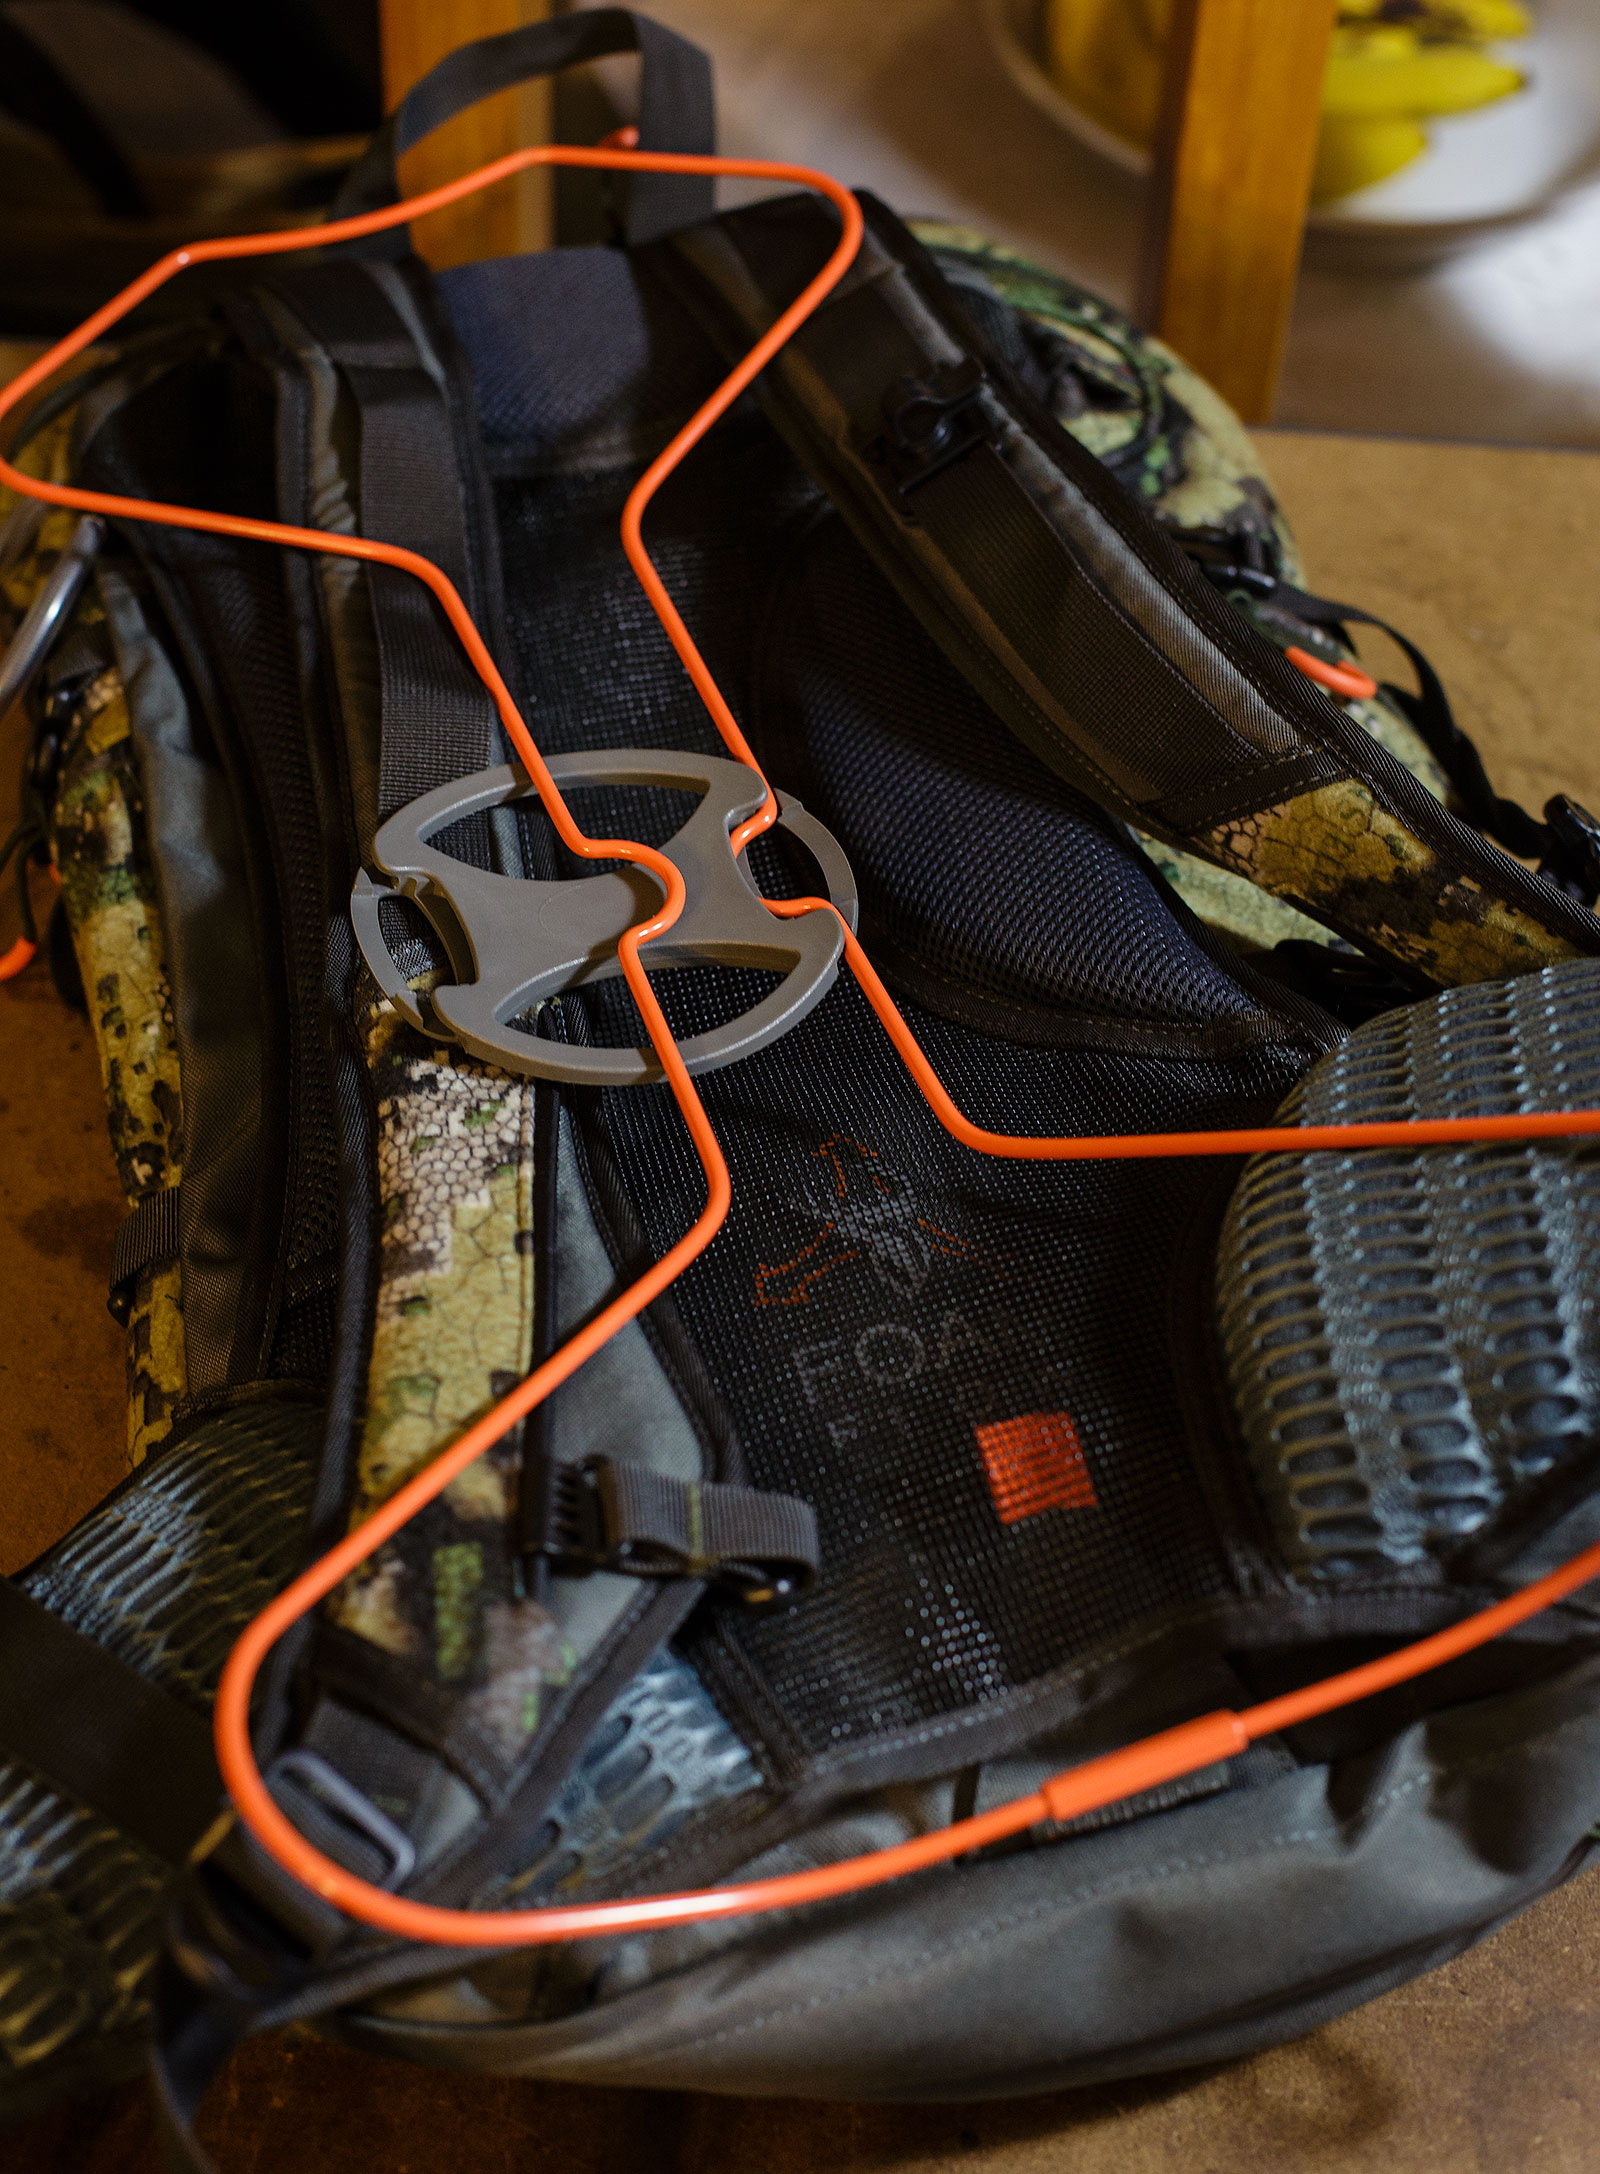
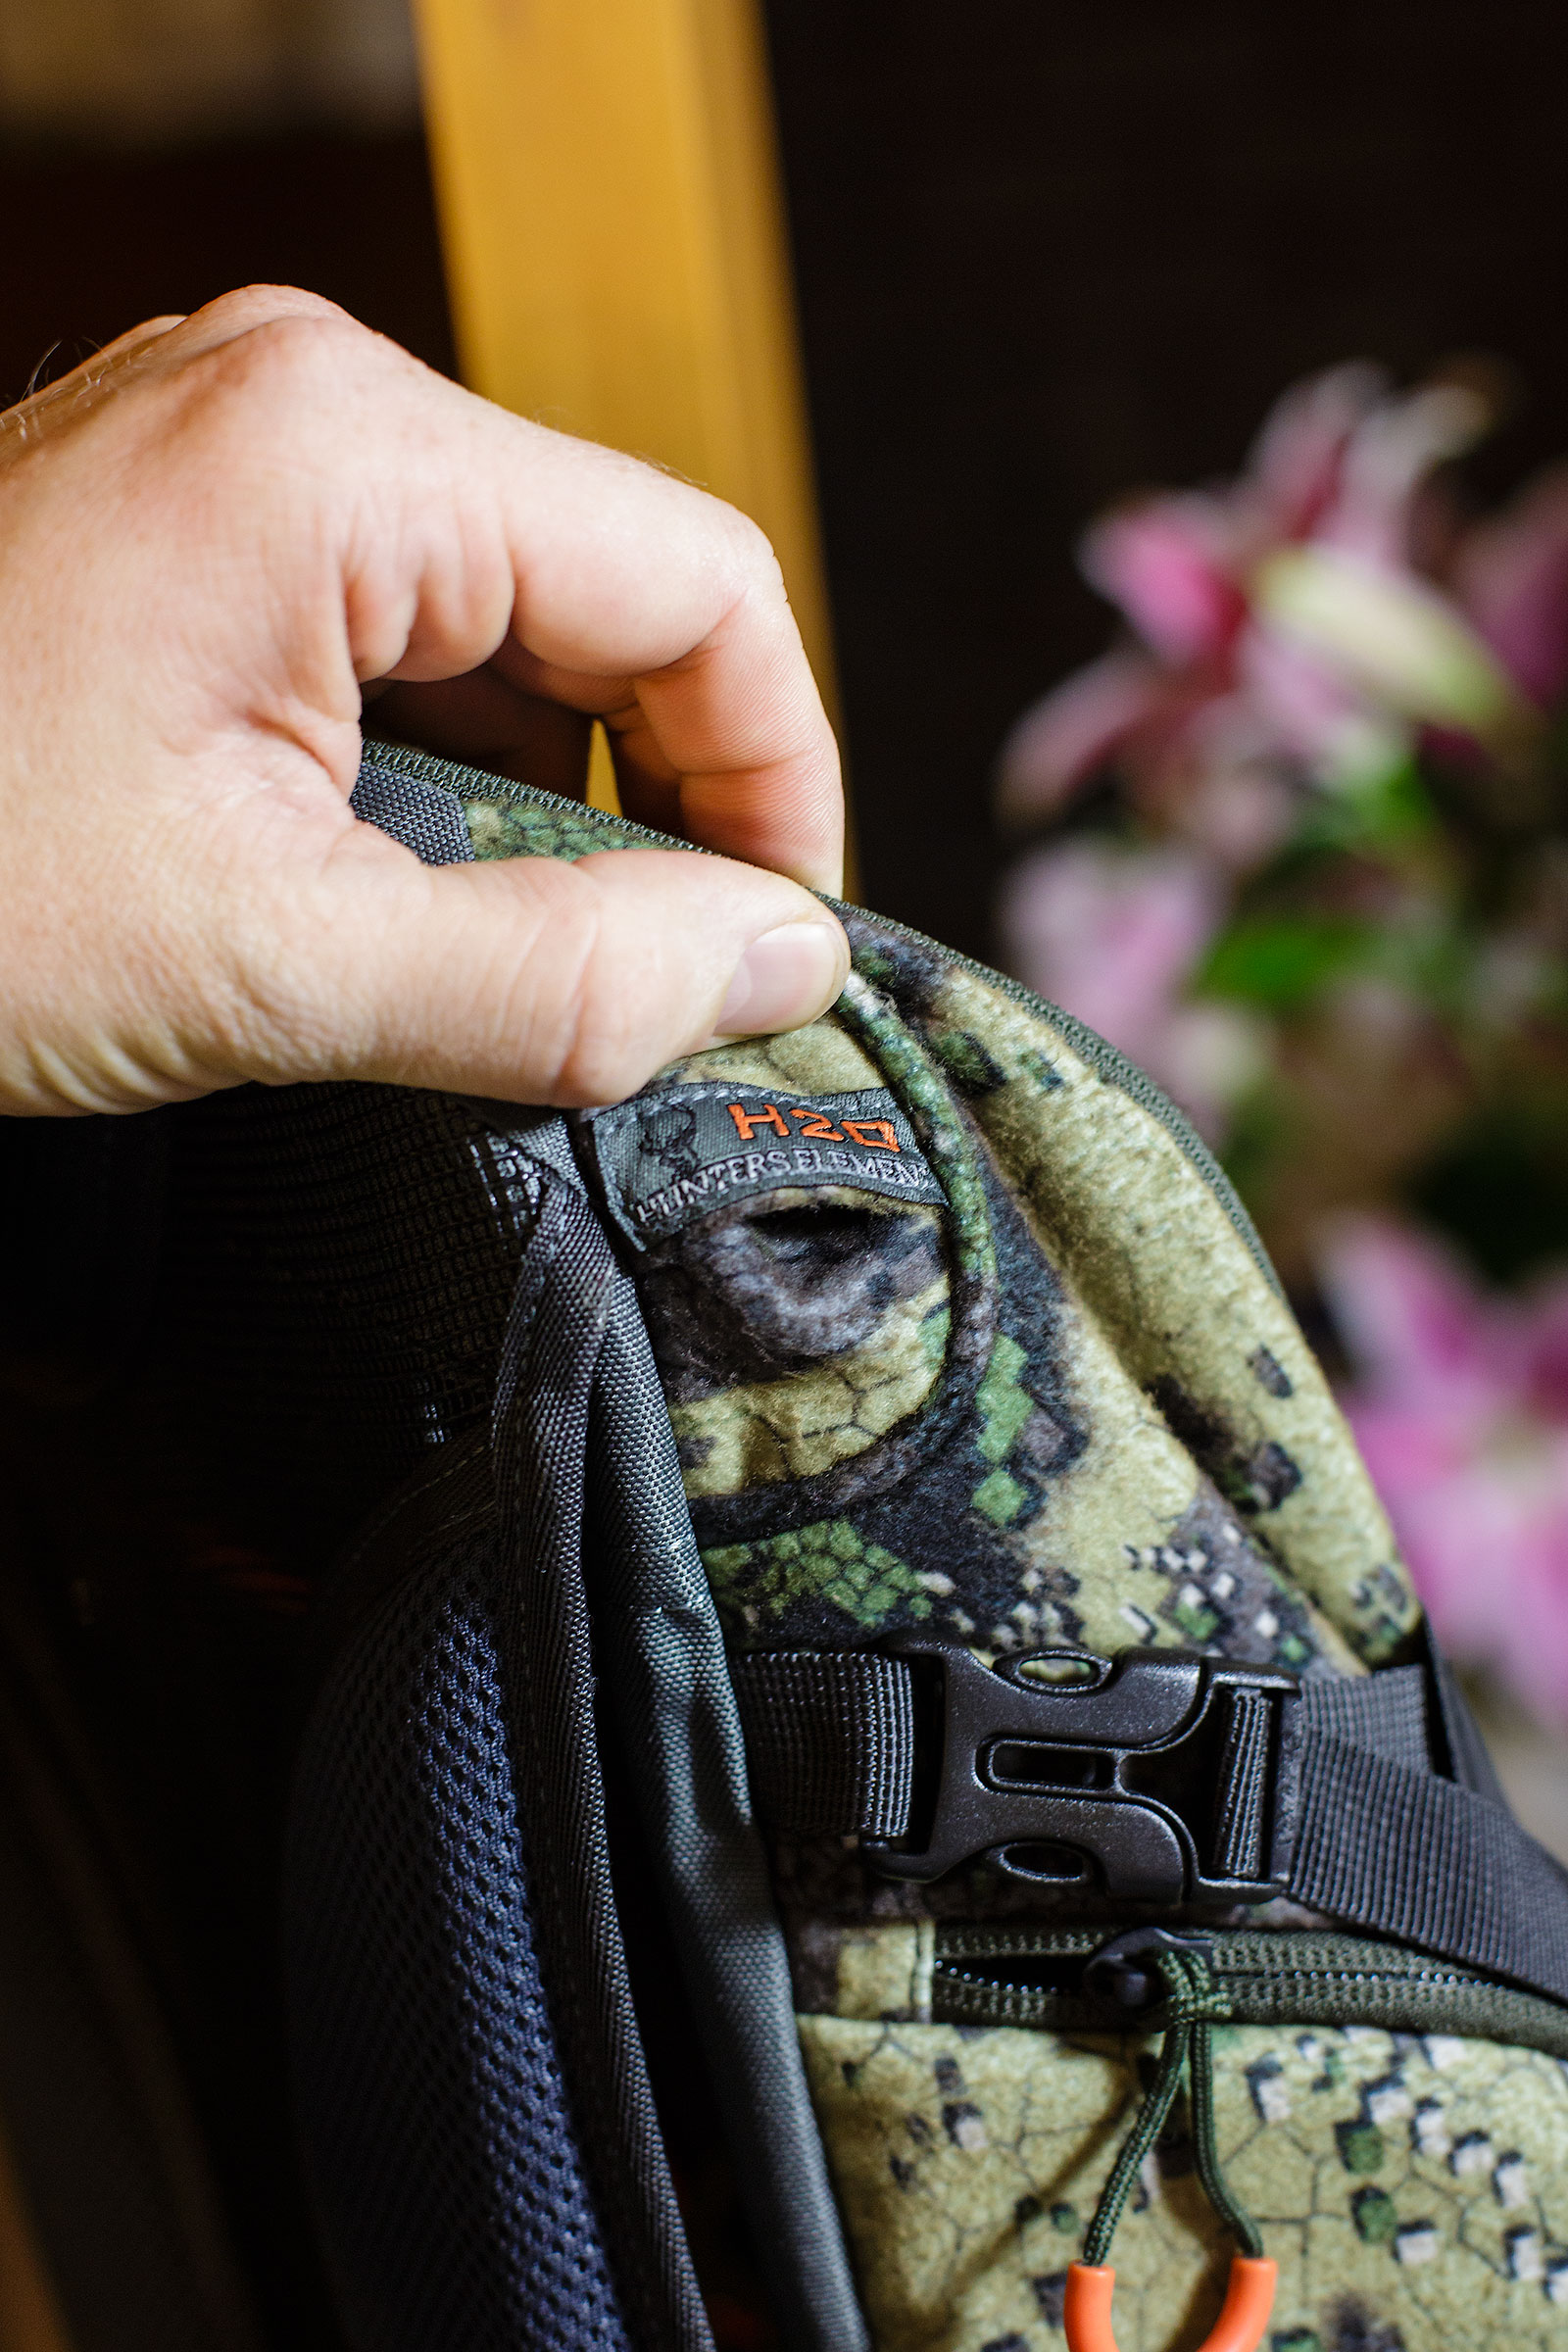
The main pack space is the 25 liters – and the zips open right up, allowing easy access to the contents of the pack. Inside is a smaller slot to hold a hydration bladder or something else small that you want to keep in place. To fastening points at the top of the bag can be used for clipping on a bladder, keys, rope, anything you want to keep accessible. The top of the pack also features an outlet for the bladder hose, and one shoulder strap has a clip to hold the hose in place.

Contour-Pack-(5-of-13)

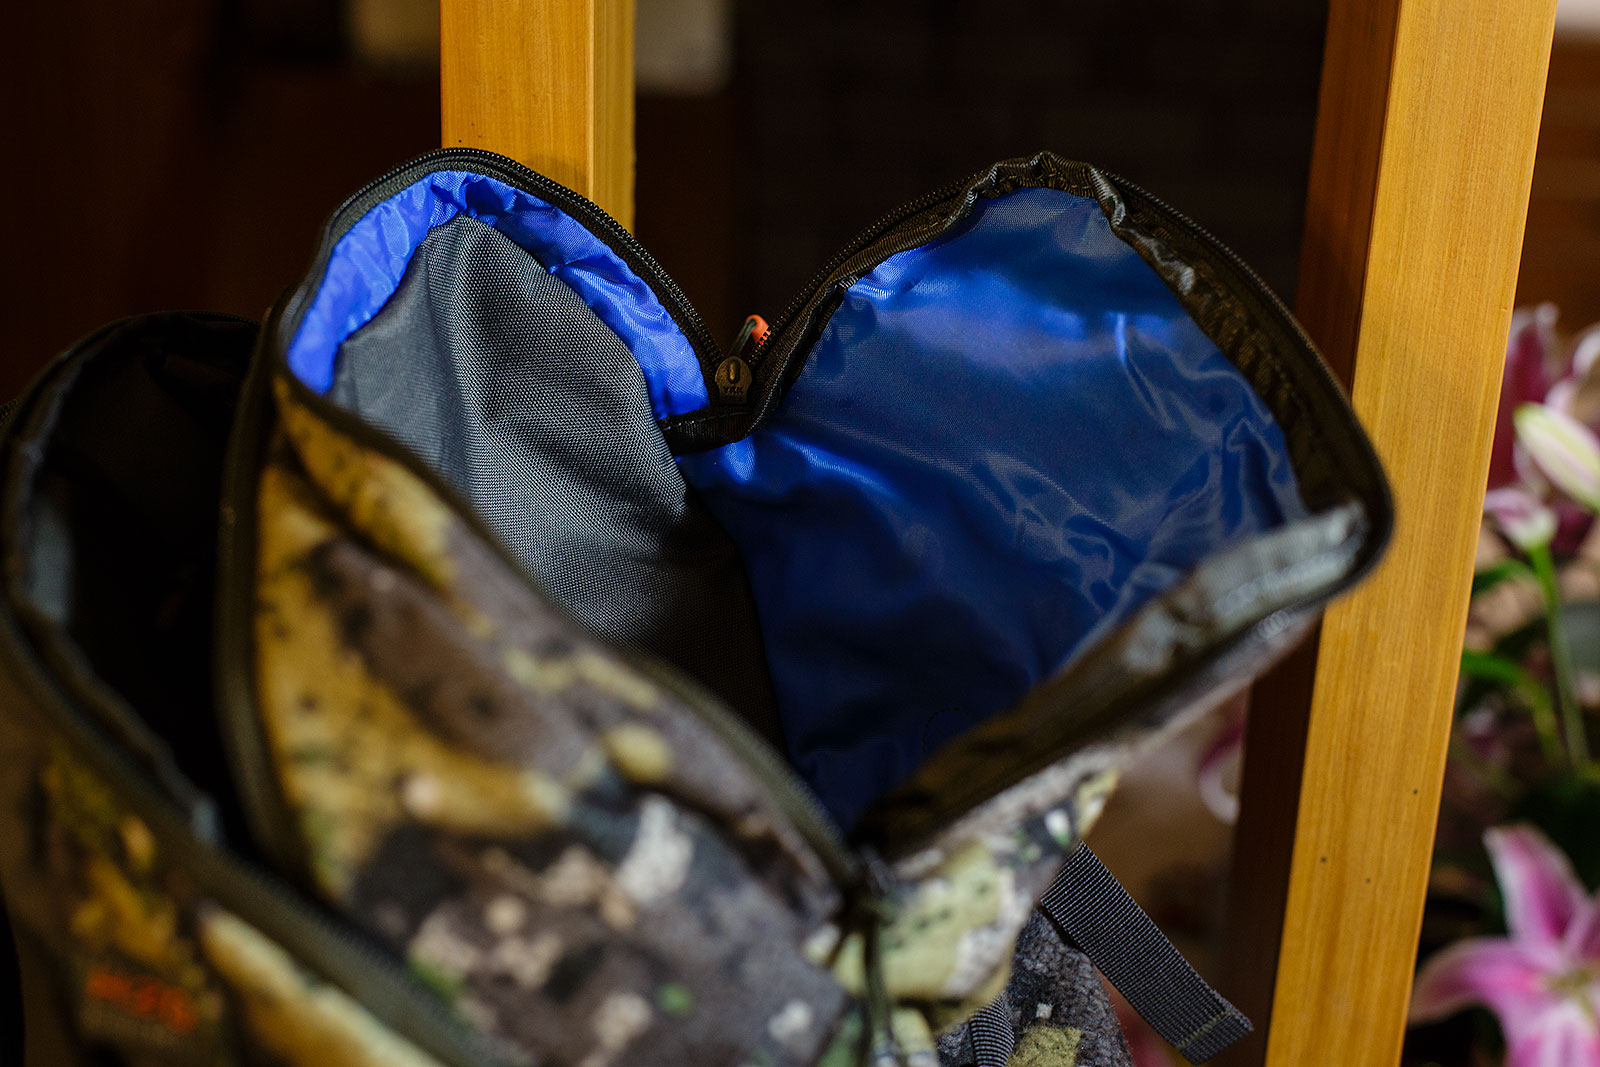
A smaller top pocket on the top of the Hunters Element Contour Pack is ideal for things you want to have quick access to – a GPS or map may be?

One side you have a pocket that includes a couple of zippered mesh inner pockets as well as some elastic for rounds (or pens). Carry your first aid kit in here.

Contour-Pack-(3-of-13)

The other side features a large, padded pouch. Designed to carry the spotting scope, but also good for carrying things like a thermos. At least, that’s what I use it for.

Contour-Pack-(4-of-13)

The Frame

There is a rigid frame incorporated into the design of the Hunters Element Contour Pack. This frame actually keeps the pack a fair distance of the back – so airflow is no problem – meaning you are not going to get sweaty back while wearing this pack. It also gives the pack some structure. If you want to roll the pack up to stuff into a larger pack, no problem, just take the frame out. It’s not going to roll down as small as some other packs, but as a trade-off, it’s going to have a better strapping system, more comfortable for longer.

Contour-Pack-(12-of-13)

Cover, waterproofing

Contour-Pack-(11-of-13)

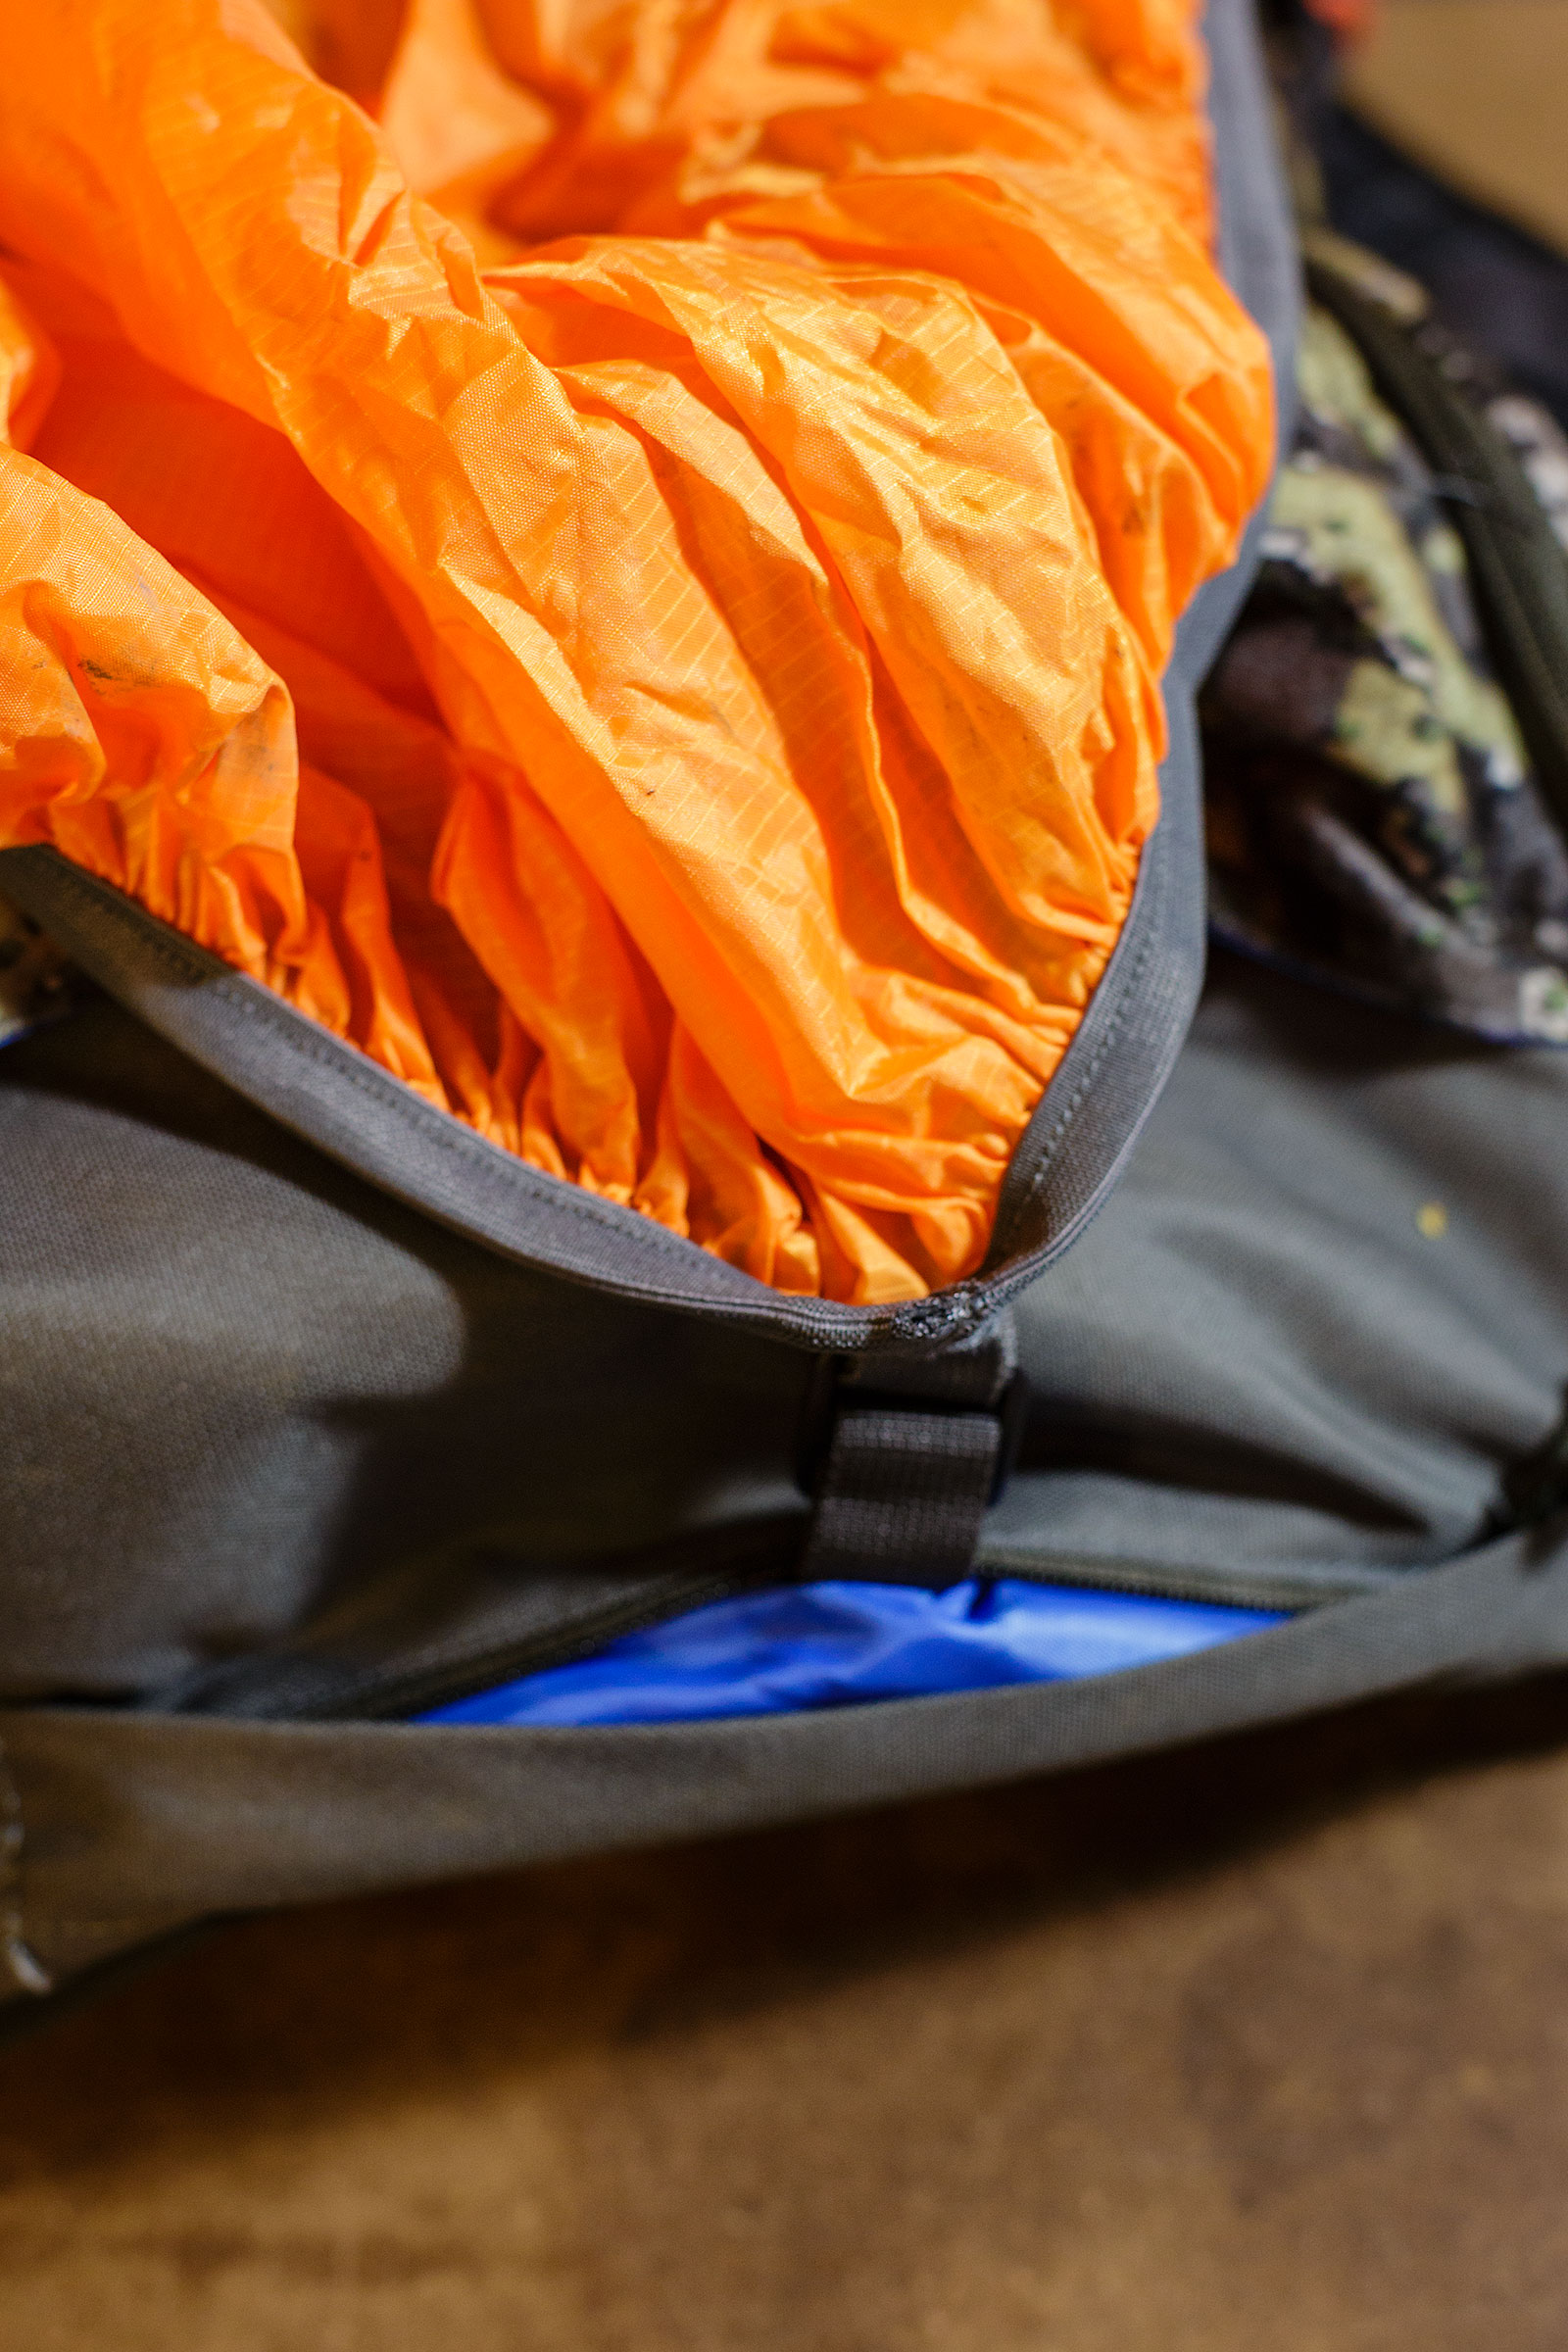
Down the bottom of the pack is another pocket that holds the rain cover. While I would suggest the Hunters Element Contour Pack is water resistant, any good downpour and you are going to want to put this cover on. In addition, it’s close to blaze orange – so good to give an extra heads up to anyone else that might spot you in the bush. Not that anyone would be shooting without identifying their target 100%, but it all helps, doesn’t it!

Overall

For my current use, it’s excellent. I have been using it as a daypack – mainly for literally day to day use (going to work, gym and so on) as well a day trips in the bush locally. While it’s heavier than a dedicated tramping style day pack, it’s silent and likely more robust. It has certainly come with me on several bush bashing expeditions and looks no worse for wear.

Contour-Pack-(6-of-13)

It’s probably just a bit too small to fit an overnight load into it – which makes me also interested in their larger Peak Pack as well. With 45 liters I could conceivably also carry all my sustainment gear in the one, quiet pack. Stalk all day and then just set up camp wherever/whenever I feel like it. May work. May be a bit too much work. But worth trying out!

Hunters Element Hydrapel Trousers

0

Times have moved on a little for the days of a pair of stubbies as standard wear in the bush. Maybe modern hunters are a little softer and need more warmth, maybe we got sick of having our shins cut up every time we bush bashed or maybe we realised that pasty white (speaking for myself) is not the most subtle of colours when it came to camouflage.

Whatever the reason, trousers are a great option for hunting. These are my thoughts on the Hunters Element Hydrapel Trousers.

Hunters Element

Hunters Element is a Wellington based company dedicated to producing someone of the best hunting gear available in NZ. Run by Robert and a team experienced in all aspects of hunting, they produce gear that fits well, works well and looks good.

In use

The Gucci of hunting gear.

Since Hunters Element new Veil Camouflage camo out and since getting my hands on some of it, I have been referring to it as gucciflage (reference here) – probably in my case as more of a compliment than in the movie, in my case basically meaning they produce gear that looks and feels like someone actually thought for a bit about how they fitted.

Hydrapel-Trousers-Veil_md

It’s likely one of the first things you will notice when you put on the Hydrapel Trousers. They feel more like a fitted pant and less like the generic baggy still you often get. They are a much slimmer fit that you might be used to. Again, almost giving the feel of being tailored.

I realise it’s a totally superficial observation – except in this case function definitely follows form – as the trousers also move well, not binding and getting bunched up as some trousers do.

untitled-(1-of-3)

After a recent trip to the Kaimanawas, the Hydrapel Trousers were dirty, muddy, wet at the edges and still keeping me warm and protected. Even the local Robin was keen to check them out!

Don’t overheat

untitled-(3-of-3)

One of the features I really like about the trousers is the zipped vents on both legs. These run from over top of the thigh down to the knee and do an excellent job of moderating temperature. When mobile I simply opened the zippers and never overheated, then zipped them back up in the evening to maintain warmth. With a set of 3/4 thermals under them, I was still comfortable during the brisk mornings (around 4° Celsius).

Keep it zipped.

I don’t think I could wear pants without zippered pockets into the bush anymore. Because I always have a minimum of a pocket knife, a torch and a lighter in my pockets, being able to secure the contents of my pockets becomes quite important. The Hydrapel Trousers don’t disappoint, with 2 well zipped pockets on the front. There are no rear pockets – but rear pockets have never really made much sense to me – you can’t put anything in them and then sit on them.

untitled-(2-of-3)

Would I change anything?

Well, I would call the Hydrapel Trousers water resistant, not waterproof. While water will generally bead off the trousers, if you sit down on a wet log, you are going to end up with a wet butt. I was partially wishing they had a seat patch like my Ridgeline Stalker pants – just to keep the butt dry when taking a break in the bush, but I also realise it could introduce noise and as they are these pants are most certainly quiet.

The only other comment I could make would be regarding the saturation of colours of the camo. It is really just a minor quibble though. I doubt the animals care.

LUMENS – Shedding light on the matter

0

It seems that the latest thing us guys can boast and brag about is how many lumens our headlamps are putting out.

Nowadays, it’s not as fashionable to brag about the cubic capacity of your engine (eco-friendly times that they are) – but get a couple of guys in a hut around a table talking about gear, and at some point the lumen wars will begin. But what is a Lumen?

LUMENS – Shedding light on the matter

It used to be all about Watts, Watts measure the amount of energy required to light products, whereas lumens measure the amount of light produced. The more lumens in a light bulb, the brighter the light. While it used to be all about how many Watts you had, Lumens are a far better measure – it’s about how much light actually gets out – not just a case of how much power is being used.

Watts measure the amount of energy required to light products, whereas lumens measure the amount of light produced. The more lumens in a light bulb, the brighter the light.

The lumen is a measure of the total “amount” of visible light emitted by a source. Lumens are related to lux in that one lux is one lumen per square meter.

The beauty with the Lumens measurement is that, because it’s a measure of the actual light coming out, it provides a way of comparing different forms of lamps – it doesn’t matter if its an incandescent, CFL or LED, which all have different power (Watt) consumptions, 200 Lumens is always going to be brighter than 100 lumens. For example, a 6.5W LED lamp will give a similar light output to a 50W Halogen bulb using the same amount of Watts.

Perbandingan-Jarak-Lumens


But how many Lumens do I need?

Tricky question. The response I would have would be – ‘what are you going to use it for?’.

While it might seem logical that more are better, it isn’t always the case. Depending what you are up too, you may find too much light becomes distracting. Both to yourself, and anyone else around you.

For example – I recently picked up a Black Diamond Icon. It an incredible headlamp. Very powerful. Powerful enough to annoy the shit out of anyone around me as I blind them by just looking in their general direction. While I am going to keep it for certain purposes – for tramping/working with others, I am going to have to get something a little more subdued, and leave the high power option for my handheld.

shining-my-flashlight-on-the-milky-way

However, I also have a Four Seven Maelstrom – it’s got 1600 lumens on tap, but would only last for 2 hours running. Ideal for spotlighting the entire neighbourhood, totally useless for up-close work. It’s going to live in a pouch on the pack for when I need to really light up the horizon.

Weighing up power vs. Life

1600 lumens comes at a price – in the case of the Maelstrom, it’s battery life. Using a large proprietary battery, the unit itself is surprisingly small, packing a lot of intense light into a small size – but as above – you will only get 2 hours life out of it. However, the other power setting it 200 lumens. Still high, but much more usable close-up and giving you 11 hours using it that way.

You really need to think hard about what you are going to be using the lamp for. Working close, needing to look around, under, over items like in a LandSAR operation? Probably want a handheld and probably with less power than you might think. Looking for possums in trees a distance off? More power and a focused beam. Working around camp? Something bright enough to let you see what you need to do, but not so bright that you lose all sense of being ‘in’ the bush. Remember also, the brighter the light, the more it is going to knock your night vision about. You might find, on a moonlight night, you need a lot less than you think.

Flat Tarps

0

The Tarp Shelter

I was introduced to the idea of Tarp Shelters during my early Bushcraft courses with the MSC1. They were suggested as a good option to try. So I promptly headed out to the Military Surplus Store2 and grabbed myself a British Basha. Tarps, Bashas, Hoochies, and different names for fundamentally the same thing. A flat sheet with tie outs all around the edge, designed to be tied up in a myriad of ways. At one end of the scale, it’s a purpose designed, lightweight system with tie-outs all around and all sorts of trickery, at the other – it’s exactly what you find in the warehouse for covering over vehicles when not in use.

untitled-(1-of-1)

Never looking back

It’s been a case of switching to a Tarp, and never really wanting to go back for me. The Tarp shelter seems to be one of the easiest, most versatile systems out there. It’s potentially one that takes a little more thinking about to get into – and if you are used to having walls between you and the outdoors it can be a bit of a shock, but to me, nothing compares to waking up in the morning, and being able to see and hear everything wake up around you. Second only to the Bivy bag in minimalism, it’s a great option when you need a bit of shelter from rain or condensation, but want to be right in the surrounding environment.

Of course, this also means you are a lot more exposed than a traditional tent. Horizontal rain? I hope you also brought a Bivy – because, without a bottom, or, depending how you pitch it, sides, extreme weather has a much greater chance of getting in at you. Splashback can also be a problem – which is rain hitting the area around the edges of the tarp and basically bouncing back up under the tarp. On saying that, I have seem some tarps used in some slightly challenging situations.

untitled-(1-of-1)-3

The Versatility of a Tarp

The great strength of the tarp is it’s versatility. The basic a-frame pitch requires a guyline and four corners held out. Pegs are useful, but rocks work. Don’t have two trees to string up the guyline between? Use a couple of tramping poles or even branches. With a little bit of creative thinking, the tarp adapts to nearly any situation.

I generally just use an a-frame pitch – it’s simple, works well, but ties in nicely with my hammock system. Put up a tarp quickly in the wet, and you now have a dry environment to work underneath.

There are plenty of other options when it comes to pitching a tarp – some add additional protection to the set up, some become almost origami like in their construction. I really need to get out and try some more variations. Even if you don’t use them when outback, just knowing how they work gives you more adaptability in pitching you tarp.

Important Tarp Additions

Many people under a tarp are also using a bivy. This is to protect the sleeping bag from any splashback or rain that may get under the tarp. This also means if the weather is looking fine you can drop the tarp altogether and just sleep in the bivy.

At the minimum, you need to have a groundsheet of some kind to protect your sleeping mat and bag. I permanently have one in my pack anyhow – if needed, the groundsheet itself could be used as a shelter.

untitled-(1-of-1)-2

Sleeping under a tarp is a different experience than a tent. It’s something I suggest people try at least once. You might decided you prefer the additional ‘enclosure’ of a tent, you might even be tempted to go lighter again! You never know. For me though, it provides shelter over my head, without closing me back in, which is what I was trying to avoid by being in the outdoors in the first place!

untitled-(2-of-2)

Advantages

  • Quick to setup
  • Versatile
  • Lightweight
  • Fairly bulletproof in design (no poles to break)

Disadvantages

  • Requires some thought in regards to location
  • Can get splashback from water around the edges of trap
  • Not ideal in a blizzard

Best Used When…

  • You want a minimal shelter, want to be able to see the countryside around you
  • Hammocking
  • Bivying in dubious weather


  1. Mountain Safety Council 

  2. Kiwi Disposals 

Hunters Element Rugged Bush Coat

0

If you have seen my previous post on the Hunters Element XTR jacket – you will know that while the Technical Waterproof Jackets are excellent – they do require a bit of care – not something they always get when I am flailing through bush lawyer at 1pm in the morning navigating by headlamp. What I needed was a hunting jacket that was warm, waterproof and rugged. Enter the Rugged Bush Coat!

untitled-(2-of-3)

Hunters Element Rugged Bush Coat

rugged-bush-coat-veil

You can read up on my review of the Hydrapel Trousers for a quick HE overview. However, one thing I will quickly recap is the technical single layer vs. Brush Tricot design. Basically, Single layer is going to be lighter and hold less water, but potentially pull more if it gets hooked up on something. In addition, it’s a little ‘louder’ when moving and brushing against foilage. Brushed tricot is quieter, more durable (at least not showing as much), but is heavier (it’s a multi layer design) and will eventually wet out and start carrying water weight.

The Rugged Bush Coat is a Brush Tricot, the Hunters Element XTR Extreme is a single layer technical material.

In use

untitled-(1-of-3)

It has got to the point where I need to go out and find something else to wear. I want to wear this jacket everywhere – and I realise I have become ‘that guy’ – constantly wearing a camo jacket. I may have to just get the same jacket in green, or, look into the XTR Core Shell in Green. It’s that good.

I would describe this jacket as ‘snuggly’ – I know it’s not a very blokey thing to say about a hunting jacket – but that’s what I feel as soon as I put this top on – snuggly. Not necessarily hot, but the fleece lining is very comfortable to wear and if you are cold, very quickly helps to get the core temp up.

I spend most of a week out in the Kaimanawa ranges in this jacket – bush bashing, hanging around camp – and I found it great. The cold mornings were a lot more bearable, the evenings comfortable. One particularly cold night I threw the XTR Extreme Jacket on over the top, but then to be fair, I only had a summer weight shirt on underneath.

The hood is good, snug but not too fussy – and it is easy to cinch it down if you want more of a tight fit. It’s an interesting thing – because I don’t think everyone realises that this jacket does in fact have a hood – certainly, all the images on the Hunters Element site could leave you thinking it didn’t.

I really don’t adjust the cuffs at all – they are just left normal – though I do sometimes notice that the right hand cuff on mine will come lose – it’s just a case of wrapping it back around. I might just need to clean the velcro.

untitled-(3-of-3)

Again, as is my preference – it is a smock.

While I didn’t get into any downpours, certainly is happily shrugged of the showers we found ourselves in. If I was expecting heavy rain, and planning on standing out in it for long periods of time, I would probably lean more toward my XTR Extreme – I guess it’s close to the Hard Shell, Soft Shell idea. The brushed tricot on the Rugged Bush Coat will eventually start to wet out. However, for my primary use for it – Bushbashing – it’s perfect.

Weight and Packability

The coat weighs 955 grams. It’s able to be packed into a daypack, or even a large waist pack in a pinch – though you won’t be fitting much else in there.

RuggedBushCoat-(1-of-1)

Would I change anything?

I would really like pit zips on this jacket. The main issue I had was having to take it on and off regularly in order to regulate the body temperature while climbing around the Kaimanawa Ranges. Pit Zips could go a long way to helping this. In addition, you could have another zipped or snap closed pocket on the other side of the chest. Though both these things would add cost, the the Rugged Bush Coat does manage to keep that down. You can’t always have both I guess.

In Summary

I really, really like this jacket. I get torn between my Icebreaker 320 Hoodie and this for around town. This one often wins, but I end up being the guy wearing camo, and not in the bush. It’s worth it.

Disposing of ammo: Lyman Kinetic Bullet Puller

0

The Lyman Kinetic Bullet Puller

[fvplayer src=”https://www.youtube.com/watch?v=OvLpuKUnsJg”]

At some point you are going to have ammo you want to get rig of. It might be a failure to fire, some old ammo you are a bit dubious about or a damaged round, but essentially you have a ‘live’ round of some kind of you need to safely render inert.

I have had a few primer failures recently – so had a couple of rounds to get rid of. Putting it on a train track is out of the question and while I have heard you can take it to a police station to dispose of, there is a much easier way.

The Lyman Kinetic Bullet Puller is a simple design, one that multiple manufacturers offer. I am sure they all work nearly identically. It wouldn’t surprise me if it was the same design but just different coloured plastic in the injector.

Bullet Puller 7810216

Operation is simple. It comes with two different sized collets. Just take the one you need, slide it around the cartridge, screw it into the body, a couple of taps on a hard surface and you have a separate bullet. There is a good chance the projectile will be damaged in this process – this is certainly the case with the Nosler Ballistic Tips, do either dump the projectile or save it for dummy rounds. The powder can then be biffed, or in the case of the above demo – returned to the loader.

Really simple, really usefull. Every gun own should have some easy way of disposing of live ammo. The Lyman Kinetic Bullet Puller is certainly one of the simplist. Does what it says on the packaging, and well.

I have heard of people making their own kinetic pullers, but then for the cost of the Lyman Kinetic Bullet Puller, why would you bother? Well worth the investment.

Lightweight and off track.

0

IMGL0028

How did it all end up so heavy?

It all starts innocently enough. Wanting to get out into the great wilderness to take some photos. Of course, I wanted a decent camera and well, several lenses and of course, I needed to take a tripod with me and a timer and a flash for in-fill.

Well, that’s a lot of gear, so I am going to need a decent pack to carry it in. Something that can take that extra weight.

Oh, heavy pack, I should really get some decent boots to ensure I have adequate ankle support. The heavier the pack, the heavier the boots, so they say.

Then. The hills.

I didn’t really intend to end up carry large amounts of weight. But what happens when you develop your system around a heavy set of items, like a full size SLR and lenses, your equipment tend to match that weight and you end up being a bit of a pack mule.

Canon-EF-S-15-85mm-f-3.5-5.6-IS-USM-Lens-on-7D-Top

Compound that with the fact that I believe in having backups, and backups to the backups, and I quickly started carrying enough gear to sustain me for a couple of days in the bush, on day hikes.

It gets to the point where you go, hang on. Lets try something a little different. So this series of articles is going to be about exactly that – reducing weight while still maintaining the capacity to wander off track safely and still take some awesome photos.

It’s not all bad though

I realised early on, that if I was going to start carrying around the camera rig and all it’s trimmings – I was going to have to save weight somewhere, so I had already started down the path of reducing weight. Shelter had already been started on – thought at the moment, I think my alternative system now weights the same as a lightweight tent anyhow.

19-2-maitaitai_2296_297_298_299_300_tonemapped

Regardless, I enjoy sleeping in a hammock now – but I will be exploring lighter tarp systems, as well as an alternative tarp and bivy bag option for when I am not 100% certain I will have suitable trees to set up in.

20121104-_MGL0116

The current bivy bag I have is an ex military gore-tex option. It’s heavy and doesn’t pack down. So I am keen to explore options there. In the above photo I am using just the fly out of an Exped Vela UL Tent.

I have also worked quite a bit on my cooking system already as well – I tend to either ‘boil in the bag’ or ‘just add water’ and a combination of a dehydrator at home, a vacuum sealer and a pile of titanium has already reduced the weight a lot. I am not really looking at going down the alcohol cooker router – I still want something nice and easy to use. Also, given some of the trips I do – it’s hard to count the exact number of boil’s I will need.

_MGL0228

They say the heavier the pack, the heavier the boots – and I know for a fact one area I am going to be looking at saving some weight is my boots – I have been wearing the Skellerup Ashleys lately – and they work well – so interested in also looking at a lightweight tramping boot that is going to be up to bush bashing.

_MGL0010

The main thing I am going to be keeping in the back of my mind for this series is the fact I still want to be able to go off track, and potentially be carrying a rifle with me. So really, it’s going to be about lightweight hunting as much as tramping. Shedding the weight, but still maintaining a level of safety and functionality beyond what your average tramper might expect. Expect lots of spreadsheets… 😉

Hunters Element XTR Extreme Hunter Jacket

0

Hunters Element XTR Extreme Hunter Jacket

For those who have read my Ridgeline Monsoon review – you will know, that while I like the jacket, I did want something lighter and more suitable for a layer based clothing system.

Ideally, I was after a hard-shell that was going to be light, easily packable, and obviously waterproof.

Again, like the Monsoon – I was keen on a smock design – as I would generally be wearing either my full pack or my front-pack over it, so didn’t need pockets down low.

I had liked the look of the Hunters Element products – they looked like a progressive company that were pushing technical garments rather than just creating more products to fit into the market.

Light Weight and Packable

Because I was looking at a system that would ultimately spend most it’s time in my pack (weather permitting) – light and packable was important to me. The XTR Extreme Hunter Jacket is certainly both. At 690 grams it’s light – and can roll down into about half the size of my Monsoon. This basically means it’s a no-brainer to include in everything from overnights to day walks – just-in-case things get a bit wet.

_MGL0076

Waterproof and Quick Drying

Obviously, a hard shell jacket is fairly pointless if it doesn’t keep the water out. This jacket does.

The XTR Extreme Hunter Jacket is made of Hydrafuse PacSTEALH material. This material has a soft to the touch outer, not as soft as Brushed Tricot, but not as slick as GoreTex or Event. It means it’s a lot quieter than the Gore/Event fabrics, though not quite as quiet as the Tricot or Fleece would be. I don’t really view this as an issue – if I am wearing the jacket, it’s raining, so a little more sound is going to be covered by the rain coming down anyhow. Additionally, single layer fabric system that means the jacket can be lighter (no multiple layers).

I had been wearing it a lot, and the DWR (water repentance) has been worn in a few places – so I recently re-coated the jacket. Good as new!

_MGL0071

Design and Functionality

As I mentioned, I like the idea of smock jacket designs – less opening for water to get into, less zips to rub against pack straps – so the design of the jacket appeals to me – 2 large pockets are big enough to store maps or binoculars without any issue, and are waterproof as well. The hood fit’s well and is adjustable depending on how tight a fit you like, and the cuffs and waist can be cinched down nice and snug if the wind gets up. Overall, I like the look of the jacket as well – I have it in the High Country Brown – which means I can just as easily wear it around town as I can in the bush without it looking out of place. This means the jacket is also ideal for trampers and backpackers that want a jacket that is technical, but not in the bright colours that many of the local manufacturers like to produce ‘outdoors’ clothing in. Not everyone wants’s to stand out.

_MGL0074

Veil Camo

While I have mine in brown – Hunters Element recently also released the jacket in their new Veil Camo – a disruptive, high contrast pattern that heads away from the traditional hunters ‘photo realistic’ camo, and into the realm of digitally generated camo. I had been a fan of the camo’s coming through like ATACS FG, Kryptex Mandrake and Pencott GreenZone camos –  soana NZ version was welcomed – the NZ army has recently transitioned from their tradition DPM to a disruptive pattern – so it’s certainly looking like the way camo is going to develop.

Veil-Camo-low-res-1024x547

In summary

I really like this jacket. I gave it a bit of grief recently by trying to push through some Bush-Lawyer – which has caused a few marks on it – but that’s my fault – a future article is going to discuss more about appropriate clothing for bush bashing – a technical jacket is not it.

Regardless, this jacket is coming with me whenever I head out – when the sky starts to open up, it’s going on!


Hazard 4 Poncho Villa

0


2-APR-PNVL-R-CYT-Front_400PX

The idea of a poncho for outdoor use has long fascinated me. The ability to cover everything, pack & pouches becomes important when you have a pile of electronic equipment (Cameras) attached to the outside of the pack. In my case, I carry my 5d mk III in a Hazard 4 Camera Pouch – which sits on my hip – outside any waterproofing I might have in my pack, and while the camera is weather resistant, when it starts pouring down, I generally have to take it off my hip and pack it deep down somewhere inside my drybags in the pack – meaning I can’t get it out quick if I spot something I want to photograph. Having something over the top of all of this gear, enabling quick access to the camera appealed immensely.

A tale of two ponchos

I already had purchased a Poncho – one from the Pathfinder School – and I haven’t gotten around to review that yet (coming, coming), but I had my eye on the Hazard 4 Poncho Villa as well… and you know… more gear! I will also get a comparison video of the two up at some point – as they are both good items – with slight different advantages.

Features


  • water-resistant/breathable soft-shell fabric
  • generous size to fit over packs/bags/chest-packs
  • large front & back velcro panels for agency i.d.
  • ample hood with brim section fits over head-wear
  • hood-sinchers for front and back-of-head adjust
  • zipper front to chin for full rain-coverage of throat
  • large perimeter grommets for hanging as tent/tarp
  • side snaps for closing edges in severe weather

I am going to give the poncho a re-treatment with a NikWax wash through – mainly because I have become converted to the idea that nearly any waterproof product can be improved by doing so. But I have already had it out in the wet – and yes, it beads water.

I like the fit of this jacket – as wanky as this sounds – it looks good – much better than most the totally shapeless options out there. They have taken the idea of a poncho and thoroughly modernised it.

_MGL0017-as-Smart-Object-1


Little features – like the front pocket / storage bag, with it’s little attachment point for items, just indicate the amount of thought that has actually gone into the Hazard 4 Poncho Villa. I could consider it a little on the heavy side, but considering it doubles as a tarp, I can live with it. Talking of tarp use – it’s a little small for the hammock – my feet will pop out the end – but if I am going minimal, this and a bedroll will work just fine.

_MGL0009-as-Smart-Object-1


Update – another opinion

v7unn9I was contacted today by a gentleman from Northern Ontario who has sadly had a very different experience with the poncho – his one isn’t particularly waterproof. Seems to wets up really, really quick.

He details his experience here – http://edcforums.com/threads/hazard-4-poncho-villa.121195/ – worth having a read if you wan’t another experience of the poncho.

I really do have to wonder if sometimes something quite drastic happens to these technical garments while in transit, as I have had a jacket that was similar – fixed it with a retreatment, but I don’t really think it’s something you should have to do with a brand new garment.

I will update this as we talk more.


Drag Bars, Sprocket Cover removal.

0

Nightster Updates (2 of 2)

Installing the Drag Bars


One of the most significant changes shifting from the 675 to the Nightster was handlebar position. The 675 was a sportsbike – so had clipons the combined with the rearset footpegs nearly put your rear end above your hand position. This resulted in a very aggressive but somewhat uncomfortable riding position.

Switching over to what is essentially a cruiser, I liked being a bit more upright, but the standard bars were a little too far back. With my ape length arms, I was nearly beyond horizontal, so had to push/pull myself forward to fight the wind. While I was tempted to put clipons onto the bike, I didn’t really feel the need to go that far, so the Drag Bars were a nice in-between.

Fitting them was relatively straightforward. While I originally intended to record fitting the bars, it took me a little longer to put them on than expected – mainly through not thinking the process through fully before starting and having to double back multiple times with taking the switches off, then back off, then back on, then off and back on again. Eventually, I got the wiring and brake line position sorted, and bolted it all back together.

I am going to leave them as they are for the moment, but now the bar is on, it’s a simple procedure to loosen up the clamps and adjust the bar up or down – I am keen to try a couple of slightly different positions just to see how they feel. It certainly looks the part, but now I am just keener than ever to get the speedo off the bars and relocated down to one side.

Drag Bars and Sprocket Cover Removed

Removing the Sprocket Cover

Again, a simple exercise – thought I had to take the top exhaust pipe back off to make things a bit easier. Reading online, the general consensus seems to be that it might cause a rock or the like to get into the belt and cause damage – though all the peoples spreading the concern have never actually had it happen to them. I am not going to have a pillion on the back of this bike – so that wasn’t a concern. If the belt does go, well, it might just be motivation to convert the bike over to a chain, because, well just because.