Home Blog Page 27

SVORD Golok – The beast

0

Svord Golok

In a fit of knife buying, I decided I wanted a big heavy blade and a bigger, even heavier blade. So I went out and got myself a Svord 370BB and a Svord Golok. If you haven’t read it yet – head over to the 370 page to get a lot more information about Brian’s knives.

The beauty of dealing with an NZ manufacturer is that you have the ability to meet and learn more about the person making your equipment and get little extras like getting matching handles made out of  African Wenge Wood.

The golok is a bit of a blanket term that applies to a form of machete found through Malaysia. It is shorter and thinner than the parang. Think short, stocky razorblade.

The golok design is short and heavy. Though not always – it’s common to have a square blade design, without a pointed or curved tip you would find on a machete. The Svord Golok in particular is based on the British Army Golok design that has been issued as a chopping instrument since the 1950’s.

The Svord Golok is a beast of an edged instrument. It the hand it feels heavy and solid, the edge comes from Brian sharpened like a razorblade. It’s a serious tool. This thing is 11″ or 280mm long in the blade, weighs 458 grams and has already tasted my blood.

While I like about the Golok design, is that it is equally home working as a machete or a hatchet. Cutting down long grass/scrub? Easy – need to take to something a little heavier – no worries either. Its shortness makes it very easy to handle in the bush – it’s not so long that it starts hitting everything else on the way to what you want to cut, but it has enough weight that it doesn’t have to be all muscle to use it.

Like many of Brian’s ‘upper range’ cutting implements – the Golok was delivered with a razor sharp convex edge on it. I have only had to give it a few strops to keep it there. The Carbon Steel is so easy to keep sharp, and the blade is already developing it’s unique patina.

That’s one thing that is important to remember with these sorts of items – the Patina is going to happen, and you will drive yourself crazy trying to remove it. If you want something that is going to stay shiny, you may be better looking into a stainless blade.

For general duties, it is too big. Don’t try preparing dinner with it. For many modern bush duties, a Golok (or a Machete) are both potentially overkill. However, if you are planning on getting off track and may want to be processing wood or creating shelters, this heavier blade would be a good option.

PracMed Stop The Bleed Course

0

This is important!

However, hopefully, I have also gotten across my dislike for the state of much of the first aid training on the market today. When I was still in the corporate role, I send the lads (for compliance) to a mainstream workplace first aid course. I went to one myself. Having previously been to outdoors and SARs training course – I was – frankly – dismayed as the state of what I was sending staff off to – and I certainly wouldn’t have wanted to be relying on them should something major occur.

Ok, I admit it, I was just keen to have a play with Simon’s training toys!

And here is the pinch – some of us work in industries, where, should an incident occur – it’s got the potential to be seriously life-threatening. Engineering, machining, shooting, outdoors work – all have the potential for a common style of injury – massive blood loss. In fact, amputation is right up there on the cards as well.

Now, yes, machine guarding, safety rails, machine lockdowns all contribute to reducing the risk and hazard profile – but – at some point, things can go wrong. And having the skills to do something about it makes a world of difference.

Prac Med

Thankfully, there is at least one group out there who share the same thinking as me on this – and that is Simon and the crew at Prac Med. It’s not the first time I have spoken about them, and it won’t be the last.

Simon is a man on a mission, and it’s one that I intend to support however I can.

He is running courses up and down the country – and I would strongly suggest all of you get along to one.

The ‘Stop the Bleed‘ course is designed to, well, stop bleeding. Something that all hunters and shooters should at least be aware of. Hopefully, like carrying around a first aid kit – it’s a skill you hopefully never need to use but are going to be very happy to have, should you need it.

The course I went along to had a variety of people, with a variety of backgrounds along. A couple of lads, ex-military and working in areas like forestry, through to an office-bound accountant. All there for the same reason – the learn first aid that has direct, applicable applications.

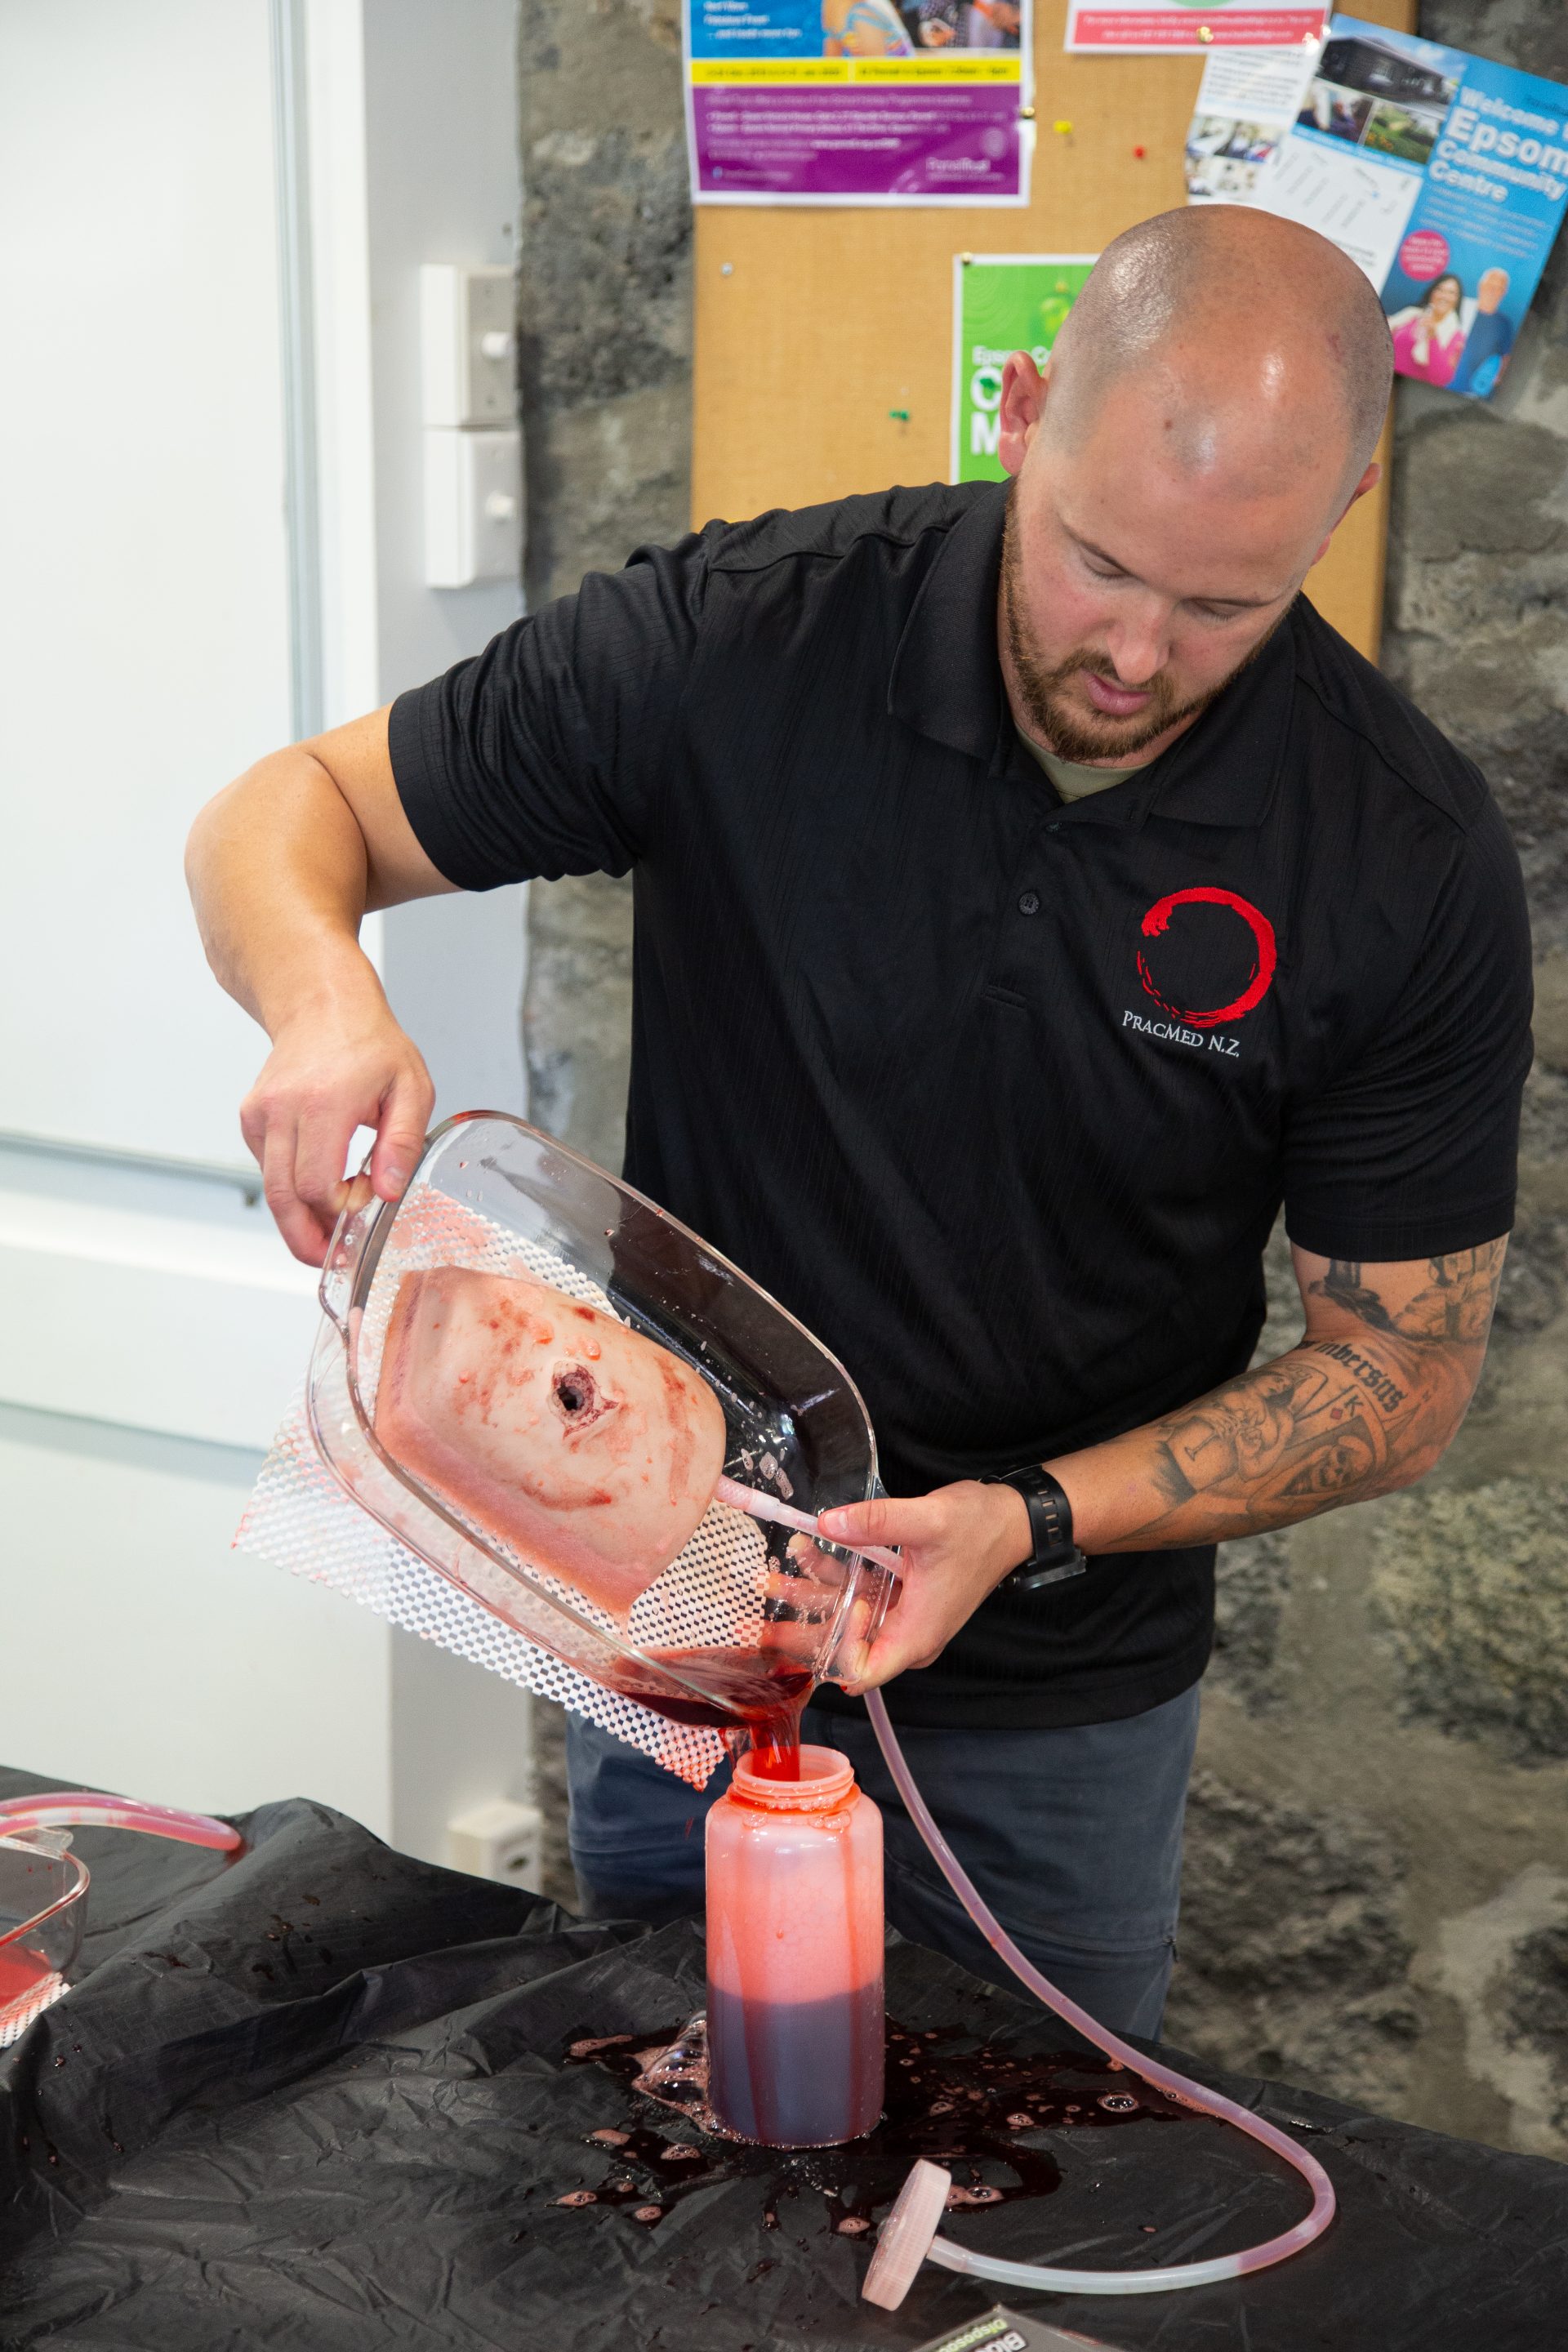
What I love about these courses – is that Simon has invested in proper training equipment – namely those wound units that pour blood all over the place until you apply enough pressure and get packing. And pack you do. The hands-on element is definitely what separates the Prac Med course from anything else on the market.

Along the way, Simon’s knowledge and passion shine through, and he shares a pile of knowledge and practical application.

I really can’t recomend this course enough.

I need to check in with Simon, but I believe there are also things afoot in regards to NZQA certification – which – if he gets it sorted – would mean you could incorporate one of these courses into a workplace cert – and do away with the stuff old training other provides are still putting out there!

[/membership]

The ARB 4×4 Track Pack

0

[fvplayer id=”34″]

I really should learn the names of these things better before doing reviews of them.

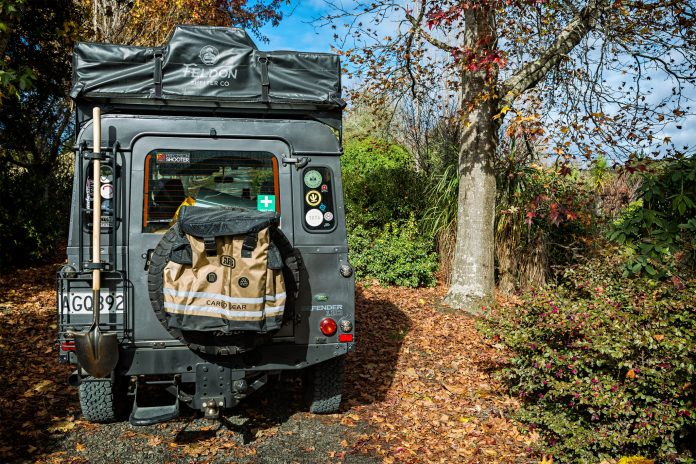
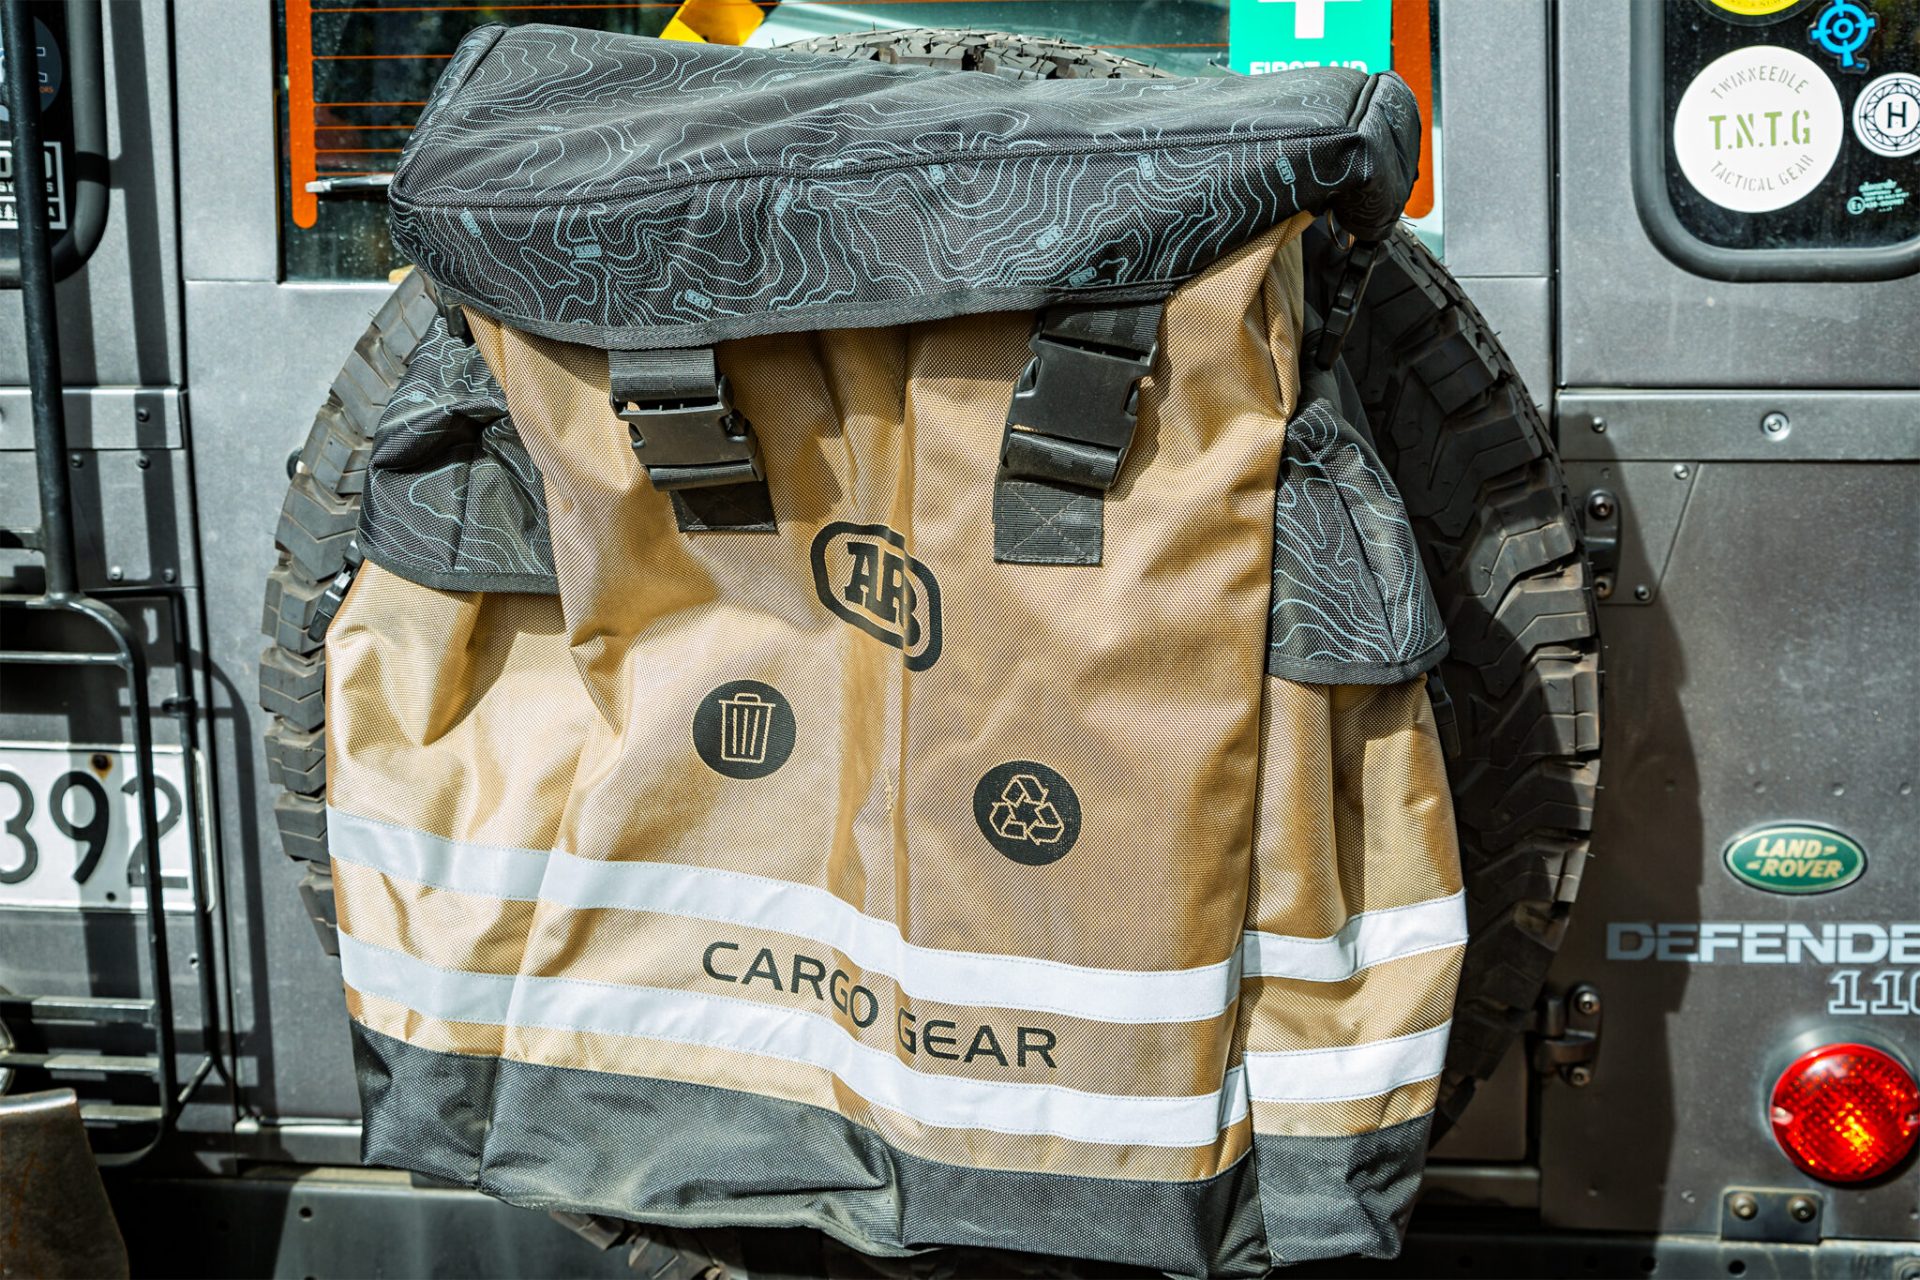
Anyhow – the ARB 4×4 Track Pack which was supplied by 4wd Solutions in Cambridge was something I had had my eyes on for a while. I wanted a solution to get the rubbish, in particular, dirty diapers, out of the truck. Ironically, when I finally got around to sorting it, the little one had just gone through potty training. But I digress.

I liked the idea of externally storing the smelly stuff. In addition, the ARB design gives you a few extra pockets for storing stuff that you often need when working on or around the outside of the truck. In my case, the obligatory Morley’s on one side, some rubbish bags and window wiper fluid on the other, and a couple of levelling blocks in the side.

The bag is well made, well thought out and basically ticked off all the boxes for me. I will update you after a year sitting on the back of the truck! 😉

5.11 AMP pack

0

You may have already seen my review/talk about the Molle Belt Rig I have switched over too. I mentioned the idea of a lightweight backpack at the same time.

This is it!

I picked up an 5.11 AMP 24, 32L pack from Tactical Solutions.

[fvplayer id=”50″]

This is part of the new All Mission Pack (AMP) system that 5.11 have brought out – packs that are multi-use, ‘multi-mission’ capable. Essentially, they have a system on the front of them that allows quick switchovers of some of the external pouches. Moreso though, they have a good design with enough pockets and organisation without it becoming a sea of pockets and pouches to lose stuff in.

Please, please, please, let us help you.

0

[fvplayer id=”35″]

If we know, we can help. But you need to ask.

Make sure if you have trouble with reading comprehension, you let us know beforehand. It’s not meant to be a test of your reading skills. Assistance can be organised – you can bring support, but it’s something we need to know about in advance.

Rolife Ferris Wheel – a DIY Music Box

0

Farmers starting bringing these in and they have quite a good selection of both the music boxes and the DIY houses which also really interest me.

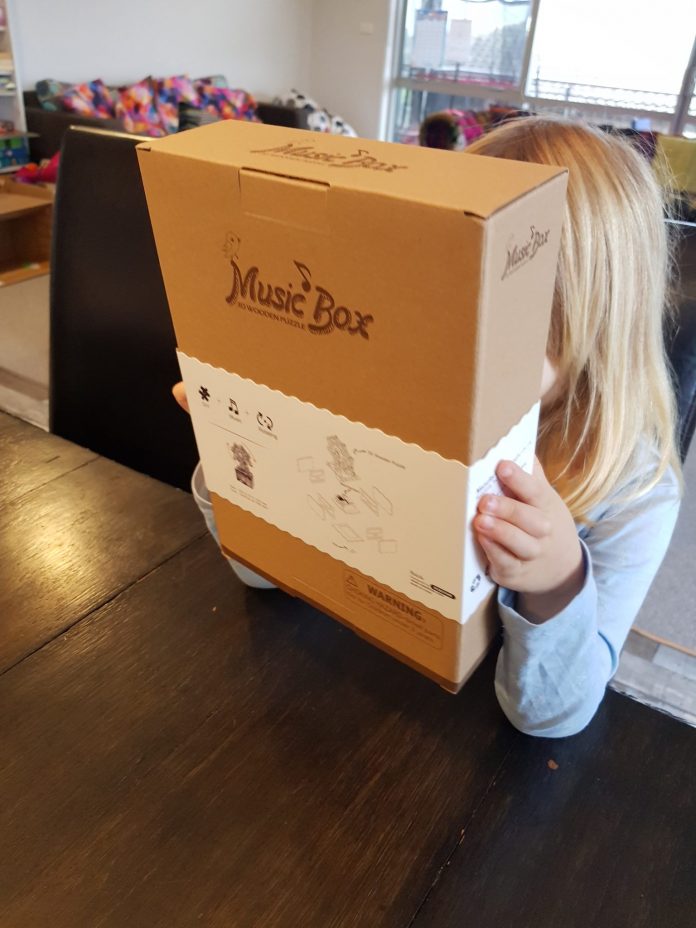
We unpacked the boxes, and, of course – the first thing you do is wind up the music box to listen to the tune.

Tunage!

The melody was familiar – very familiar. The missus popped online and quickly identified the track as the main theme tune from ‘Castle in the Sky’ written by Joe Hisaishi.

[fvplayer id=”46″]

It’s a beautiful and haunting track, the the music box rendition is extremely fitting.

The Kit

So, the main kit is essentially a pile of pre-painted die-cut balsa wood that you assemble and glue. The fit is so tight that most of it holds together without needing glue at all – and I assume it’s designed that way – as the instructions stipulate only a few parts which need to be glued together.

It’s intricate – though not fiddly – I quickly found that it was a little beyond the 4 and 5-year-old. Much like Lego Sets, I was quickly left to my own devices to assemble the kit. Which, to be honest, I don’t have a problem with. The kids went back to Lego, and I kept on building this kit with them checking in on my progress from time to time.

I am not sure how long it took me to complete as I didn’t pay attention to the time. However, the end result was very satisfying and currently lives on the top shelf of my older girls ‘curiosity’ bookcase.

The RoboTime site has a recommended age of 14+ and, if you want them to assemble it themselves, that’s likely accurate. However, for a project to do ‘with’ them – any age is fine.

I am sure, if you wanted, you could spend hours upon hours sanding down all the punch marks and ‘spigots’​*​ or spurs when you punch out the pieces, you could also glue each part, but I don’t really see that as necessary anyhow, and I enjoyed observing how the parts locked together to not require glue anyhow.

You can pick these kits up online at Farmers now – and for the price – I think they are well worth the money. It’s not another cheap plastic toy that gets played with for a while and then discarded.

[fvplayer id=”47″]

  1. ​*​
    My background is injection molding, so that’s how I understand these things.

Hunters Element Huxley Shirt

0
[fvplayer id=”42″]
  • Sustainable, biodegradable, durable, hypoallergenic 100% organic cotton oxford fabric
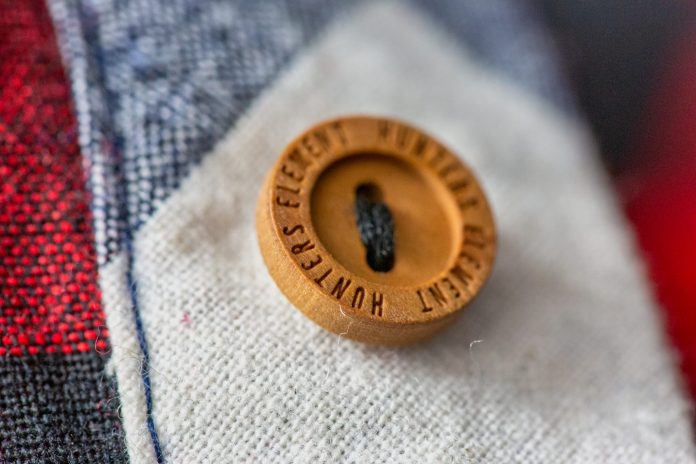
  • Wooden biodegradable buttons are made from Camellia Oleifera trees and are a bi-product of the commercial food and cosmetic oil industries.
  • Soft collar
  • One-button barrel cuffs for easy on/off over the hands
  • Full-length button closure
  • Two handy chest pockets with button closure
  • Size S-4XL
  • Available in Navy Plaid & Red Plaid

Details here (it’s a really good read).

Suppressor storage: on or off?

0

I am relatively new to firearms. I am also paranoid about my hearing. So it made sense to look into putting a suppressor onto my new Browning X-Bolt. Once I received the rifle back though, one of the first questions that sprang to mind was suppressor storage – on or off?

untitled (1 of 1)

Suppressor Storage

Much like using nylon or bronze bore brushes – searching online on how to store a suppressor brings up a raft of differing opinions, qualified and not. So, I thought the first logical point of call was the manufacturer, Dan Hardy, from Hardy Rifle Engineering –

Carbon Deposits

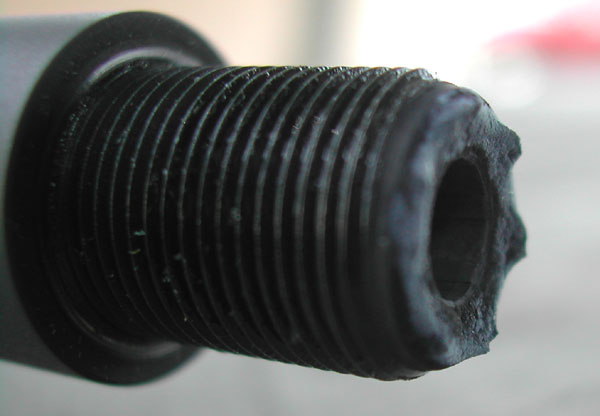
As we all know, carbon deposits will quickly build up when shooting a firearm. So it’s standard practice to try and remove this carbon once you are done shooting. The nature of a suppressor is that it’s going to collect a fair bit of these deposits, and leaving it on a barrel, with the suppressor facing up, is just asking for trouble.

carbon

Apart from the obvious potential to reduce accuracy, the buildup can eventually cause solid carbon deposits in your crown and barrel. A loose bit of carbon (and other by-products of combustion) that falls down into your barrel when you go to get the rifle out of storage really isn’t going to do you any favours either.

Galvanic corrosion, dissimilar metals, or, why stuff rusts

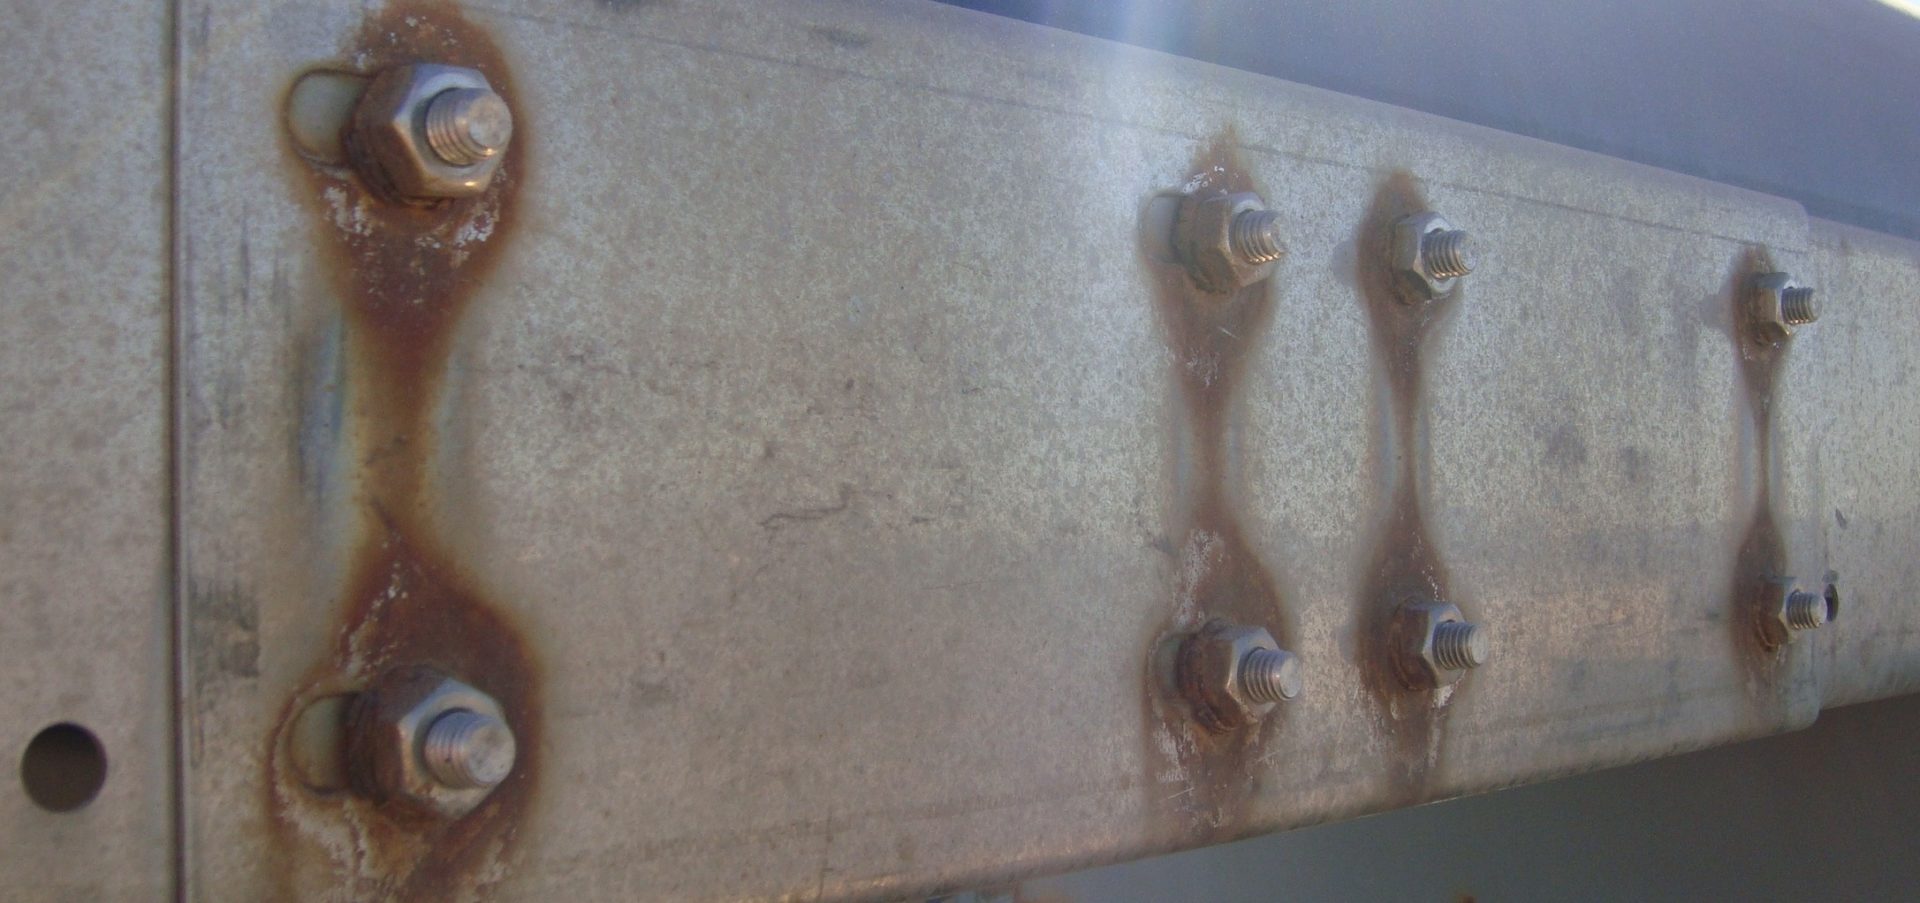
Whenever you put differing metals or alloys into contact together, you have the potential for galvanic corrosion – the more dissimilar, the more corrosion you will get. If you keep it dry dissimilar metals don’t react much but add water to the equation and bad things can happen. What is another bi-product of combustion? Water.

Blued steel thread, stainless steel or aluminium suppressor. Stainless steel barrel, aluminium can. Add water, get rust.

Get enough rust, you end up having to cut the suppressor off, and your barrel down. Essentially, if there is any chance of moisture in the system (you shot the rifle, it rained) – then get that can off, and get the barrel, the threads and the bore cleaned.

When asked about suppressor storage, a few people mentioned stripping the suppressor off, cleaning up the barrel (and can) and then thoroughly drying out and storing the rifle with a suppressor on, barrel downwards. This obviously reduces the potential for any reaction to take place, though personally, once I have already taken the suppressor off, I figure it might as well be stored separately anyhow.

Stainless Steel – but it stains?

My day job involves a steel fabrication workshop – so if there is one thing I will say, is that stainless steel should be written stain less steel. The gap between stain and less is the key. It will still stain. Many of our products (plug) are made out of 304 or 316 stainless steel. But even the 416 stainless that you will find in rifle barrels still has the potential to rust. Or ‘tea-stain’ as we sometimes call it. Remember, even if you have a stainless steel barrel – you still need to look after it and keep it dry – it’s just not going to oxidize and develop rust as fast as say, blued steel or cast iron will.

So, in summary – suppressor storage

So, while some will suggest cleaning the whole system then storing it upside down is OK, the majority voice suggests taking the suppressor storage means taking it off – and don’t forget to put some grease on the thread! There are quite a few reports of rusted threads from people leaving the cans on the end.

Next question then – how to clean the suppressor?

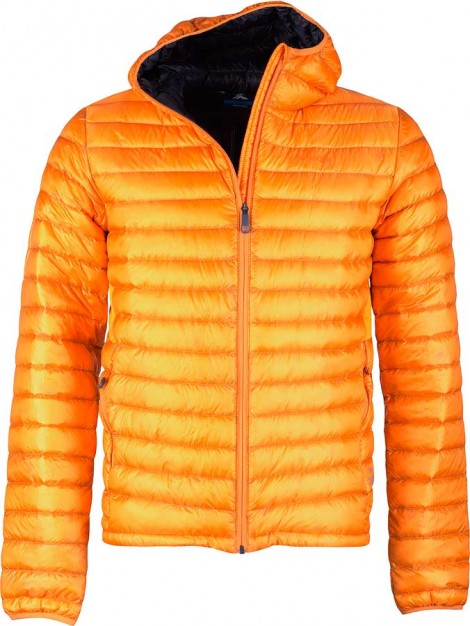
MacPac Supernova Hooded Down Jacket – Long Term Review

0

[fvplayer id=”32″]

Buy Once, Cry Once.

This would have to be one of my favourite pieces of clothing. I don’t actually own much, and subscribe to the idea of owning a few, well selected, functional and excellent pieces of gear, than an entire room full of jackets (though people visiting the man cave might not agree on my theory).

Over the years, there have been a couple of pieces of gear that have just stood out. This is most definitely one of them. With some caveats.

  • 102g of 800 loft HyperDRYgoose down
  • Pertex Quantum shell with Durable Water Repellent (DWR) finish
  • Soft elastic binding on cuffs and hood trap heat
  • Zipped hand pockets 
  • Highly compressible — packs into its own pocket
  • Weight – 280g

Fit and Finish

It’s a fitted cut – that is, slim. So much so, that it kind of needs to be close into the body on a layering system – because you won’t fit much under it. However, for me, that means a set of thermals, maybe a shirt over the top of that. Then the Supernova, then a jacket to stop wind/rain.

However, that doesn’t stop me wearing another of my favourites – the VRTBR Fleece – which, it occurs to me, I haven’t done a proper report on – so expect that as well soon!

The slim ‘fit’ is also a result of the high loft (800) goose down – it’s warmer, but they can make the overall top less ‘puffy’ than many down jackets and vests.

In Use

Basically, this is my insulation layer when things are getting cold. It’s generally always in the pack, in a waterproof bag, along with my sleeping bag and other items that need to stay dry. Sure, it’s in theory treated hydrophobic down, but why bother risking it?

When I get to camp, generally less active than I have been, the tarp/tent/hammock is set up, the sleeping bag comes out to un-compress – and so does the jacket. Within minutes, I am normally toasty warm. And I am a bit of a wuss when it comes to the cold (I shall blame it on poor circulation).

Around the house, it’s also often the first thing I put on in the morning when I get up at 5 am. I tend to get up early to do some mindfullness training, so the jacket keeps me warm until the family starts to rise and I change into my ‘day clothes’. The inner fabric is fine directly against the skin as well.

But – be careful

Being lightweight though, and utilising the thin Pertex fabric to do so, it can be a little fragile – at least, that was my finding when I went to pick up a tripod wearing it, and ripped, essentially the guts out of the jacket. However, the lads down at Twin Needle were quick to patch it up awesomely for me.

But… you can’t get a Macpac Supernova anyhow.

This jacket is now discontinued – I believe essentially replaced by the Icefall – which does seem to boast some significant improvements in regards to the insulation mix and design. Though I note, not available in the totally over the top blaze orange. 😉

Rifle Cleaning and POI Shift

0

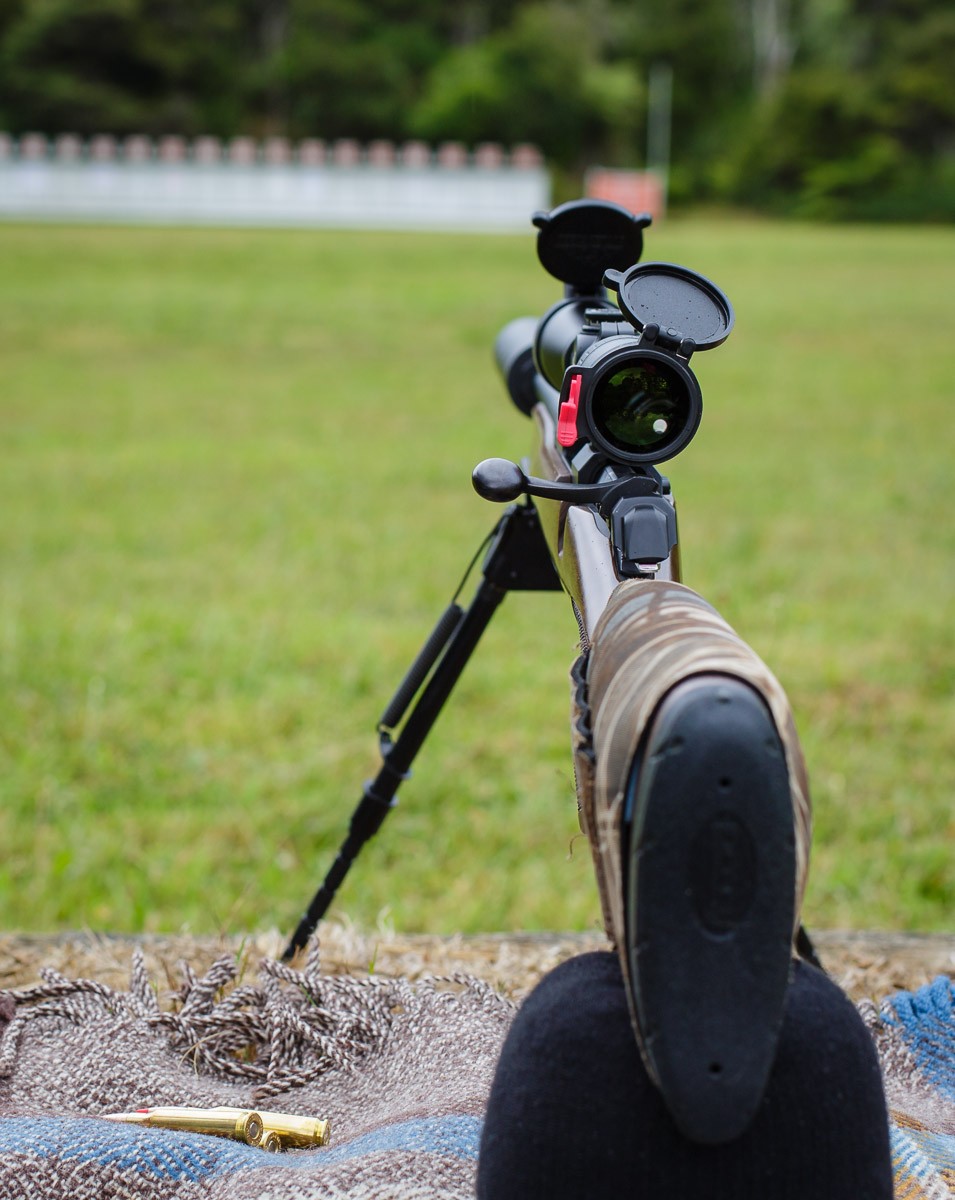
My X-Bolt. A day in the mist. Sucker for that blued steel though!

It’s better to ask a question like that than either not clean a rifle and end up with a pitted or worse, rust filled barrel, or, pull it to bits and injure an animal (or miss) because you know longer have a correctly zeroed rifle. So, glad he asked.

“First of all – good on you for realising these things like a clean after use.

Again though – how much? Who knows. The only real way to tell it to put it all back together and then shot it.For example – if it’s free floated on pillars in a chassis system, then, probably not. But for most rifles, when you screw it back together, whether it’s the amount of torque you put it back in with, the action sitting slightly different in the stock, or a decent bump on the rings/scope – it can shift.

It’s a great excuse to shoot the rifle some more anyhow.

I can’t tell you if my Browning does – because I tend to shoot it at least once a month, even if not hunting with it. Same as my Remington. So I haven’t needed to test them for shift.

I can tell you I can take the scope off my Browning, then reattach it and not have zero shift – because I was interested to know if it did so shot it to test it out. With the rings and base I use, it doesn’t pose a problem. Others might.

Cleaning a barrel will also shift POI, not much, but it will. On my hunting rifle, it’s not enough to worry about (it would still go where I expected it too) – but I do know that if I take the suppressor off, I could have enough change in POI to actually miss a deer.

Unfortunately, each rifle, each brand, each individual firearm will react a little differently. The only way to know is to test it.

If you were heading away this weekend and didn’t have time to confirm your zero, I would assume it would change, clean out the barrel and as much as I could without pulling the action out of the stock. Then strip it when I knew I would be able to test zero again.”