Home Blog Page 23

The Tikka Strata in 300WSM – one gun to rule them all?

0

Improving on a great base

I was still at Gun City when this model started appearing on the shelves. I was struck immediately by the camo. Yes. It’s a personal, borderline fashion thing, but I really liked it. The TrueTimber Strata Camo is available overseas in a variety of gear – and follows on the trend of digital instead of mimicry patterns. Mirco and macro patterning, you know, all the good stuff. OD Green fluted barrel adds to the look, and theoretically, protects the metal from corrosion.

The extra

The Teflon Coated bolt apparently further increases the ‘slick bolt-throw’ of the Tikka – but it’s one of the better actions out there for that anyhow. Does it make a difference? I don’t really know. Looks good, same as the TAC A1 – so all happy there. Glare reduction? I guess so – the animals likely don’t really care or notice. It comes with the larger bolt know, which I do like – again, features I am used too from the TAC A1 anyhow.

[fvplayer id=”53″]

The standard

It’s got all the good stuff from the standard T3X as well – particullarly the pistol grip that can be swapped out to change the angle. Something I really am wanting in all the new rifles I handle and envision shooting prone at any point. Trigger finger presentation is becoming more and more important to me, and I find myself doing the ‘floating hand’ on a lot of rifles because the cant of the grip is designed for a free standing shot, not lying down behind a rifle. Which, on something like a 300WSM – you are likely to be doing more of, than off-hand snap shooting.

A chat with Caylen Wojcik

0

Caylen Wojcik is a face that some of you will already know quite well.

I first came across him in the extras section of the Magpul ‘The Art of the Precision Rifle’ DVD – and still refer back to his section.

Since then, he has pretty much worked for and with the whos-who of precision rifle companies – Magpul, GunWerks, designing gear, producing content, and generally, becoming the Don of Modern Marksmanship Mechanics.

I could write up a long background of the who and what – but much easier would be to subscribe to his own podcast – The Modern Day Sniper – which has all the info you could ever want on who he, what he does and they why and how of it all.

He has recently released an online training program which you can check out over here – https://moderndaysniper.mykajabi.com/

I was very lucky to have some of this mans time. We talk mindfulness behind the rifle, lockdown dryfire routines, long-range hunting ethics and more. I stepped away with even more respect for the man, and look forward to our next conversation.

[fvplayer id=”44″]
[fvplayer id=”45″]

Members Only Q&A Session 19th September

0

We had a great session last night – Mark sent through some questions that we discussed and I wandered off into near philosophy land. The full video can be found below.

Same again next month! Thanks again for the ongoing support.

Subjects discussed:

  • The THLR Reticle and it’s practical used
  • Delta (and other) reticle designs that deviate from a simple repetative design
  • The Metric Wind Formula (Gun Number, Speed Wind Formula)
  • Projecticle weight – heavy vs light
  • Gun Weight – what is the best field gun weight?

Membership Required

You must be a member to access this content.

View Membership Levels

Already a member? Log in here

Balnagown Hunter Education 2018

0

Thanks again to all those who headed out – was great to share some knowledge and good yarns.

For those who missed it – make sure you subscribe and get notified when the next one is on.

Remember – if you are looking after a new hunting rifle, we can certainly help you out, and also have courses for shooting and more in-depth hunter training.

For those interested – prices for the Steiner Binos –

  • Steiner Observer 10×42 – $699
  • Steiner Ranger Xtreme 10×42 – $1199

Until next time, good hunting!

Photos from Jono

Processing Deer – Hunts Course

0

As part of the Hunts course I am currently attending, we went up to Balnagown Deer Hunts – they have 300 acres just north of Auckland, which is set up for Deer hunting and outdoor adventures. We were there to learn about processing deer – a somewhat important skill should you be out in the bush and actually manage to shoot one.

Hunts-Start

The owner, Richard, provided the animal, and the first lesson for the day was skinning and gutting the animal. The first stage of processing deer.

The key to looking after the meat from a fresh kill is getting it cool as quickly as possible while protecting it from the flies. The speed at which Richard had the skin removed and tidied up the carcass was incredible – it’s obvious the guy has a lot of experience with deer.

Hunts-Stalking

After the Deer was skinned, gutted and hung, we headed off for a bit of a stalk around the property.

Richards land is a mix of the open paddock and dense bush – so there is an opportunity to see deer out in the open, as well as getting the opportunity to practice your stalking in the bush. While we certainly heard them in the bush – seeing them was a bit different – though, as is often the case – you often had the feeling something was watching you.

Hunts-Processing

Returning to the hut, we began to process the animal – it was really interesting to see how all the muscle groups can be easily identified, and learning all the different cuts was certainly an education. Processing deer is certainly something that improves with practice.

I hope to head back up to Balnagown soon. Richard has a great set-up up there, as well as a wealth of knowledge, and a really good story to share.

I.F.A.K. Comparison Overview

0

Both of these pouches are what are called I.F.A.K. Pouches, which means, Individual First Aid Kit. In reality, I always carry a smaller kit on my Line 2 carry, so that even if I have to dump my pack, I still have the basics I need, also, I am multiday hiking, not fighting in a foreign war, so these two pouches are more for party first aid, and some additional luxury items I like to carry.

What appealed to me about these two I.F.A.K. pouches is their unique attachment system. Instead of permanently being fixed to a pack via Molle straps, these are both able to be removed quickly, because they are attached to a backer by means of Velcro. You just unclip the buckle and tear.

This means you can quickly take the pouch off the main bag, and put it where it suits you, making it much easier to access the contents. In my case, this means attaching them to my Mystery Ranch Mountain Ruck, back out of the way, but still being able to unclip and pull the I.F.A.K. away, without having to take the pack off if I don’t want to.

These two I.F.A.K. pouches serve a very similar purpose, so let’s have a quick comparison of the two.

Both of these pouches use a Velcro backing pad to fix the I.F.A.K. to your main pack, and both have safety retention that you need to undo before it will come off.

The Maxpedition F.I.G.H.T Medical Pouch has a Front Zipper Pouch a Front Velcro Pouch and these Red Handles, which makes identifying it as a medical pouch a little quicker. Inside there are simply two pockets and an elastic band to hold everything in. I would have liked to have seen more internal organisation, and a big challenge, for me anyhow, is that their Khaki Colour is still quite different to my pack and they don’t do a Coyote Brown.

The Condor MA41 Rip-Away EMT Pouch has Molle on the front and a Velcro area for attaching morale patches – this is where I plan on putting a Velcro medic’s patch to identify the pouch.

Quite different to the Maxpedition, it has a Tri-fold design, with heaps of organisation on the inside, both open and zipped pockets, and lots of ways to store individual items in the I.F.A.K. pouch.

This black pouch is one I have been using for a while, but they also have a Coyote ‘Tan’ version – and I am keen to see how it matches up to the Pack.

Comparing the both of them – you can grab the specific material details off the appropriate website, but I would say I can’t see either of them having any problems with build anytime in the near future.

Both also have D-Rings for a shoulder strap, if you want to carry the I.F.A.K. that way.

I personally have a preference for Condor’s EMT Pouch – it has more internal organisation and just seems a little bit more thought out. While I really like the outside pockets on the Maxpedition, I could always just add an MA49 EMT Glove Pouch onto the outside of the Condor. It would add a bit of cost, but here is the interesting thing –
While I won’t go into specific pricing because where you live, and therefore currency conversion and freight will affect it – but essentially, the Maxpedition cost me twice the amount of the Condor. So I could add an external pocket and still be winning, cost-wise, with the Condor I.F.A.K.

The other factor in Condor’s favour – is that they do a Coyote Brown. Maxpedition’s closest in this pouch is Khaki, and the OCD in me still wants to match it better to the Mountain Ruck.

So, I will continue to use the Black EMT I.F.A.K. Pouch for the meantime, and order a Coyote Brown version at some point in the future.

What are alternatives out there?

Sord, from Australia, has an I.F.A.K. pouch the same size and one around half the size as well.
Or the other option is using Tactical Taylor’s Velcro adaptor – which would let you turn any pouch into a tear away I.F.A.K. system.

Good Blokes – Inia Raumati. Emergency doctor, hunter, wise chap.

0

We talk about bush first aid (and the reality of things), trauma what happens and working in it, the mischief blokes, young and old get themselves in you, things he has seen change in the ER, alcohol, drugs and of course meth, men’s health, physical and mental, the concern of firearms owners and asking for help, and a pile more.

It’s a great interview, a bit of a slow burning but still chock full of info. Timely.

Inia is currently dealing with the results of Covid on the front line. Keep well bud, stay safe, and hopefully you don’t have too many dickheads to deal with! 😉

https://www.stuff.co.nz/national/health/80337235/emergency-room-doctor-urges-men-to-talk-about-health-before-its-too-late

https://www.nzherald.co.nz/nz/news/article.cfm?c_id=1&objectid=11651625

9 Tips for Dealing with Buck Fever

0

What is Buck Fever?

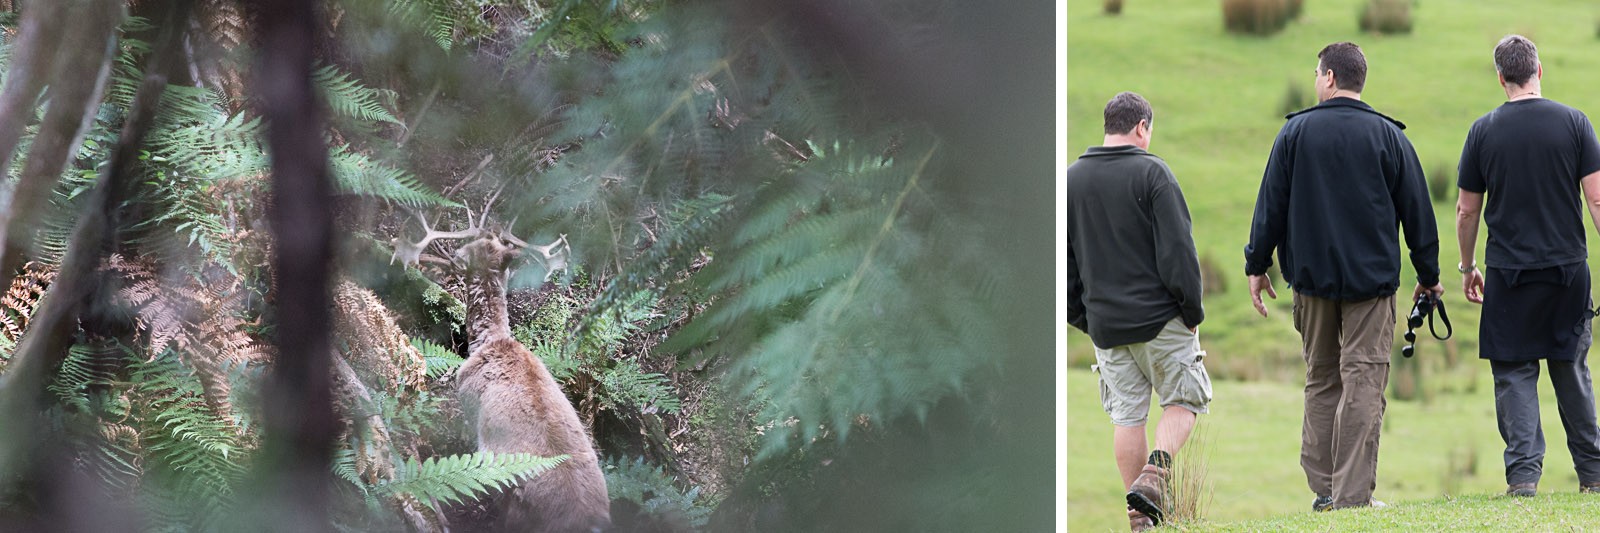
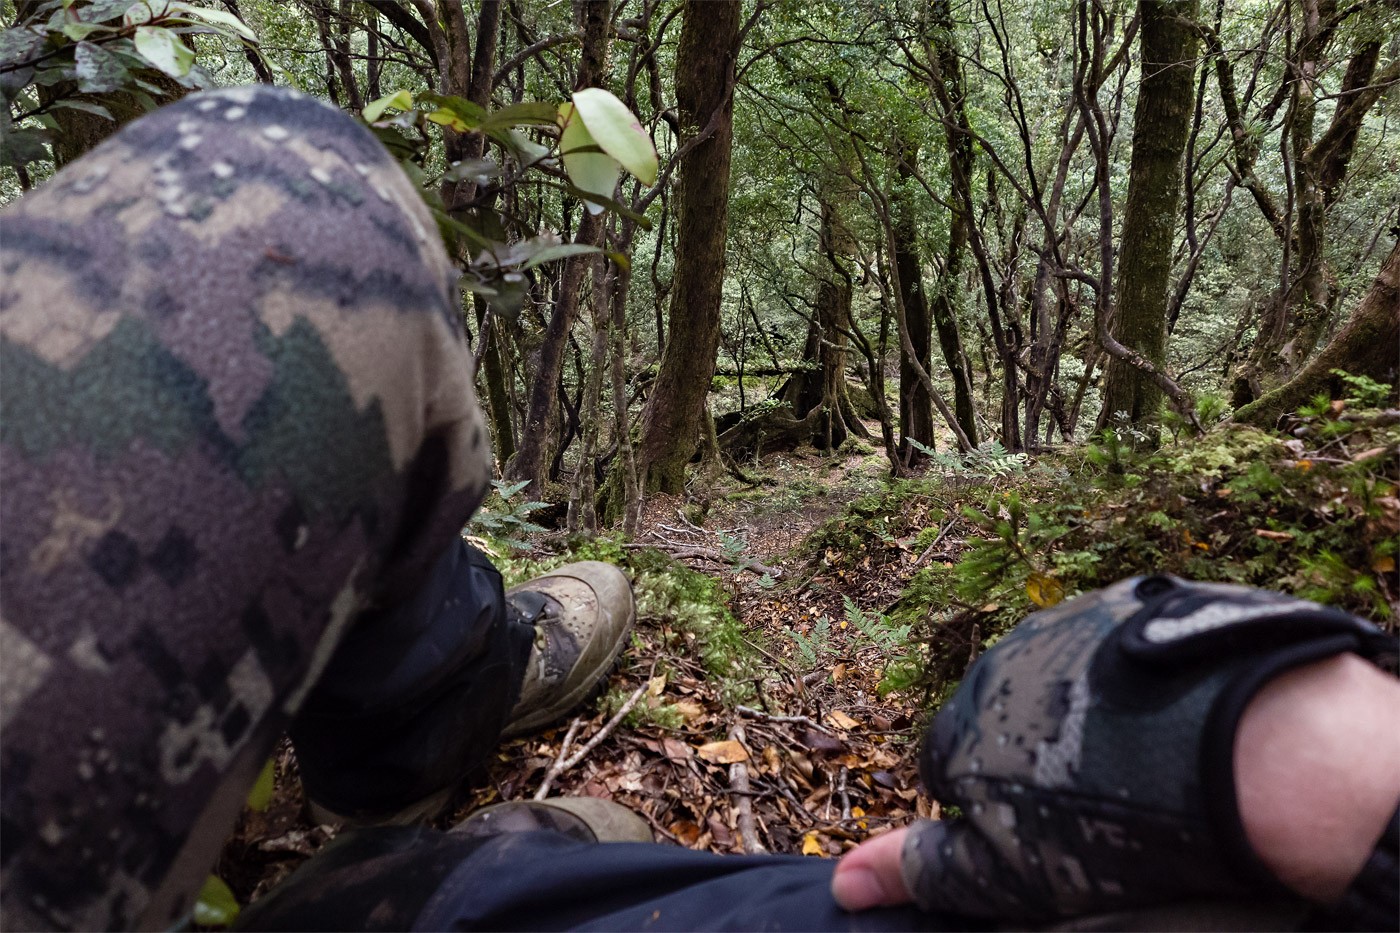
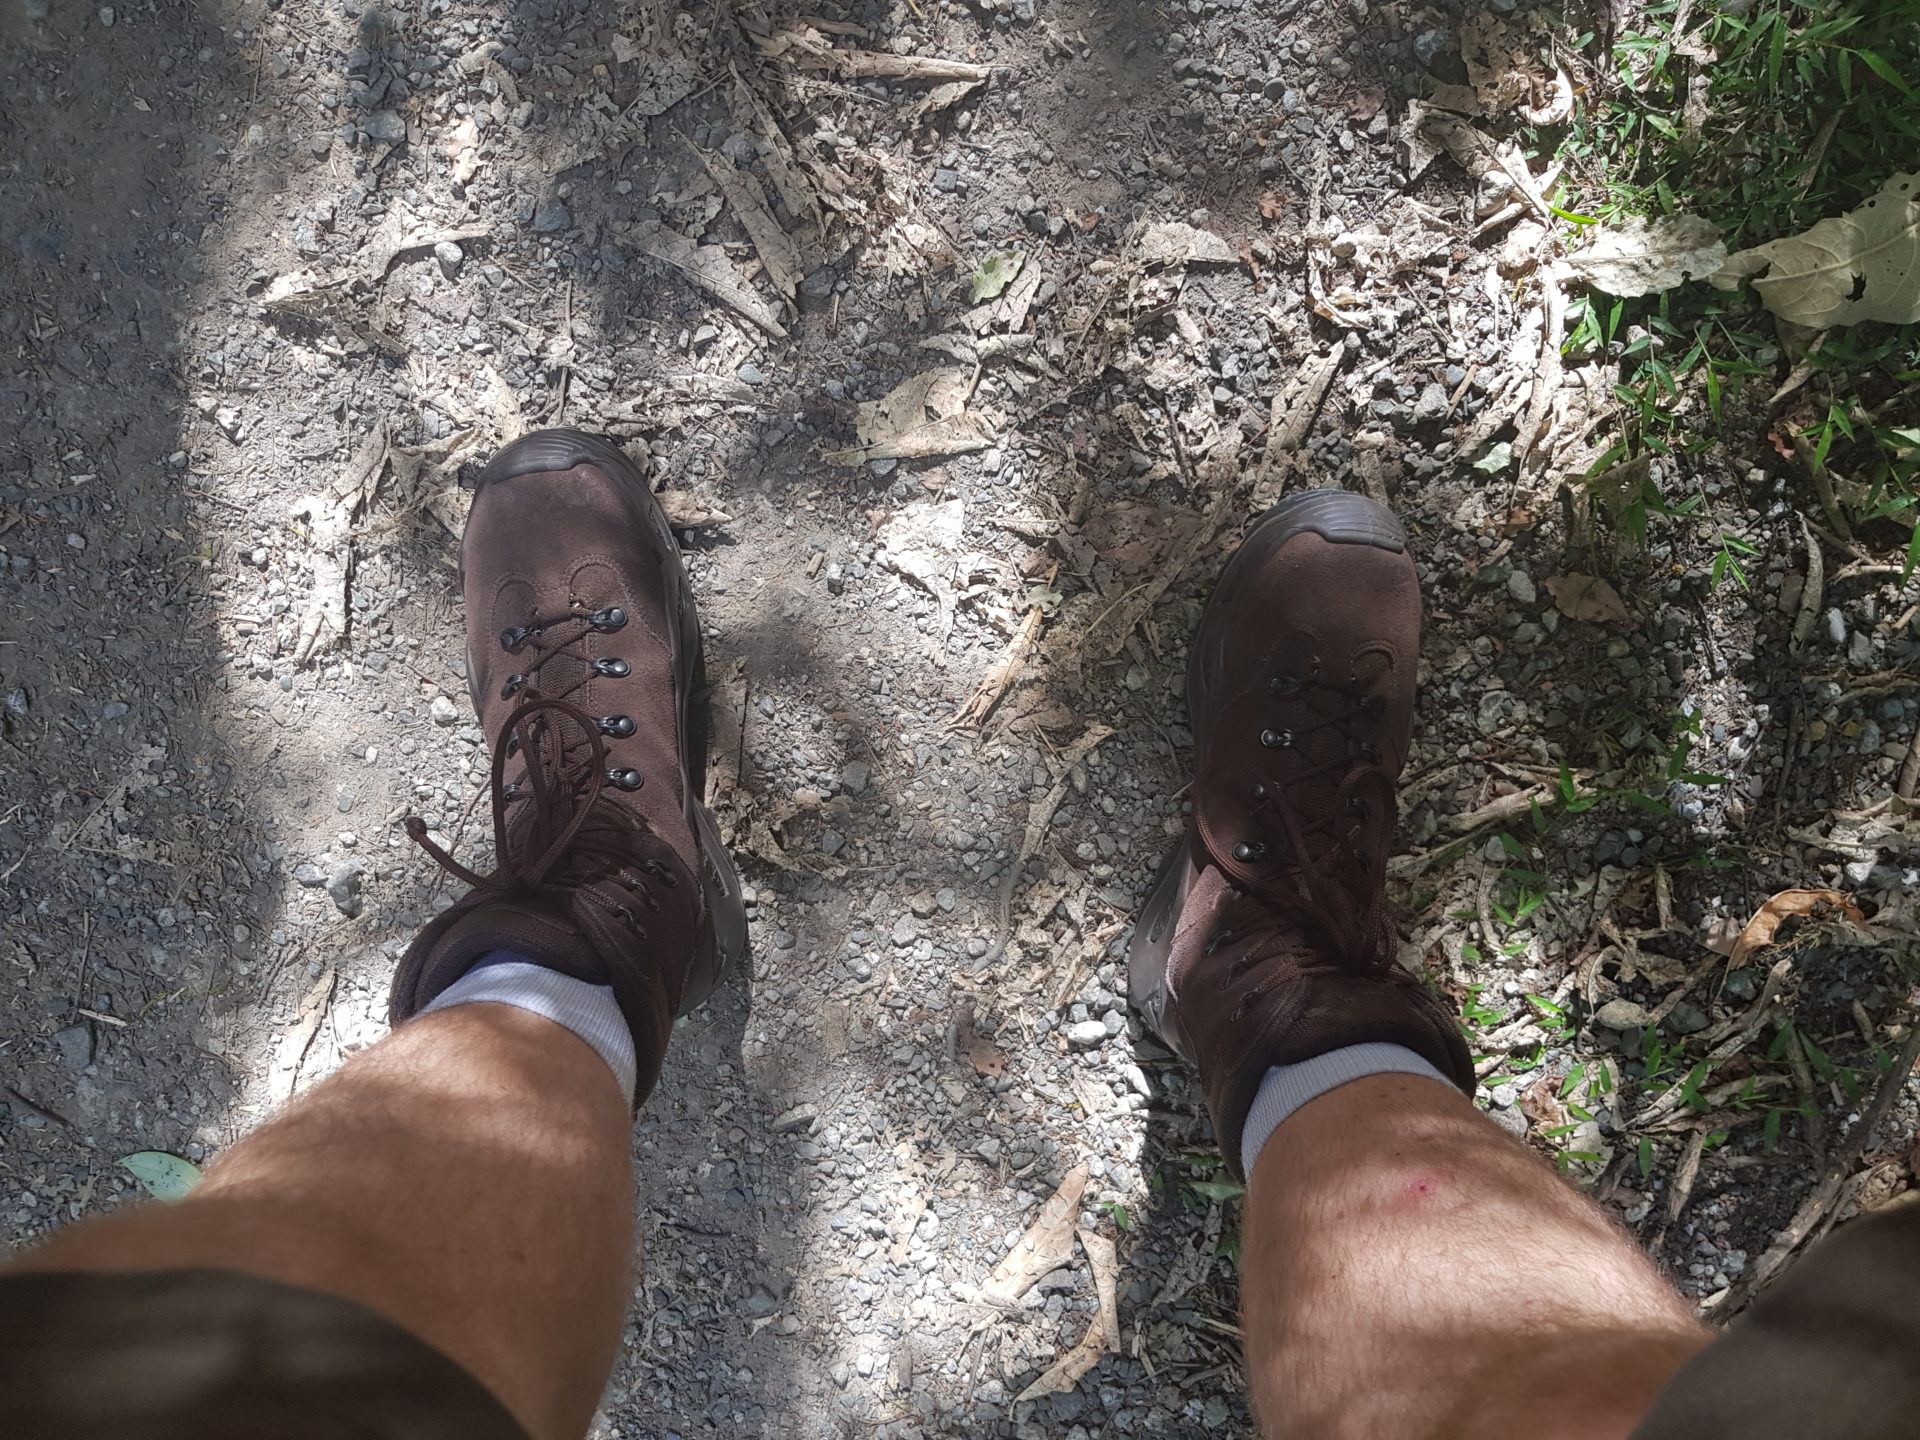
You have been sneaking through a bush trying to remain silent as possible and become hyper aware of any sound, any movement in your immediate surroundings. You are looking for a sign, any sign that your prey is close. A crack of a branch! Your vision zooms in on where your ears believe the sound came from. You can hear your heartbeat thumping like a drum, it’s getting harder to keep your breathing at a normal rate. Movement! You are sure you saw something over there in the bush! Was it an animal? You freeze. Probably holding your breath. A thousand and one thoughts start screaming through your head. Was it an animal? A deer? Doe or Stag? How big is it? Does it know I am here? Is my gun loaded? Do I have the safety on? What is my scope zoom set too? What a story this is going to make. I hope it’s a decent size. Did it hear me? Where is it? Buck Fever.

Your body, which is doing what our bodies were designed to do since the days of our ancestors, is going to take all this as a trigger to get ready for action. The fight or flight mode. In essence – it’s going to pump the system full of adrenaline – which, while fun, may not be the best thing to happen just when you are going to need to perform some very important decision processes and follow that with some fine motor skills.

How can Buck Fever affect the critical moment?

Having adrenaline surging through your system can be fun. You can get a heightened sense of awareness and a burst of energy, but it is also potentially going to make you form snap decisions, and in many cases, it is physically going to give you the shakes. Not so good when you are holding a loaded rifle, and potentially about to aim and shoot at a target.

I say target because the first thing we really need to do is positively identify what it is we are shooting at. This is probably the most important aspect we need to be aware of.  Of the incidents where a hunter has shot another human being, a lot of those involved will cite Buck Fever as a factor that influenced their decision. Many will swear, black and blue, that what they saw, was a deer – not a person. This, I believe is one of the most important reasons we need to be aware of, and control, Buck Fever.

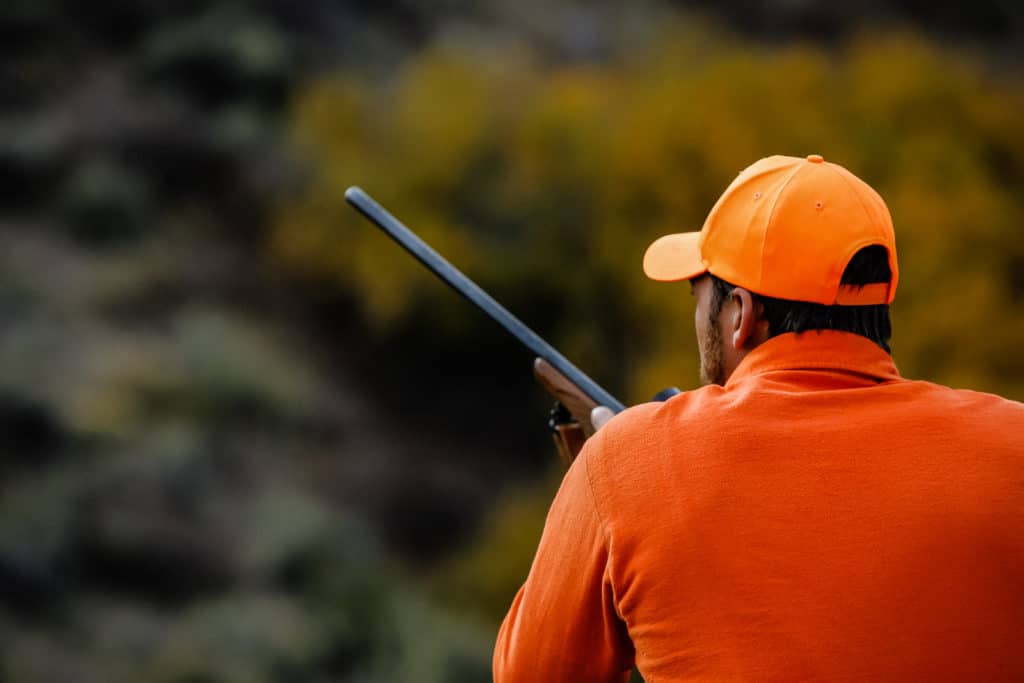
While we should all be considering wearing Blaze Camo when out in the bush, ultimately, it’s the person with their finger on the trigger that needs to take responsibility for ensuring that the target isn’t another hunter – or for that matter, anything that shouldn’t be shot at.

By the time people are in the bush, they are already amped up and ready to shoot that deer. They are looking for the deer – looking for any sign that they can go home with either some meat or a trophy. Any sound, any movement could be that next story to tell the mates. People need to be aware of this state of mind. When it gets to this point, I feel people need to stop for a moment and reframe the question regarding target identification. The first thought that springs into your head shouldn’t be, ‘is this a trophy?’, it should be – ‘is this a human?’. This becomes harder with adrenaline coursing through your system.

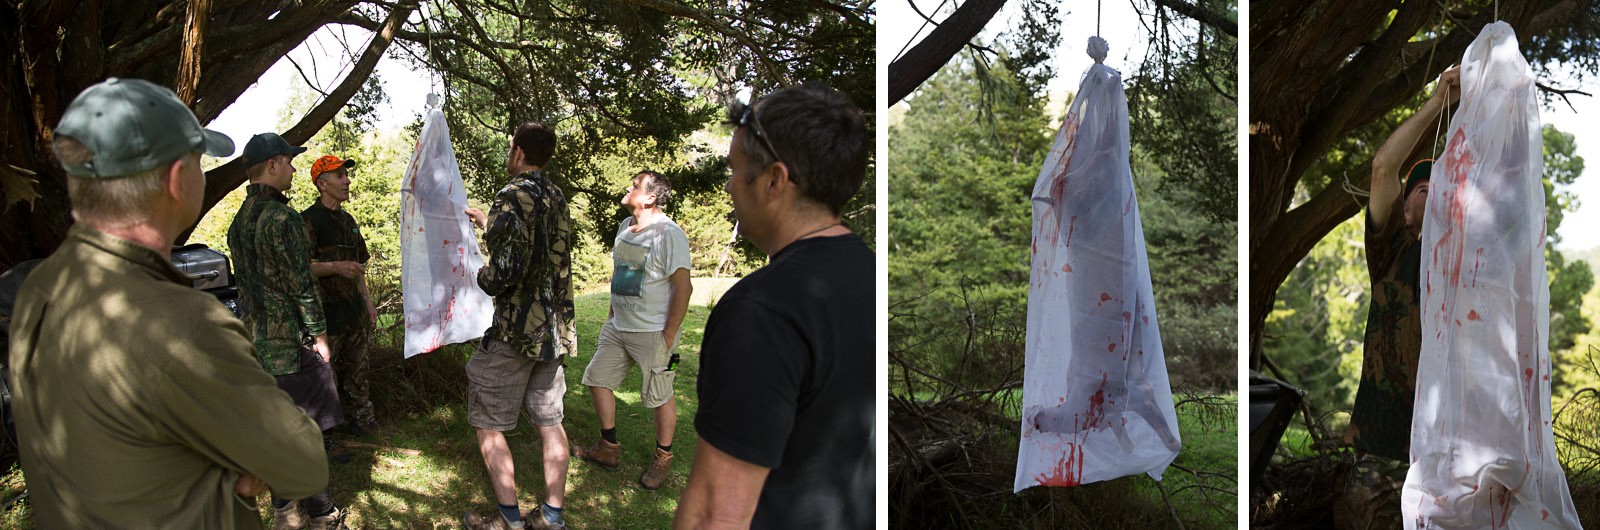
Secondly, a clean, humane kill requires precision – we are aiming for either the vital organs or the front shoulders of the animal. This is known as the ‘boiler works’ – and differs in size from animal to animal. Find out how large this is. Set up an appropriately sized target at the range. See if you can consistently put rounds into it. Now, run on the spot for five minutes, do 10 pushups, 20 sit ups and see if you can still remain that accurate. Imagine you have been climbing up a ridge line, carrying all your gear when this shot presents itself. Now add in the adrenaline and the shot suddenly becomes that much harder!

How can we reduce Buck Fever?

Slow Down

Start by slowing things down.

The reality is, despite what your brain may be telling you – you probably don’t need to rush as quick as you can to shoot that animal. If it doesn’t already know you are there – then any sudden movement is going to spook it and cause it to rush – suddenly you will have a moving target or no target at all.

If you spot a likely target, take a moment, a slow breath. Is it really potentially a person? Is it an animal I want to shoot. Note the order of that questioning – it’s important. Take another slow breath – mental check – what am I going to do next?

Hopefully, at this point, muscle memory will kick in a bit – that is – all the practise and dry firing you have done in preparation for this moment will come into play.

Confirm the Target

Again. No questions here. If in doubt. You stop.

Think it Through

How are you standing? Is it suitable? Are you able to get into a more supported situation easily, without alerting the animal?

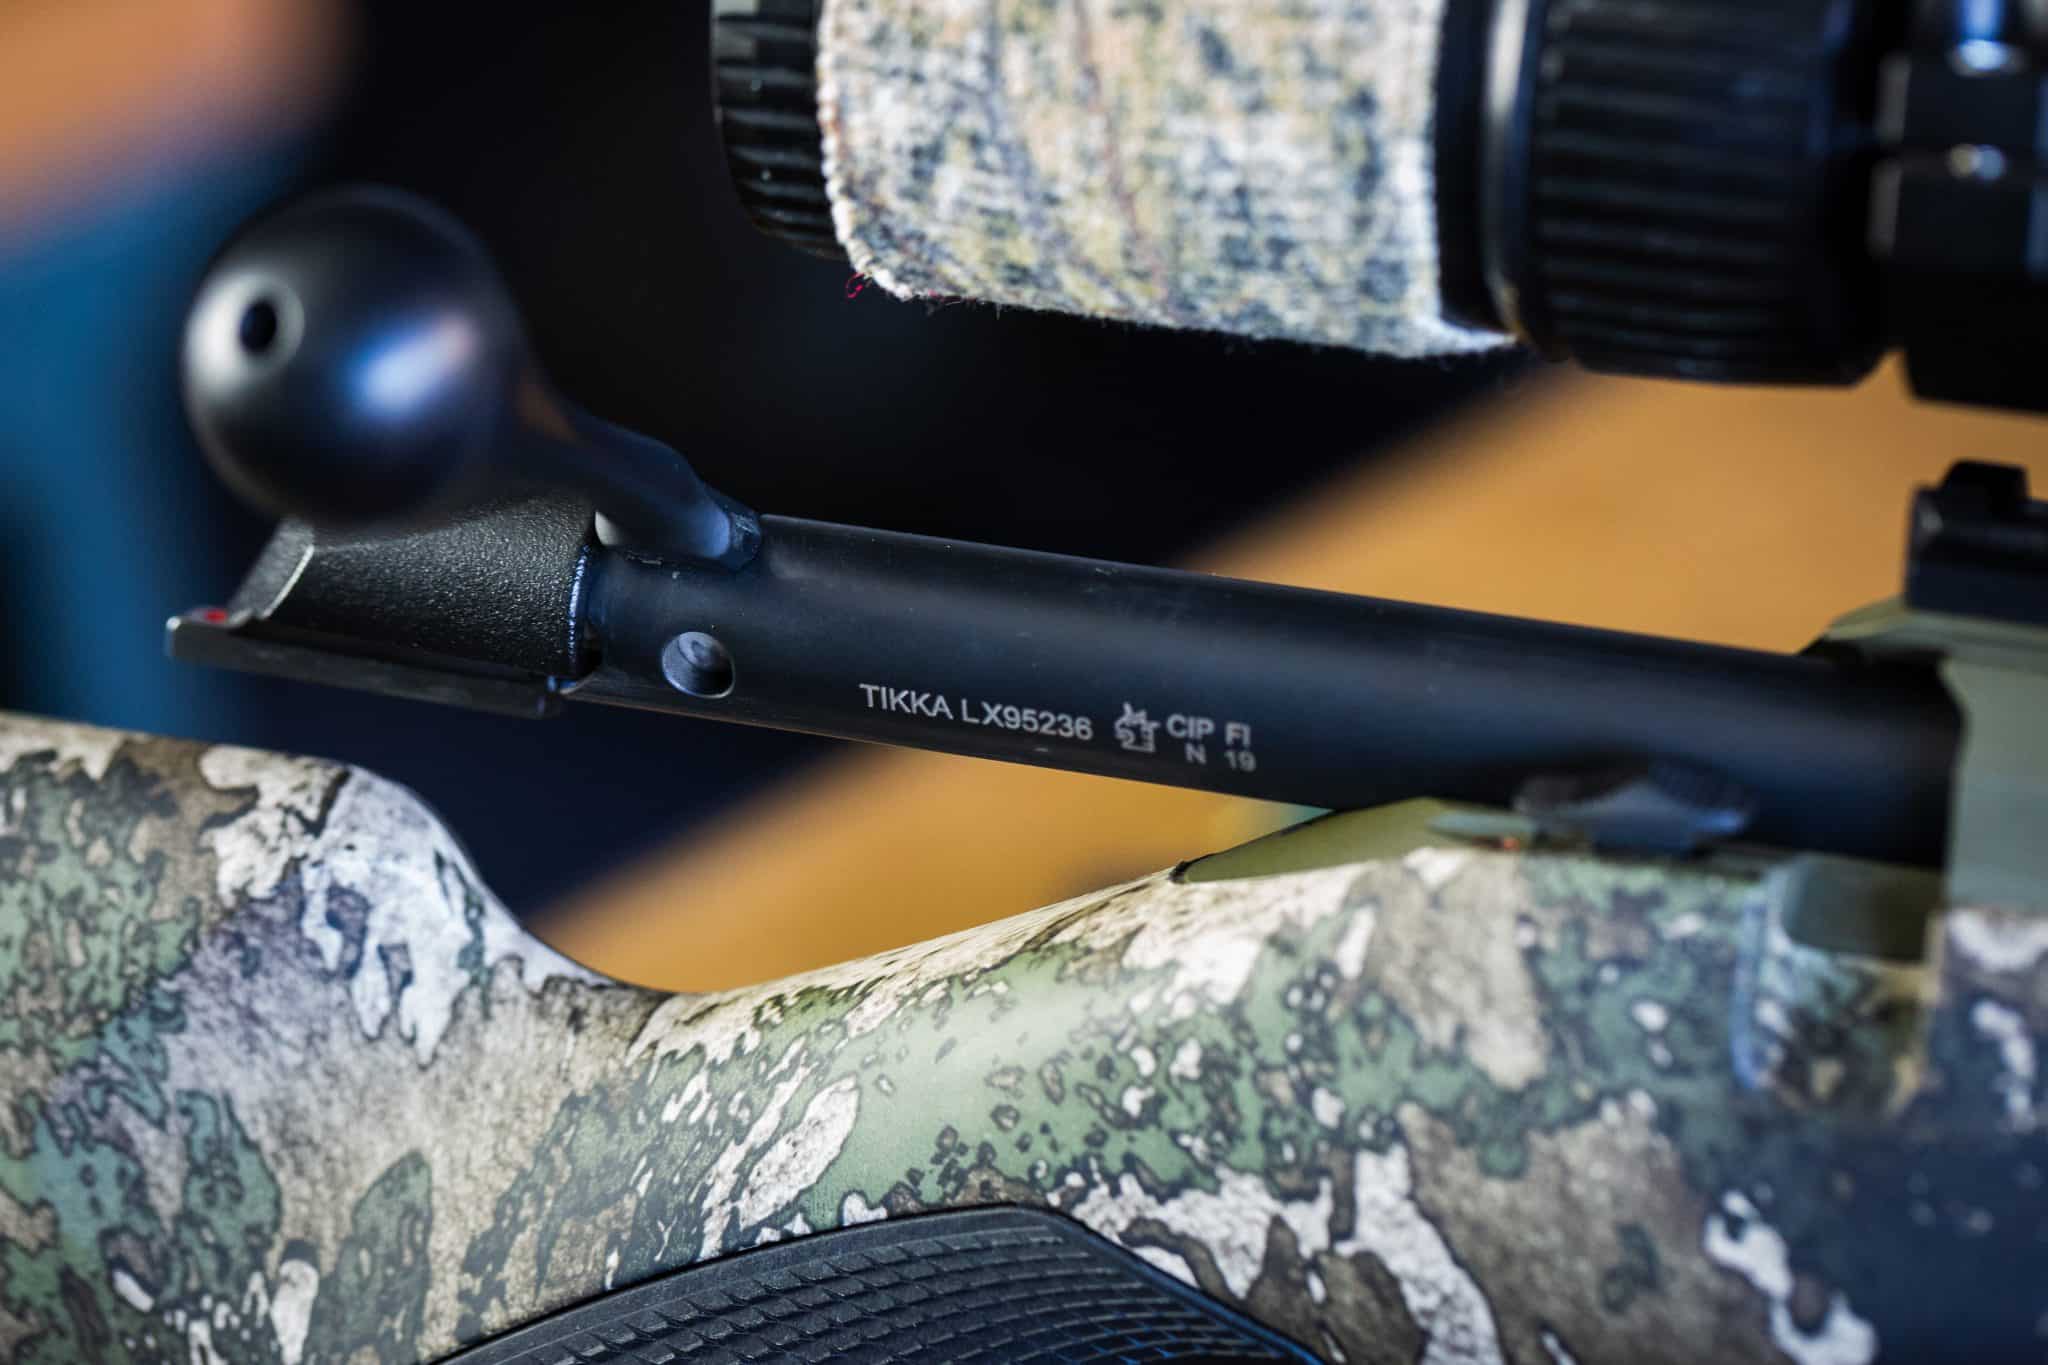
What is the status of your rifle? Close the bolt, slide the safety while smoothly bringing the sights up to your eye.

Get your sight picture, wait for the natural swaying to settle at your natural point of aim. Fixate. Aim at the animal, aim at a fold in its skin, aim a single hair on its body. Need to adjust? Move the body, don’t force the sight around with muscle tension. At this point, if you find you are focusing on the animal, or even worse – the trophy – the antlers, then you are heading towards a bad case of buck fever. Focus.

Breathe

Slow breath in, slow breath out, don’t just sit/stand there and hold your breath. Breathe.

In a normal situation you wouldn’t hold or modulate your breath – so breathe normally. When you are comfortable, wait until you come into the ‘bottom’ of your natural respiratory cycle, in that pause between breathing out and breathing in again (there is one) – start to press the trigger smoothly to the rear.

Work it Through

Take it one step at a time. Keep your head in the game and concentrate on exactly what you are doing. Concentrate on being quiet, then move your concentration to getting a good rest or shooting position. Finally, concentrate on squeezing off the shot and stay fixated on your aiming spot. If you focus on aiming while wondering if the safety is off, you’ll divert your mind back to the safety to check on it, and then back to the aiming phase, and over and over again. This causes confusion – which can lead to mistakes. Go through the steps. If you don’t know the steps, you need to practise them more.

Buck Fever Prevention

Practice, realistically.

I would like to think, before you head out to shoot at a living creature, you are already fairly confident that you can hit an appropriately sized target, and do that in a consistent manner. If you only pick up the gun once per year, just before the roar, you are a danger to yourself, your mates and the poor animal you are potentially about to wound, rather than kill humanely. Besides being genuinely fun, spending some time at a range removes the ‘excitement’ of shooting the gun. You can practise going through the routine of shooting, getting comfortable with the equipment, and knowing that when you do press that trigger – the bullet is going to go where you want it to. Fewer things to worry about = less Buck Fever when that animal is standing in front of you.

Go to the range with a purpose. Anyone can just turn up, shoot at a target, look at that target, then walk away. Have a plan. I would go so far as to suggest that you write down the drills you would like to practise. Start with dry fire, make sure your positions are sound, shoot some groups, evaluate, repeat.

Don’t just shoot everything in prone – once you have your rifle zeroed in, you need to practise shooting how you will be shooting in the hunt. That likely means either offhand or potentially kneeling. Unless you know you are going to have the distance to set-up a tripod and lie down behind it each time, you shouldn’t be practising that way. This isn’t target shooting we are talking about.

Remember, when you are out on that range, it helps to also imagine that you really are shooting at an animal. In your mind’s eye, that bullseye should be the critical hit area on your chosen game. Consider deer/animal shaped targets – shooting a living animal is going to be very different to shooting a paper target – start getting your head into the right frame of mind. This might sound goofy – but I have heard of people even practising shooting at their TV – put on a hunting program, line up those animals, and go through the process. As always, safety first.

Go all Zen on it. Imagine coming across that massive trophy animal in the wild. What is the process you are going to go through, take it one step at a time? Visualise getting in position, bringing up the rifle (you closed the bolt and checked the safety, didn’t you), sighting the animal, breathing, shooting.

Plan Ahead

Go into a hunt assuming you are going to be successful. It puts you in a much better state of mind. Plan for success. Make sure those knives are sharp, you have enough storage in the deep freeze for all the meat you are bringing back – even plan the first meal. By taking these steps you are preparing your mind and subconscious to expect that animal – no surprises. If you don’t take those steps you are subconsciously telling yourself that you don’t actually think the hunt will pay off. It’s a self-fulfilling prophecy; you think the hunt is doomed so it is. You are setting yourself up for failure. If you really don’t believe you will have a chance for a nice animal, then your nervous system will be so shocked when one shows up that it may just shut down.

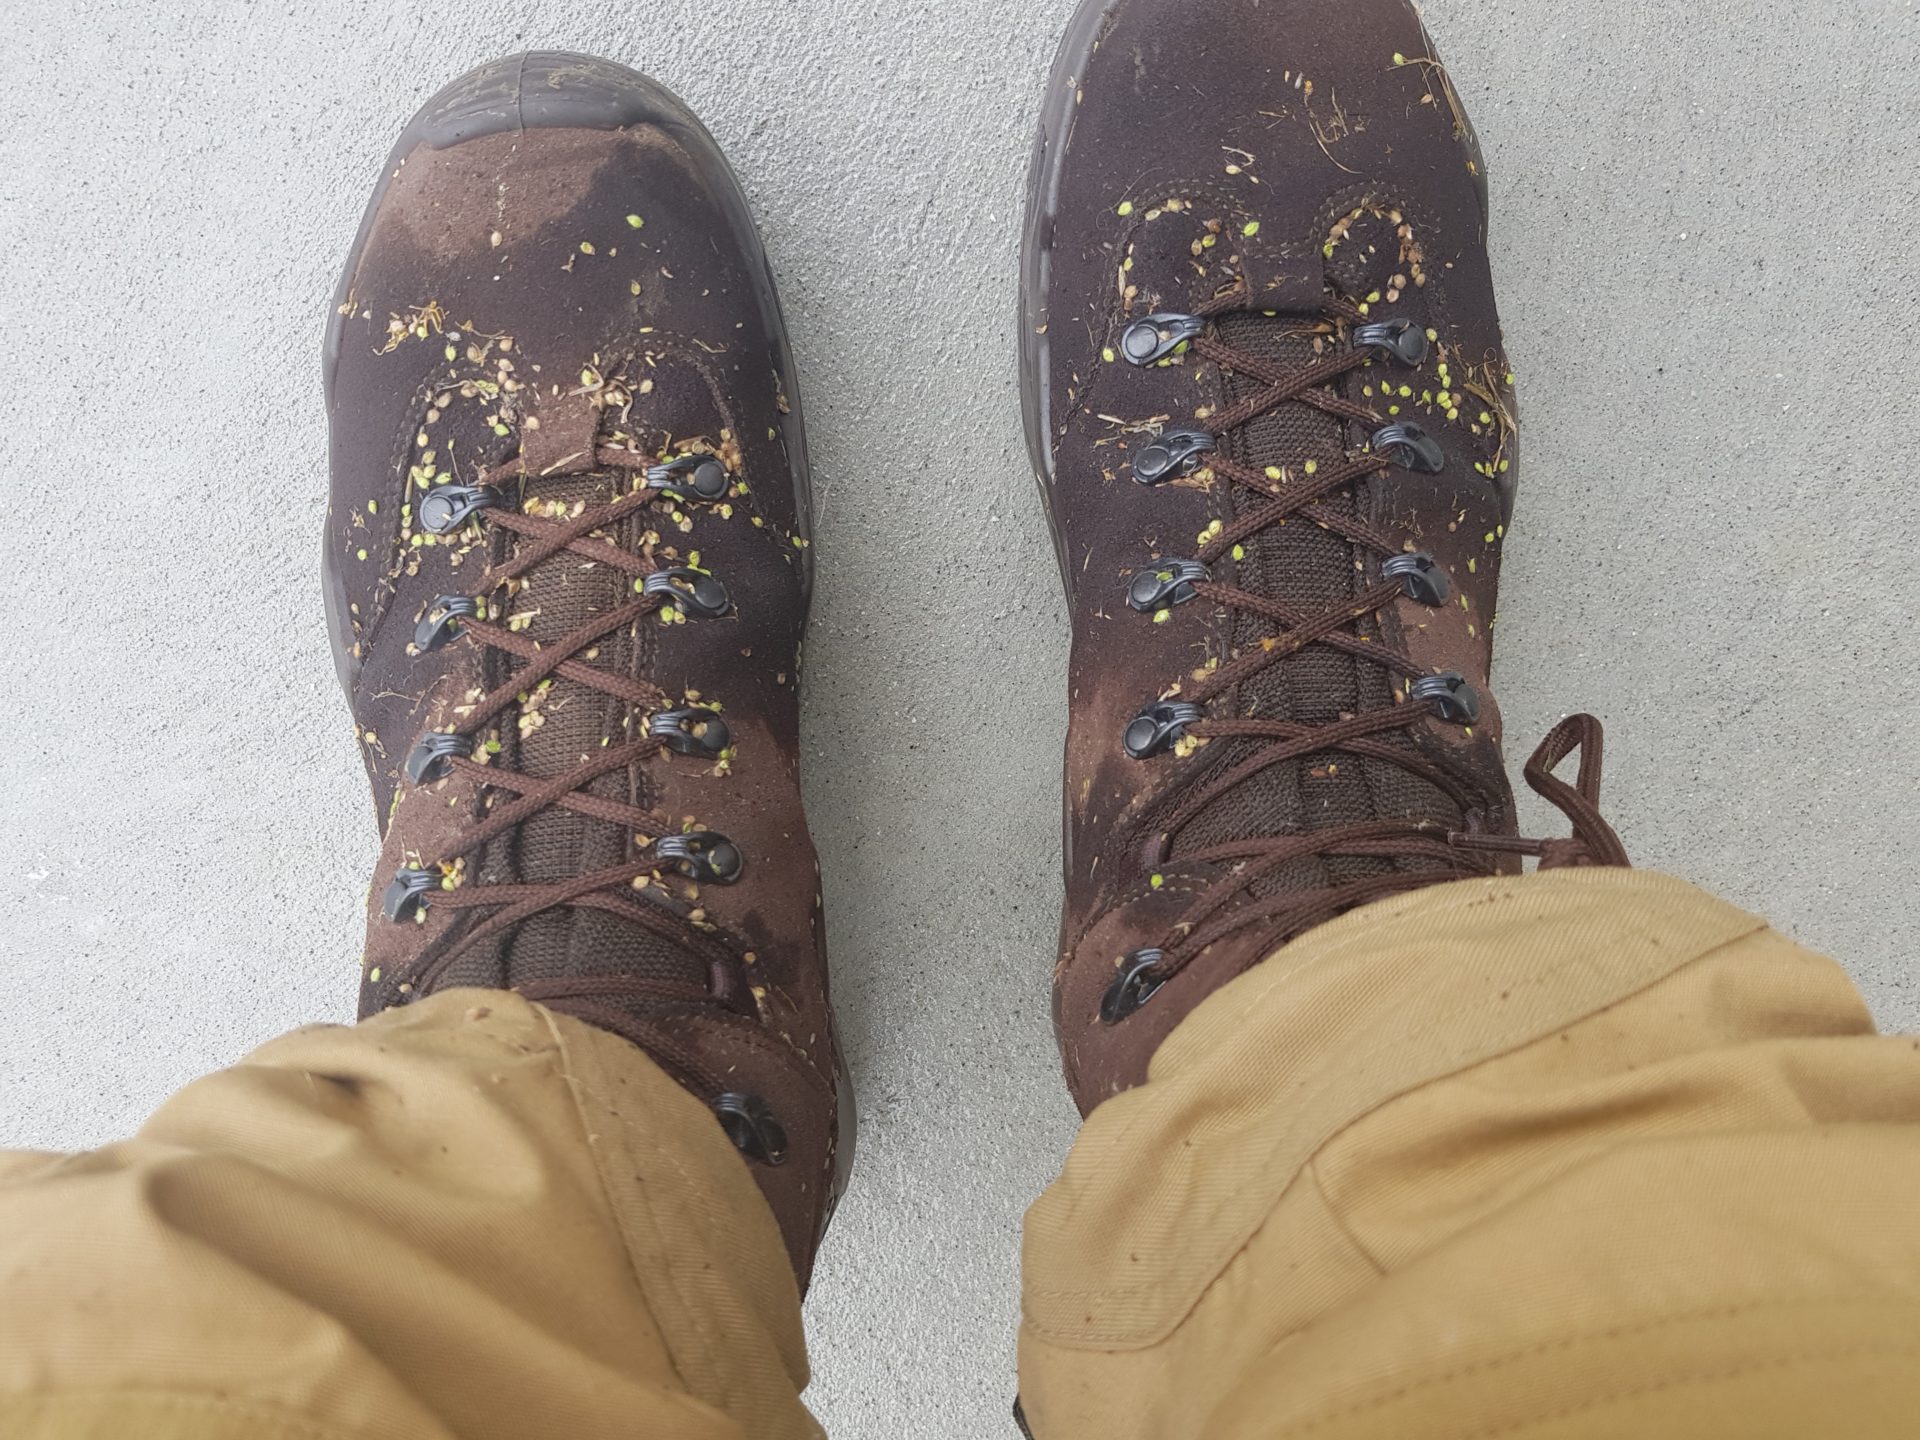
Get out into the bush more – you don’t always have to have your gun on you – sometimes just get out there and enjoy walking in the bush. Pretend. Imagine. Walk slow, looking for animals, for sign. Practice stealth and observation. All these things make you more comfortable in the situation, make you used to the slightly heightened sense of being you will be in anyhow.

Coffee

Back off on the caffeine.

Many of us (definitely myself) require a coffee to get the heart going in the morning. Just don’t make yourself hyperactive on the stuff – you are going to have enough stimulants from adrenaline anyhow. Remember, it’s not just coffee – any drinks with caffeine are going to make you more on edge. You don’t need Buck Fever on top of the jitters.

Focus Focus Focus

Remember, when that Buck Fever starts to creep in you will need to slow down and remind yourself what to do. Set yourself up correctly by practising things beforehand that are going to help you remember what to do, or what not to do in the heat of the moment. If you need to – make a step by step list and stick it on your stock. Keep breathing.

Buck Fever is controllable – it’s simply your brain forgetting what to do in the excitement and going on autopilot. Autopilot is something that you don’t want to be on, in the bush, with a firearm. Focus. Breathe. Relax.

Hunter Safety During the Roar

0

It’s the one time of year where a pile of testosterone fueled males chase around after another bunch of testosterone males in the bush.

The Bucks are starting to claim their territories and make some noise, so it’s the time of year when guys start planning their big trip for the year. It’s a great time to be out, but because it’s also the busiest time of the year, it plans to take some extra care out there. Here are some tips to help you stay safe and make the most of the Roar Season.

This is obvious – but the better you plan, the better your trip is likely to be.

This doesn’t only mean figuring out how much food to take, but also doing a bit of research on the area, the number of other hunters likely to be around, the weather – all these details that will contribute to the success (and comfort) of the trip.

For some people – it’s simply going to be another year in a spot they have been heading out to for a long time, but for others, it might be either a new spot and for some, it may be the first Roar out altogether.

There are heaps of resources out there – DOC is a good start, as well as the online forums – FishnHunt and NZHS. But of course, the best resource is a local. If you know someone from the area, a really good investment is a couple of hours spent asking their opinion and advice.

If the only time you shot your rifle is during the Roar, then you really need to make sure it’s all functioning correctly before you take it out.

Most firearms accidents1 are due to lack of maintenance. Get that rifle out, give it a clean and oil, check there is no rust, pitting or worse in the barrel – especially if you never cleaned it before putting it away last year.

This would also be a good time to get down to the local range and confirm that the rifle is functional and zeroed correctly. The last thing you want is to lose your opportunity because your rifle isn’t shooting where you think it should be.

There are valid reasons for choosing either hunting in private land or going and investing in securing a private hunting block.

In regards to the public – it’s cheaper (free) and some feel that an open (unfenced)  area is the true test of the hunter.

While this may be true – there are also valid arguments for private. In theory – you should be the only hunters on the block – upping your chances and increasing the safety factor2. It may cost, but if you are time limited – going into a block that is known to have animals in it may be a good investment.

Everyone has their own preferences when hunting and the worst time to figure these out is in the middle of a stalk. Take time before heading out3 to clarify any points. This is especially important when hunting with someone for the first time.

Things to discuss would include –

  • What animals/type/size you are after. If someone is hunting for meat vs looking for a trophy stag, you might decide that it’s not worth spooking all the animals in hearing range if you come across a less than ideal animal. Do you just want one animal and then get out quick? Do you want to maximise time spent out – taking just the choice cuts?
  • Only one loaded rifle at any time. What is the state of the unloaded rifle? Some guys are comfortable with a bolt closed on an empty chamber, others may prefer mag out – discuss this first – that way you don’t have one uncomfortable group member.
  • How long you are out for – how bad the weather has to get before you pull the pin.

Anything that you can think of – it’s better to discuss and agree in advance than have to figure it out on the fly.


This is probably a post on it’s own.

If you don’t know these – how do you have a firearms license?

1. Treat every firearm as loaded

Check every firearm yourself.
Pass or accept only an open or unloaded firearm.

2. Always point firearms in a safe direction

Loaded or unloaded, always point the muzzle in a safe direction.

3. Load a firearm only when ready to fire

Load the magazine only when you reach your shooting area.
Load the chamber only when ready to shoot.
Completely unload before leaving the shooting area.

4. Identify your target beyond all doubt

Movement, colour, sound and shape can all deceive you.
Assume colour, shape, sound, and shape to be human until proven otherwise.

5. Check your firing zone

THINK:  What may happen if you miss your target?
What might you hit between you and the target or beyond?
Do not fire when you know others are in your firing zone.

6. Store firearms and ammunition safely

When not in use, lock away the bolt, firearm and ammunition separately.
Never leave firearms in a vehicle that is unattended.

7. Avoid alcohol or drugs when handling firearms

Good judgement is the key to safe use of firearms.

Don’t get separated

One of the most common causes of hunting accidents, where someone with a gun shoots someone else, is related to the simple fact that the hunting party had been separated maybe to ‘flush out a big red’ and the one with the gun ended up misidentifying and shooting his hunting buddy.

Apart from the fact that the shooter had obviously failed to positively identify his target before pulling the trigger, it’s also important to ask why you would pull the trigger when you knew someone was out there, just not where.

If the group gets separated, there should be a rule – no shots fired until everyone can see everyone again.

This isn’t to say if you are on a party hunt the group can hunt separate areas. It can actually make sense to go off in smaller or individual parties – meeting in the evenings back at base camp. If you do this – set a really obvious physical divider between the hunting areas – a ridgeline works well – to ensure that you don’t end up hunting in the same space.

If you poach. You are a wanker. Not only are you breaking law, you are also likely damaging another person’s property and livelihood, as well as putting others in danger.

Remember, it is illegal to hunt on conservation land after dark (1/2 hour after sunset and 1/2 hour before sunrise). No spotlights, no night vision (where is the fair chase there anyhow?)

Remember to get a permit – they are free – so no excuses. Anybody intending to hunt on Public Conservation Land must gain a permit first and check whether there are any local hunting restrictions. A DOC permit can be obtained by visitingwww.doc.govt.nz/hunting-permit.

Yes. I realised last years hunting fatality involved a gentleman wearing a blaze vest. That’s not actually enough reason not to wear one.

It always remains the responsibility of the person with their finger on the trigger to positively identify their target – have a read of my article about Buck Fever for some tips on this – but we should also be doing all we can to help identify ourselves in the bush.

I am a big proponent of Blaze. In some parts of America, it is mandatory. Not only does it help identify you as not an animal, it also makes spotting your hunting partners really, really easy.

Just get some and wear it. Research indicates deer can’t see the orange versions, and it’s irrelevant what you think you look like in it.


  1. where the firearm itself is the cause 

  2. in fact, I know more than a handful of older hunters who simply won’t go into the public blocks at all during the Roar anymore 

  3. say, when you get together to plan the trip 

Lightweight, supportive boots. Lowa Z-8S GTX

0

I am not doing huge amounts of hunting at the moment, I was actually, basically on the lookout for some good field shooting boots – the fact these are also going to be great for the hunts and client work I do, is awesome!

Rethink, rethink, rethink.

There are plenty of different trains of thought when it comes to footwear. Some like heavy and dependable, some are going lighter – to the point of wearing running shoes out into the bush.

The general train of thought, especially with guys working towards lighter and lighter setups and packs, is that you can get away with a lighter boot/shoe as well – but – I personally have found, that as soon as I put a pack on, say with competitions worth of ammo, a days food, spotting scope, tripod, camera gear and more – the notion of a walking around all day in a pair of shoes isn’t that appealing. After the first roll of the ankle on a hillside – even less so.

I wanted a lightweight boot, that still provided me with plenty of lateral (ankle) support when carting a pack, but was light enough that I didn’t feel like I was walking around in a pair of snowshoes all day.

Hunting & Fishing to the rescue!

While in chatting with the guys at Hunting and Fishing North Shore – I thought I would check out the boots on offer. I was actually looking at another brand that I have worn for a few years when I struck up a conversation with one of the owners there.

His suggestion, after asking what I was planning on using them for was the Lowe Z-8S GTX. He was wearing a pair at the time (actually the Z-6S GTX by memory) as well a couple of other staff.

I was aware of the brand, and popped off to do my due diligence (i.e. reading all and every review I could online), and, a week later, in true form – picked up a pair while on the way to walk around a hillside for a day with a heavy pack on!

Break-in be damned! I had been assured that they weren’t going to need any – so bought them, put them on, drove down and gave them a good workout.

And you know what. They didn’t. My feed loved them. They loved the drive down in them, they loved walking around in them, they just love them!

Flat Footed

I am as best as I understand, flat-footed – as such – many pairs of shoes and boots are uncomfortable because the foot arch pushes into the bottom of my soles and creates unneeded pressure. Not an issue with these.

In fact, these really are as comfortable as a pair of sneakers. Actually, they have replaced my sneakers – my old faithful DC’s being retired because 1. they needed to be and 2. these Lowe’s are easily as comfortable.

Lacing – concerns prove unfounded

I initially was a little wary of the lacing method on these boots.

I had grown accustomed to the open eyelets in the Hunters Element boots – this has meant I can use surgeon Knotts in order to custom lace the boots – separating the tightness between sections.

The Lowe Z-8S GTX doesn’t have open eyelets – so I was worried about pressure spots over the arch of my foot. No issues. I simply pull the lower section snug (they will loosen a little in the first half hour due to things settling, then pull the top snug and tie off. That’s it. No magic, no crazy lacing.

The one ‘alteration’ I did make was tying a couple of knots at the top of the laces – this is because I have taken to wearing these things everywhere – and will often just leave the laces undone, getting all gangsta on it.

Originally the laces will pull out of the top eyelets, but the knots just hold them in there. Perfect! The boots, when undone are still equally comfortable – but simply looser – and if I am going ‘off-road’ with them – I just pull up the laces, tie them off and am done!

Build and Waterproofness

The split leather looks sharp, without making me feel like I need to polish them, in fact – after a weekend out in the hills, I basically got home, brushed them off, put them up to dry and well, that was it. Apparently, it pays to give them a decent coating with LOWA Waterstop and Active Creme – so may try that soon – but after several months of wearing them, genuinely, nearly every day – they still look great.

They are lined with Goretex.

I haven’t done a full dunk test on them – but there is a video below where the guy just hops into a bathtub – so I have a little faith there is no issue there – certainly – they dry fast – and the pant’s above them are generally sopping wet without the boots letting a thing through.

The edging on them gives the leather a bit of protection – certainly – enough for what I am using them for – sure – if I was heading up the mountains I would want something with a more solid rand around them, and likely more structure – but I am not – so these really are the perfect mix of lightweight build, with enough ruggedness and structure to support the loads in the environment I am using them in.

Grip & Shock Absorption

Good. Certainly, I have had one instance, on a wet mossy bridge where things got a little hairy – but I really feel, that unless I was wearing spikes, I was going to have an issue. Again – where I am generally using these, they are perfect.

The tread is aggressive enough to maintain a grip on the ground, while they are just soft enough to give a bit of shock absorption without it feeling like you are in big heavy moon boots.

Quiet

For those occasions where I do get out for a stalk, these boots don’t make a sound. Sure – if you are walking on cornflakes in the middle of the Kaimanawa- you are still going to have an issue – but I am not really prepared to start walking around in my socks just yet. Mainly though – the boots themselves don’t creak like some of my previous leather boots have.

Warmth/Insulation

Well, more importantly, with appropriate socks (i.e. boot liners) my feet haven’t been getting super hot during the hot, humid summer we are having. If it’s going to be cold, I have enough room in them to put some heavier socks on. Again – these aren’t mountain boots – so I don’t plan on wearing them up there – so don’t really care how they would perform at that extreme!

Are they worth it?

No, they are not cheap. Yes, they are at least twice as good as the last pair I had that cost half the amount.

Sorry if this sounds like a gushy review, actually, no, I am not – they really are that good. I am wearing these in the hills, at the range, to the supermarket, picking the kids up from kindergarten – they are my go-to footwear for everything at the moment.

Save your pennies, invest in some decent boots, your feet will love you for it.