Home Blog Page 15

Unravelling the Mystery of Guy Lines: A Primer for Beginner Campers

0

What are Guy Lines?

In the camping world, guy lines are nothing short of a lifeline for your shelter. These long cords, or ropes if you like, attached to the outer fly of your tent play a vital role. They help anchor your tent to the ground and stabilise it, mainly when Mother Nature throws temper tantrums in wind, rain, or even the dreaded snow.

An adequately guyed tent can withstand the elements much more effectively, ensuring you stay dry and safe. Additionally, they serve as an extension between your tent and the tent pegs, providing an all-important tension that keeps your tent taut and in shape.

Setting Up Your Guy Lines

Sounds technical. Don’t worry, it’s easier than it sounds. Let’s break it down.

  • Stake out your tent. Make sure it’s correctly positioned and pinned firmly to the ground.
  • Attach the loose end of each guy line to a tent peg. The peg should be pushed into the ground at an angle, away from the tent.
  • Start with the windward side (the side facing the wind). Attach the guy lines here first to counter the force of the wind.
  • Tighten the lines. By doing this, you’re steering your tent away from becoming a makeshift parachute. But remember, you don’t want it to be too tight to avoid stressing the tent fabric and seams.

How Tight Should Guy Lines Be?

“Ah, so how tight is too tight?” I hear you ask. A good rule of thumb is that your guy lines should be tight enough to keep your tent in place and maintain its shape but not so tight that it distorts the tent or areas undue stress on the tent fabric, seams, or poles. Too much tension could result in tearing or other damage, and let’s face it – a broken tent shelter is no fun in the great outdoors.

Do the lines slacken overnight? It happens – temperature changes can cause tent fabric to shrink or expand, affecting the tension. So, giving your lines a check and a quick adjustment each morning and evening is a good idea. Remember, practice makes perfect, and you’ll be a guy-line guru soon!

Do I need to use all the Guy Lines I get?

Maybe. It depends a little on the tent’s design, but with little wind, you can avoid stacking everything out. However, some tent designs rely on the guy lines to maximise internal space in the tent, and as soon as a bit of wind picks up, it’s a good idea to have them in place. 

While yes, not using all the guy lines for your tent can appear to save time, when Mother Nature comes knocking – you’ll wish you had taken those extra five minutes to secure everything. So now I make it a point to use all the guy lines provided. These ropes aren’t there as a decorative element or to trip you up in the middle of the night; they provide extra support and stability to your tent. Think of them as the bodyguards to your tent, protecting them from the wind’s haymakers and keeping everything upright. 

The rule of thumb I live by now – if they’re there, there’s a reason. These lines are convenient when the campsite ground is soft, the tent’s overall structure isn’t as sturdy, or the weather is rough. Think of it like this – those extra ropes are like insurance. They’re a bit of a nuisance until you find yourself needing them.

Quick Hacks for Mastering Guy Lines

  • Remember, a clean, unbruised face and intact body parts are eternally more popular than the alternative. Using guy lines that are reflective or brightly coloured can be a real noggin saver. If you find yourself without these, add orange flagging tape or illuminative material to each line. Your midnight trips to the loo just got a whole lot safer.
  • A ship in a storm needs an anchor. The principle is the same here. It would be best to have your lines firm but not snug-as-a-bug firm—you don’t want to risk damaging your tent fabric. A smidgen of tension will help keep the natural fibres of your guy line in check.
  • Invest in quality stakes; I assure you, it’s not just because they look prettier. Although it might hurt shelling out for high-calibre stakes, the standard ones are more of a letdown than a trust fall going wrong. They twist and bend in an undesirable manner, making your dark-time set-ups a nightmarish experience. More support never hurt anyone!
  • Acquaint yourself with knot-tying skills well before your camping expedition starts.
  • Pack an illuminating friend in the form of a flashlight or a headlamp. You don’t want to be the blundering oaf tripping over tent flaps in the dark.

Don’t forget about your pegs.

The thin, short pegs that come with many tents, awnings, and shelters are often not enough for high winds – once one pulls out of the ground, another does, and another, and shortly afterwards, the tent or shelter folds, damaging the equipment.

Whenever buying a new tent, I strongly suggest grabbing a selection of heavier pegs suitable for various substrates you might be setting up on. Dirt, sand, and mud (after rain) can require longer, thicker pegs to suitably hold the guy ropes down.

Keep a couple of sets in the vehicle when you go camping. You might not need them, but if the wind picks up, it’s good to have them as an option. Don’t forget a suitable rubber mallet.

The Joys and Benefits of Wearing Barefoot Shoes – The One Month Report!

0

After wearing barefoot shoes for over a month, I can confidently say it has been a positive experience. Despite the initial adjustment period and the soreness in my calves, I have found that the benefits outweigh any discomfort.

One of the main advantages I’ve noticed is a heightened sense of connection with the ground. With each step, I can feel the textures and contours beneath my feet, giving me a greater awareness of my surroundings. This has not only improved my balance but has also allowed me to appreciate the small details that often go unnoticed when wearing traditional shoes.

Additionally, I have already noticed improvements in my foot strength and flexibility. The minimalist design of barefoot shoes encourages the natural movement of my feet, strengthening the muscles and tendons over time. This has translated into better stability and reduced foot pain when engaging in physical activities.

I have noticed I ‘grip’ the floor more with my feet when squatting (which I have done in bare feet for some time now, anyhow.

As expected, the transition to barefoot shoes required patience and perseverance. It’s taking time for my feet and legs to adjust to the new way of walking, and I still experience occasional muscle soreness. However, with regular use, my body is adapting, and the discomfort has significantly diminished.

My choice of shoes

Before purchasing some shoes, I read everything on the internet and try to digest it.

Ultimately, I purchased two pairs – one ‘formal’ and one ‘casual’. The pairs I bought were the Geo Court III and the Primus Trail II FG – I figured this combination would give me the ability to experience a range of barefoot shoe styles – both at work and outdoors.

I also picked up some thermal insoles – I know I tend to get cold feet.

In terms of aesthetics, I appreciate the simplicity and minimalism of barefoot shoes. They have a sleek and understated look I like. Whether I’m wearing them to work or for something on the weekend, they effortlessly blend in while providing the benefits of barefoot footwear. I was a little worried they would stick out like clown shoes initially – but – surprisingly, they have only really been commented on by people who are already interested in barefoot shoes!

Inserts

One concern I had about switching to these very light shoes was getting cold feet. So, I ordered some thermal inserts to help out. The Outlast Thermal Insole offers temperature-regulating technology, absorbing, storing and releasing heat. This smart thermal layer responds to accommodate the naturally changing temperatures of the feet.

In short, on cold days, where I have to spend a lot of time standing on cold concrete (I find if I am moving, my feet warm up) – these have made the difference between uncomfortable cold feet and simply not noticing the temp.

Posture and Feel

Since wearing my barefoot shoes, I have noticed a significant improvement in my overall posture. With the absence of cushioning and support in traditional shoes, I am forced to rely on my body’s natural alignment. This has led to better spinal alignment and a more upright daily posture.

This could just be me trying to attribute something here – but I also feel it’s starting to help what has been a lifetime of flat insteps causing an uneven gait. I have often noted that one foot turns out more than the other (right foot out more) when walking. This has been part of a more significant issue of ongoing hip issues and spine misalignment, ultimately resulting in shoulder impingements and a tight neck. It’s still too early to tell – but I feel these shoes may significantly help with a long-term posture issue I have had.

Another unexpected benefit of barefoot shoes is the increased mobility and freedom of movement they offer. The lightweight and flexible design allows my feet to move more naturally without any restrictions. I can easily bend, flex, and articulate my feet, which has improved my overall agility and range of motion.

I have found myself simply flexing and ‘playing’ with my feet more – stretching them out, wiggling my toes – just generally using and experiencing the feet.

I enjoy feeling the ground beneath my feet. The shoes provide me just enough protection to be able to comfortably walk over gravel without having to hop – but – I can feel every individual rock and stone under my feet. I tend to tread a little more carefully – which, in turn, actually makes me a little more sure of my footing.

Muscle Adaption

When you switch to Barefoot Shoes, prepare for serious leg muscle action. It’s like a whole new world for your legs. At first, I noticed a good amount of muscle soreness, especially in the shins. If you’ve struggled with shin pain before, this could be a real game-changer because it’ll force those muscles to work like never before.

My calves, thighs, and quads were slightly more tired than usual. However, I took it as a good sign. It means those muscles are getting stronger and more conditioned. I didn’t feel pain, just tiredness.

This transition takes some time. Your body needs to adjust to the new footwear and movement style. Oh, and don’t forget that everyone’s experience is different. For me – I slightly increased the amount of Jiu-Jitsu training I was doing and backed off some of the heavy weights. So – I factored in those things as well.

The Toe Socks

I also picked up some Injinji toe socks. This was a tramping ‘set’ that included the inner liner and outer sock. The inner is a toe sock – each toe having its own section, and the outer is a wide, anatomically ‘correct’ sock. My partner HATES them. She has an almost physical reaction to them. But – I have enjoyed them, and much to her dismay, intend on continuing to wear them!

The set has given me three options – light socks when hot, a medium (the outer) for general use and a warmer set by wearing both. I had also forgotten how comfortable a liner/outer sock system can feel walking around in.

Some Unexpected Benefits

I have also noticed reduced foot odour since switching to barefoot shoes. The breathable materials and lack of cushioning help prevent excess moisture buildup, creating a healthier (less smelly) environment for my feet.

So, all in all – it’s a win! Despite a bit more fatigue – I have enjoyed the transition and fully intend to continue to wear barefoot-style shoes. I already have my eyes on a few more styles in the form of a boot – and a more back-country hiking shoe!

I am interested to see the longer-term effects on my posture and foot sensitivity – I might have also solved one of my longest-term physical conundrums somewhat accidentally!

Why I’m trying out Barefoot Shoes

0

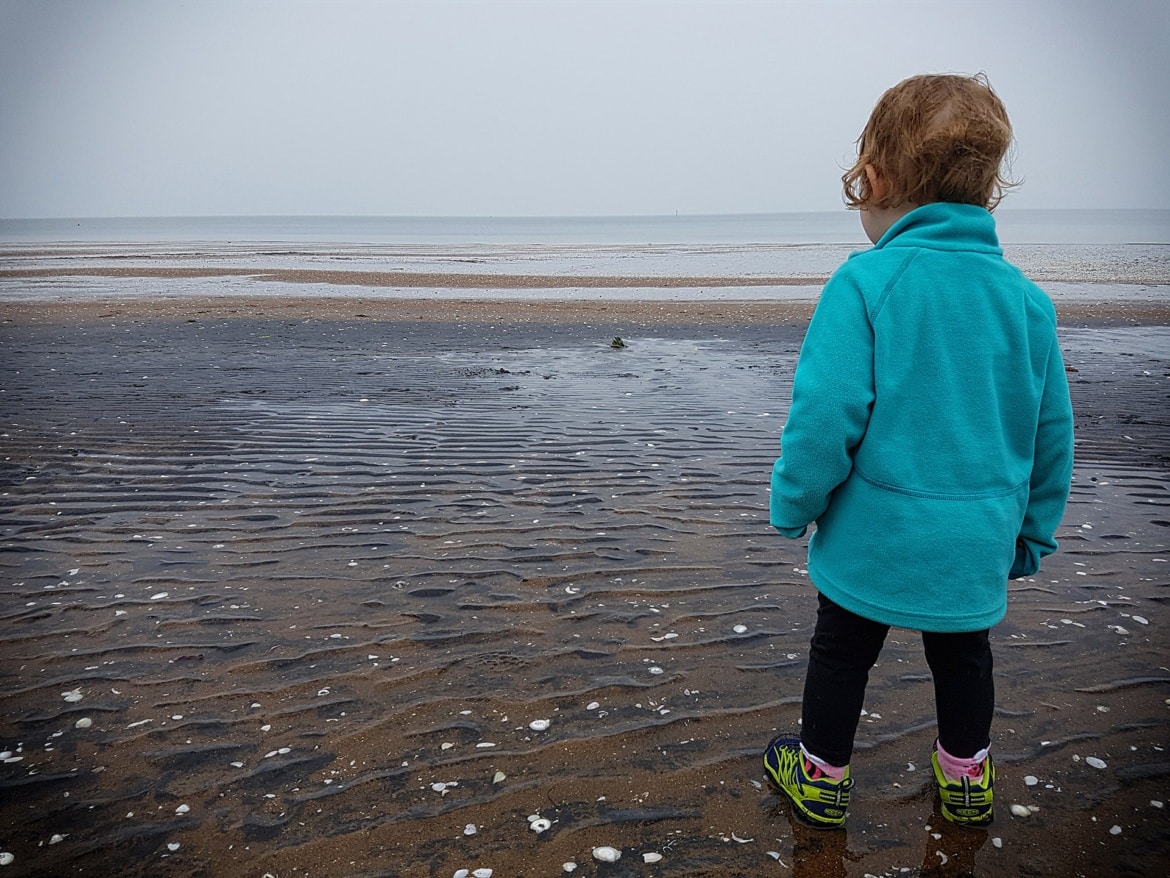
Interestingly, I have found myself progressing from boots to shoes and finding shoes constrictive. This coincided with me taking up Brazilian Jiu Jitsu – and becoming more conscious of stretching my muscles and looking after my joints a bit better – this, logically, soon included my feet.

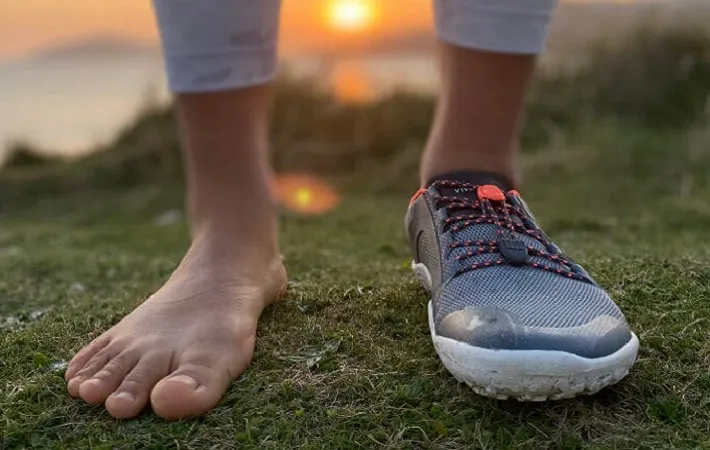
So, I started reading up on options, and I decided to try out barefoot shoes. Barefoot shoes are lightweight and flexible, and in the short period I have been using them, I have found they allow me to feel the ground beneath my feet. This gives me more control and stability, and it also helps me to improve my foot strength and flexibility.

There is a growing body of research that suggests that barefoot shoes can have several benefits for foot health.

However, it’s important to note that not all studies have found benefits of barefoot shoes. Some studies have found that barefoot shoes can increase the risk of injuries, such as sprains and strains.

History of Barefoot Shoes

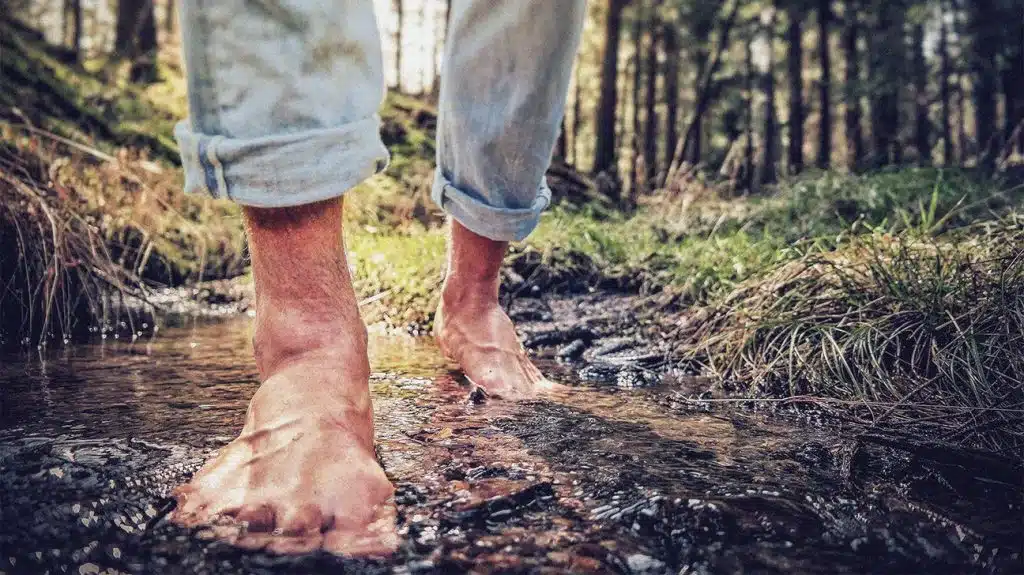
Humans have been walking barefoot for centuries. Barefoot running is thought to be the natural way for humans to run. However, in recent years, there has been a growing movement to return to barefoot living. This movement is motivated by several factors, including the belief that barefoot shoes are healthier for the feet and the body.

The modern barefoot shoe movement is often traced back to the work of Dr. Christopher McDougall. In his book, “Born to Run,” McDougall argues that barefoot running is the best way to prevent injuries and improve performance.

The Benefits of Barefoot Shoes

The research on the benefits of barefoot shoes is still ongoing, but there is a growing body of evidence to suggest that they can be beneficial for foot health.

Reduced risk of plantar fasciitis

Plantar fasciitis is a common condition that causes pain in the heel. It is thought to be caused by inflammation of the plantar fascia, a band of tissue that runs along the bottom of the foot. A study published in the Journal of the American Podiatric Medical Association1 found that people who wore barefoot shoes for six months had a significantly lower risk of plantar fasciitis than those who wore traditional shoes.

Improved arch support

The arch of the foot is a complex structure that helps to absorb shock and distribute weight evenly. When we wear shoes with thick soles, the arch is not allowed to work correctly. This can lead to problems such as flat feet and plantar fasciitis. I was ‘identified’ as having flat feet a long time ago – part of the reason I think the Lowa Boots (and shoes) have always fit so well – they don’t have much of an instep rise – which has always pressed against my soles. A study published in the Journal of Foot and Ankle Research2 found that people who wore barefoot shoes for six months had significantly improved arch support.

Reduced risk of bunions and hammertoes

Bunions are a deformity of the big toe that causes it to point inwards. Hammertoes are a deformity of the toes that causes them to curl downwards. Both bunions and hammertoes are thought to be caused by shoes that restrict the natural movement of the toes. Barefoot shoes allow the toes to spread and move freely, which can help to prevent these deformities. Just stop for a moment, look at most women’s feet (especially those who wear heels) and try to tell me that shoes are not causing our feet to become misshapen.3

Improved balance and proprioception

Proprioception is the ability to sense the position of the body in space. Barefoot shoes can help to improve proprioception by allowing the feet to feel the ground more directly. This can lead to improved balance and coordination.4

Improved running performance

Barefoot running is thought to be more efficient than running in traditional shoes. This is because barefoot running allows the foot to land more naturally and absorb shock more effectively. I am not planning on running anytime soon – though – part of the reason for this is my history of shin pain while running – I will be interested to see if barefoot helps with this at some point.5

Strengthened foot muscles and improved flexibility

Barefoot shoes can help to strengthen the muscles in the feet and improve flexibility. This is because the feet must work harder to support the body when wearing barefoot shoes.6

Improved foot circulation

Barefoot shoes can help to improve foot circulation by allowing the feet to breathe more freely. This is important because good circulation helps to remove waste products from the feet and prevent infection. I have noted my toes (and fingers) tend to get cold – and have long put this down to poor circulation.7

Reduced risk of injuries

Barefoot shoes can help to reduce the risk of injuries, such as sprains and strains. This is because barefoot shoes allow the feet to move more naturally and avoid unnatural movements that can lead to injury. This is where there is an obvious conflict between the ‘Boots support your ankles’ versus the ‘Barefoot causes your ankles to get stronger’. Certainly, I am not planning on walking barefoot with a heavy pack on anytime soon – but – will be interesting to see how I feel about that in a few month’s time.8

The Risks of Barefoot Shoes

The main risk associated with barefoot shoes is that they can increase the risk of injury. This is because barefoot shoes provide less protection for the feet than traditional shoes. Again, as above – I can see the wisdom in the conventional axiom of wearing boots when the pack gets heavier. However, the risk of injury can be minimized by taking precautions, such as starting slowly and gradually increasing the amount of time you wear barefoot shoes.

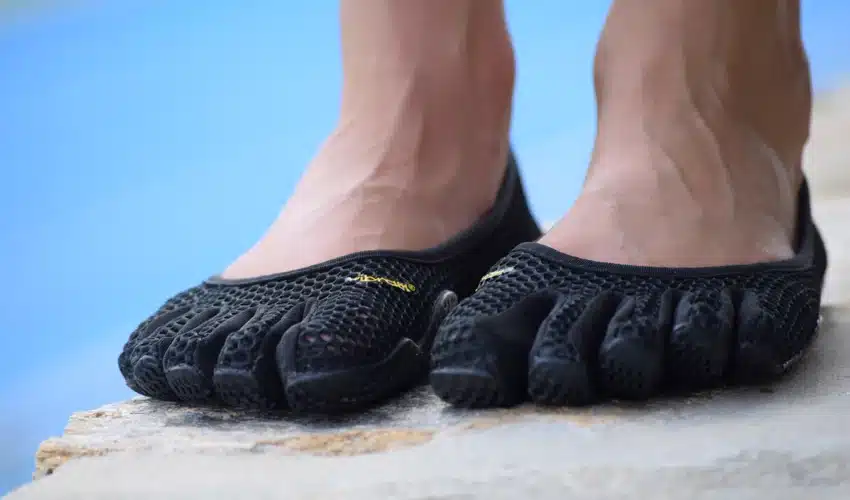
Looking goofy is certainly another risk here. I have already had a hard line drawn by my partner – I am not to purchase a pair of the Vibram Five-Finger—hard line. I don’t blame her. Luckily, though, the market for barefoot shoes has dramatically increased, and there are many options, from sneaker styles to more ‘traditional’ leather shoes available.

Tips for Getting Used to Barefoot Shoes

If you’re new to barefoot shoes, it’s essential to start slowly. Please don’t wear them all day long at first. Start by wearing them for short periods, and gradually increase the time you wear them. I am now comfortably wearing mine all day – though, it’s also worth noting that I spend a lot of time at a standing desk and tend to stretch and massage/roll my feet daily.

Your feet will need time to adjust to the lack of support and protection that barefoot shoes offer. You may experience some discomfort at first, but this will usually go away as your feet get stronger and more flexible.

While I haven’t felt flat-out ‘discomfort’ in my new shoes – I certainly have noticed more muscle fatigue at the end of the day – though – I have to weigh in the regular weight lifting and Jiu-Jitsu training as well. My legs always tend to be a little sore!

Here are a few tips to help you get used to barefoot shoes:

Start by wearing them around the house. This will help your feet get used to the feeling of being barefoot. Gradually increase the amount of time you wear them outside. Start with short walks, and then gradually increase the distance you walk.

Be sure to wear socks with your barefoot shoes. This will help to prevent blisters and other foot problems.

If you experience any discomfort, take a break from wearing barefoot shoes. Your feet need time to adjust.

How to Strengthen Your Feet with Foot Massages, Stretches, and Exercises

Our feet are responsible for carrying us around all day long, so it’s essential to take care of them. One way to do this is to massage, stretch, and exercise your feet regularly.

Foot Massage

A foot massage can help to improve circulation, relieve tension, and promote relaxation. It can also help to improve foot flexibility and range of motion.

While you can take to your feet with the massage oil (light a candle, put on some romantic music) – you can also use a foot massage tool, such as a rolling pin or a massage ball. These tools can help to reach the deeper tissues in your feet. I use a small hard ball (people often refer to them as ‘Lacrosse Balls’)

Foot Stretches

There are many different foot stretches that you can do to improve your foot flexibility and range of motion. Here are a few examples:

Toe stretch: Sit in a chair with your feet flat on the floor. Point your toes up towards the ceiling, and then flex them down towards the ground. Hold each stretch for 30 seconds.

Calf stretch: Stand with your feet shoulder-width apart. Lean forward and touch your toes, keeping your back straight. Hold the stretch for 30 seconds.

Achilles tendon stretch: Sit in a chair with your right foot flat on the floor and your left foot resting on your right thigh. Lean forward and reach for your toes, keeping your back straight. Hold the stretch for 30 seconds, and then repeat on the other side.

Foot Exercises

There are also several foot exercises that you can do to strengthen your feet. Here are a few examples:

Toe raises: Stand with your feet shoulder-width apart. Raise your toes up off the ground, and then lower them back down. Repeat ten times.

Foot circles: Sit in a chair with your feet flat on the floor. Make small circles with your feet, first clockwise and then counterclockwise. Repeat ten times in each direction.

Foot taps: Sit in a chair with your feet flat on the floor. Tap your toes up and down, first slowly and then quickly. Repeat ten times.

These are just a few examples of foot massages, stretches, and exercises that can help strengthen your feet. By regularly doing these exercises, you can improve your foot health and reduce your risk of foot pain.

Other Things to Consider

In addition to the factors mentioned above, there are a few other things you may want to consider when choosing barefoot shoes:

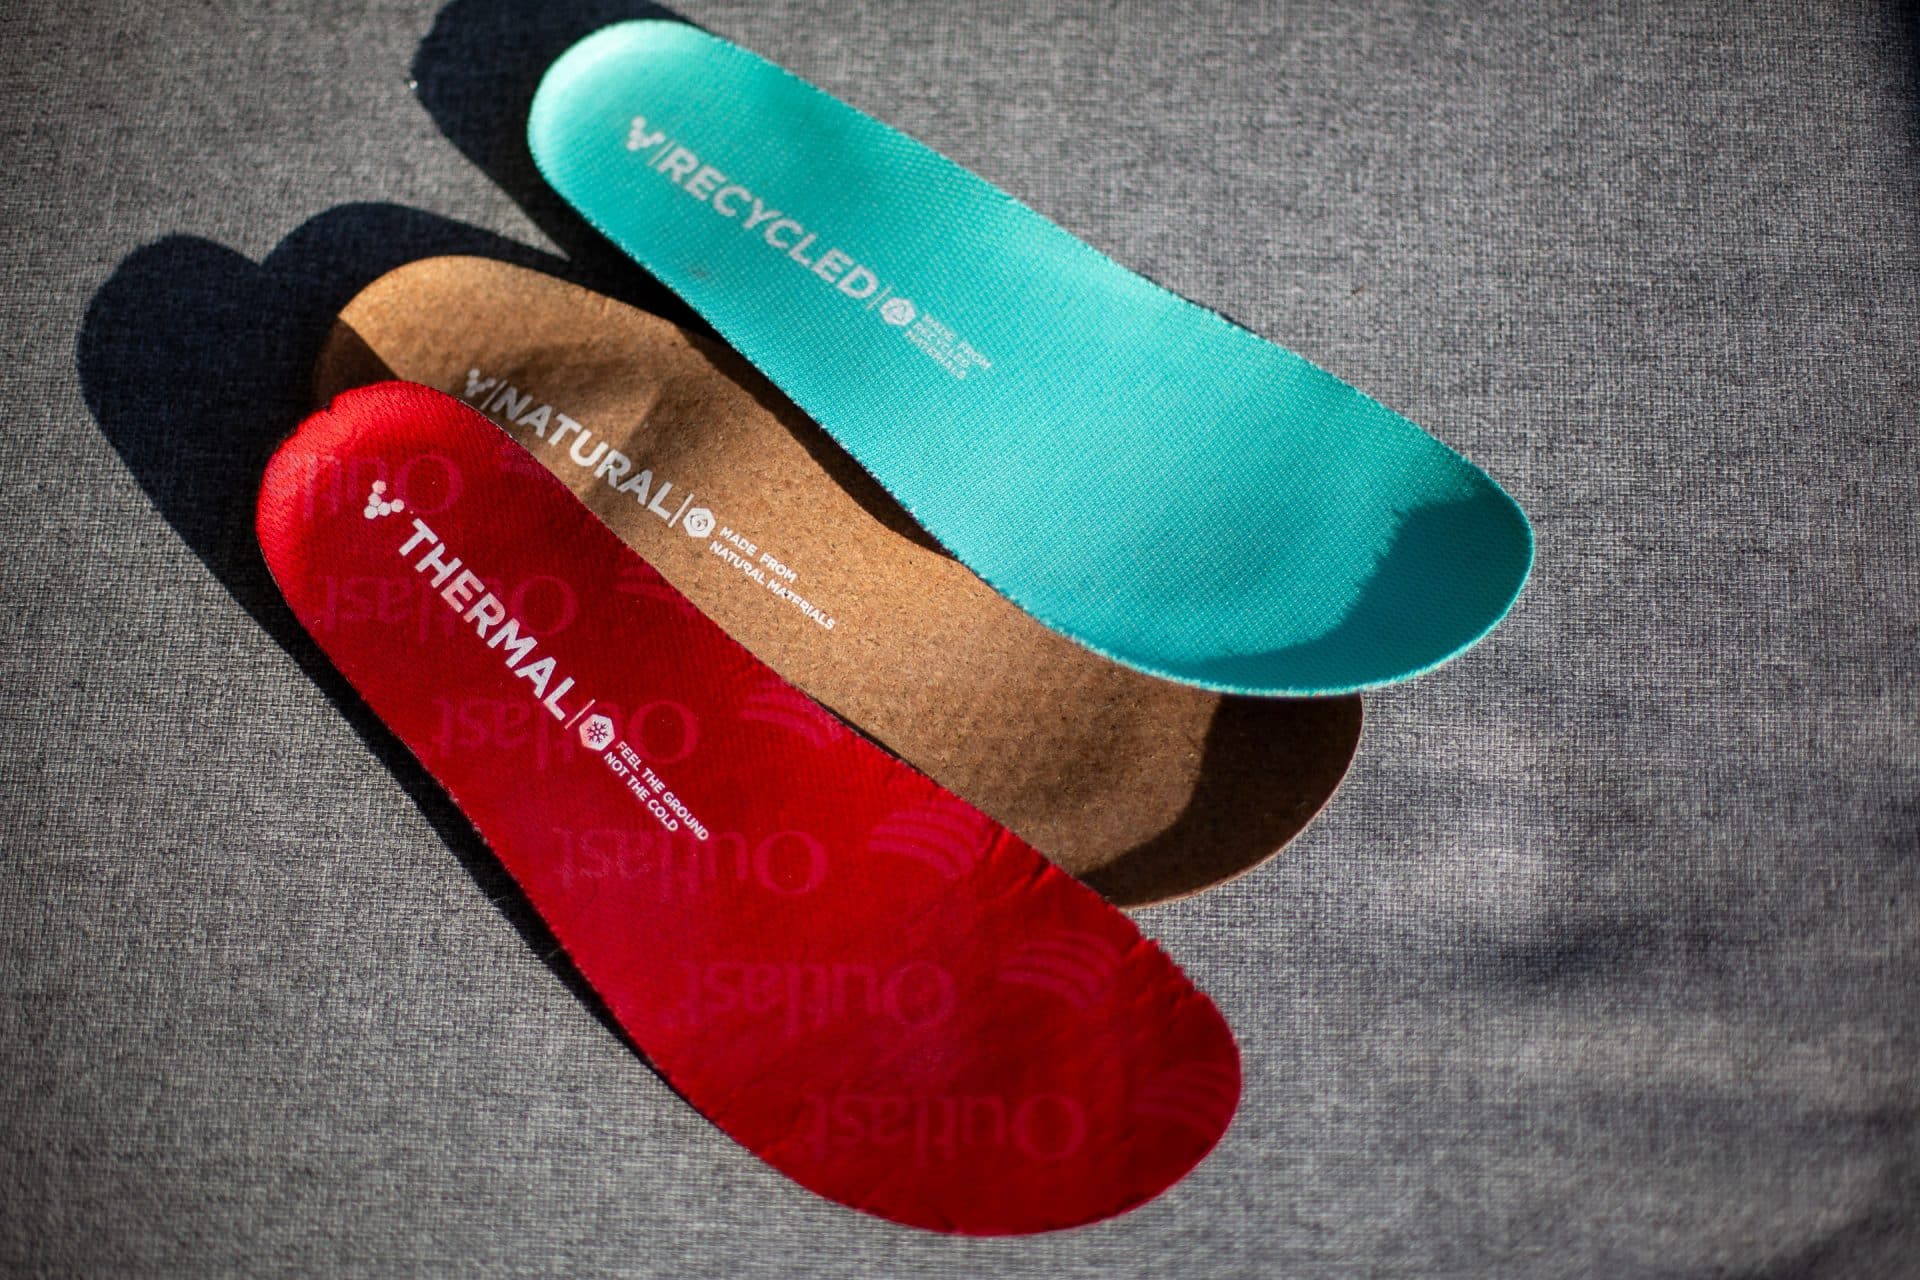
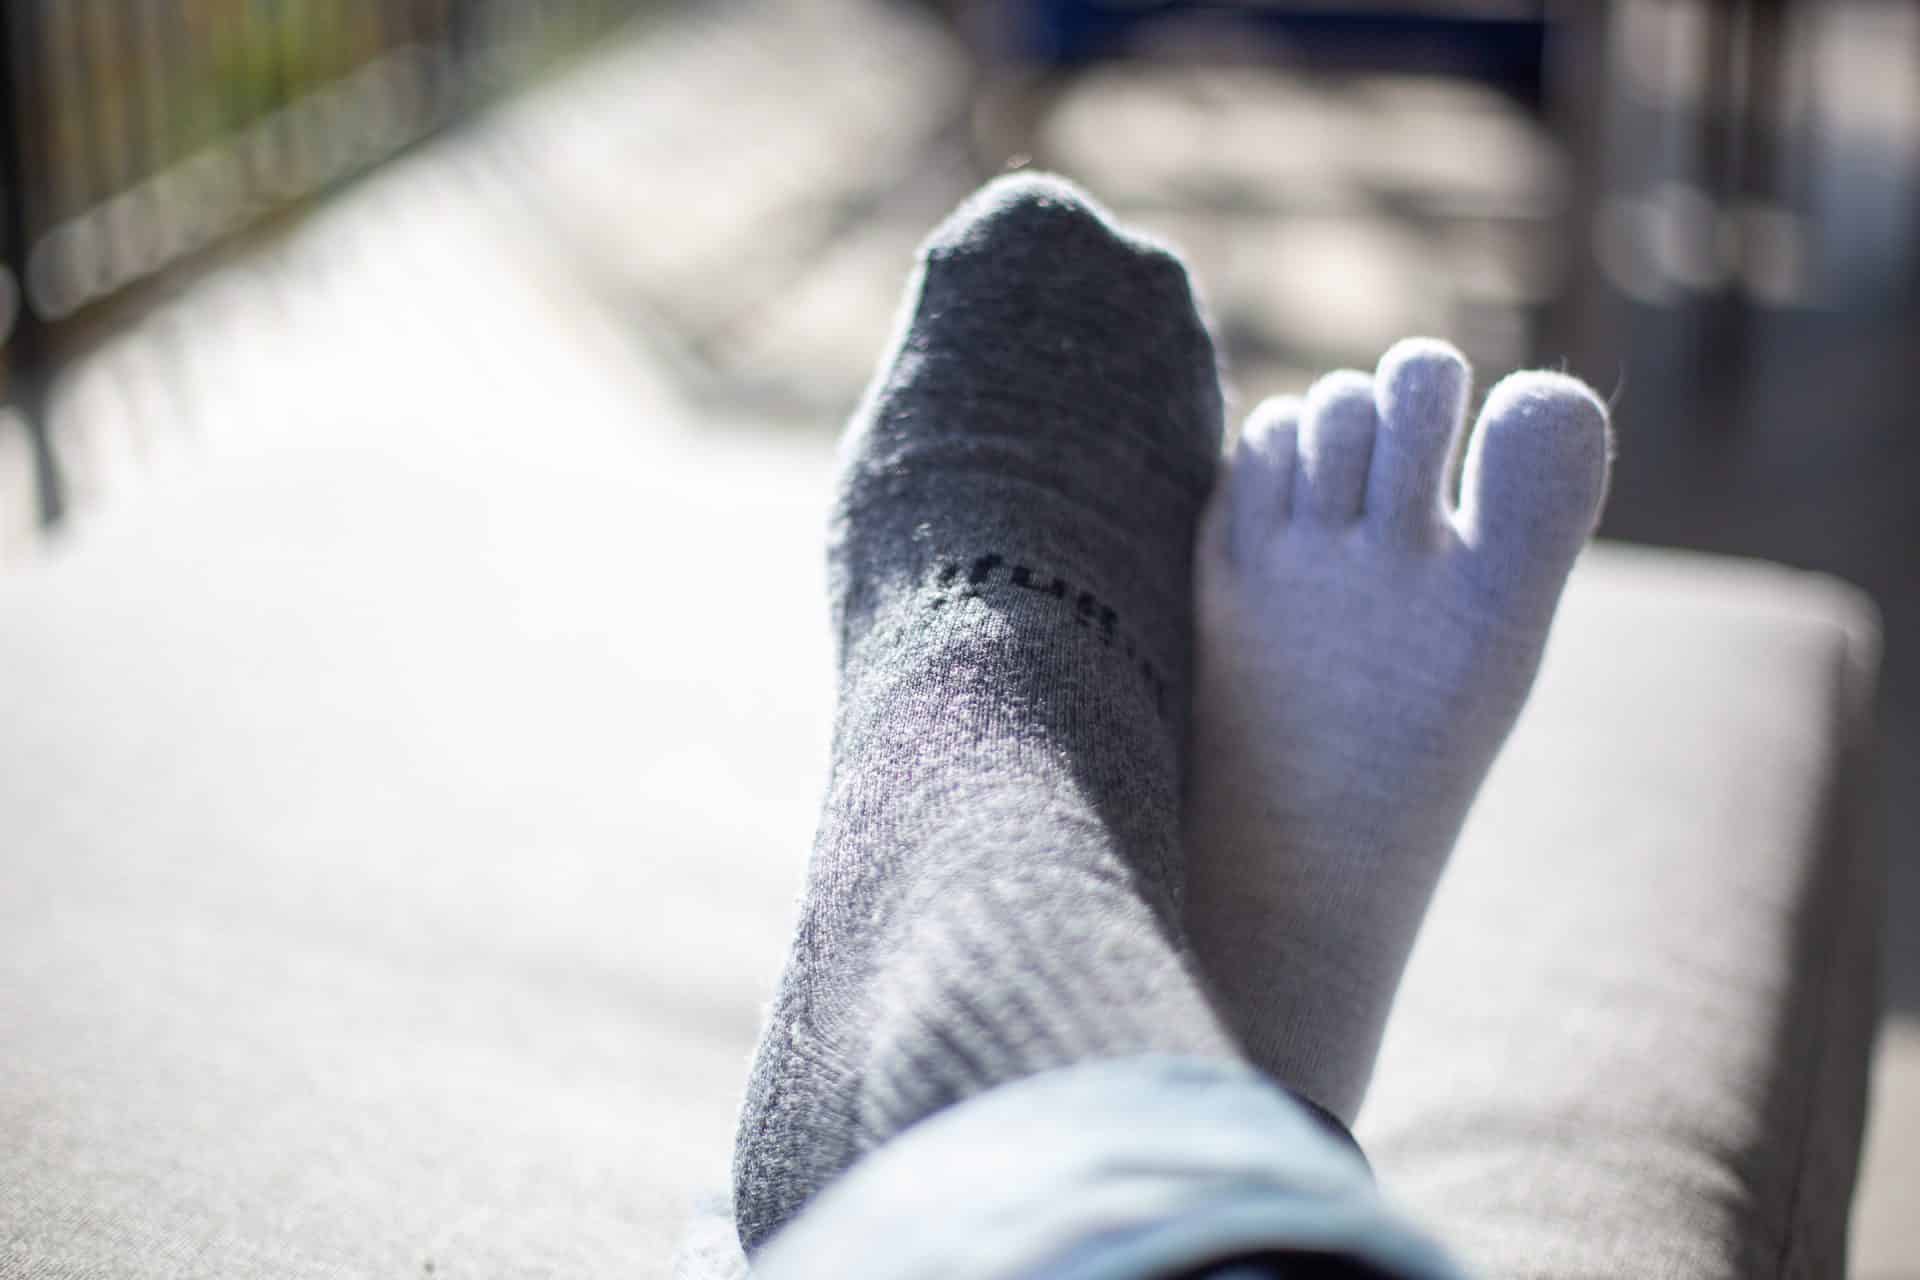
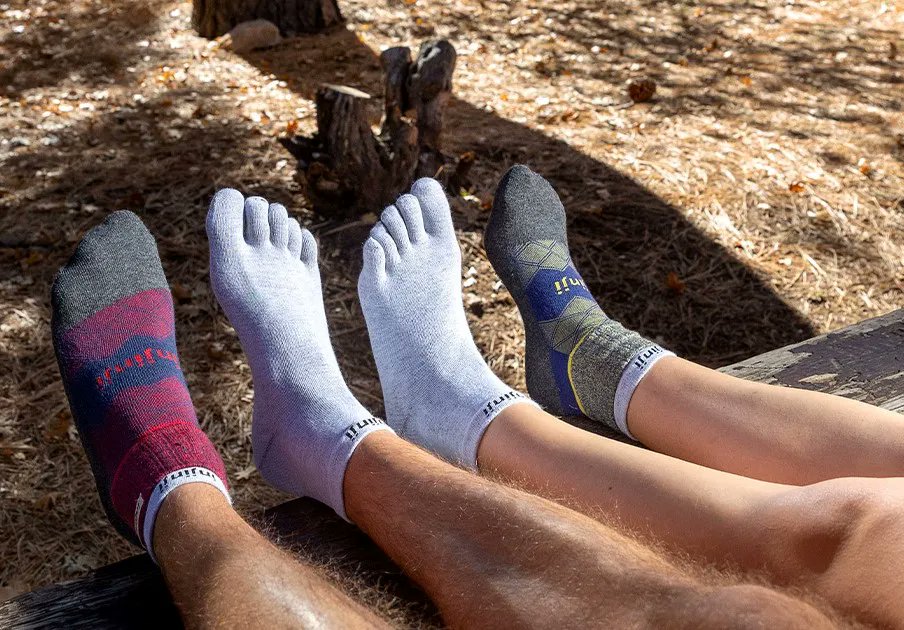
Socks: Unless you plan on going all ‘Euro’ on it, you should probably wear socks with your shoes. It combines hygiene (sweat) and comfort – regarding warmth and some padding.

Warmth: Barefoot Shoes are, by definition, minimalistic without vast amounts of padding and, therefore, insulation. Consider where you will be using them and how cold that might be.

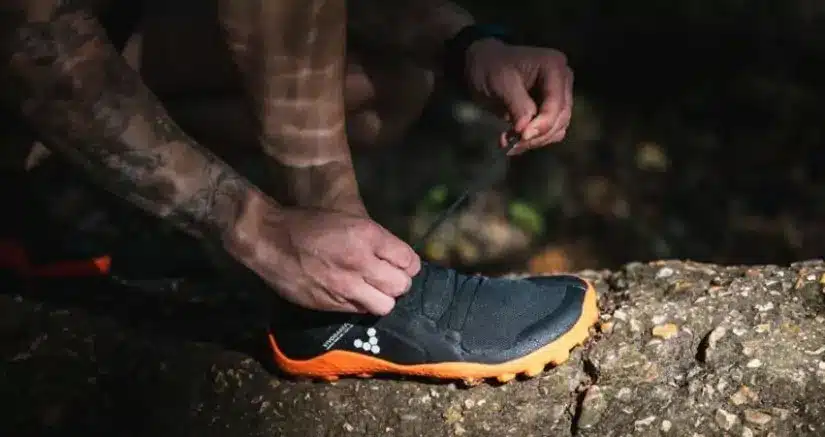
Grip: The shoes should have a good grip so you don’t slip on smooth surfaces. Especially if you are headed out into the wilderness with them – you don’t want something that will slip on wet rocks!

Your foot type: Some people have wider feet than others. Be sure to choose a pair of shoes that fits your foot type comfortably. The Kiwi foot, on average – is wider than many places in the world – so regardless of shoe type – you should probably be looking for wide shoes.

Prefer Boots?: Surprisingly (to me), you can get barefoot boots. They still have minimal lift from heel to toe and reduced pagging underfoot. I am very interested to check them out in the future.


The whole barefoot world is new to me. Will report back more as I get a bit more experience with them. Another new journey!


  1. Leardini, A., Carofiglio, A., De Carli, P., & Bettella, S. (2014). The effects of minimalist shoes on the incidence of plantar fasciitis: A randomized controlled trial. Journal of the American Podiatric Medical Association, 104(1), 34-40. doi:10.7547/1542-8388-104.1.34 

  2. Landorf, K. H., Menz, H. B., & Herbert, R. D. (2016). The effects of minimalist shoes on arch height and foot function in adults with flat feet: A systematic review. Journal of Foot and Ankle Research, 9(1), 5. doi:10.1186/s13072-016-0086-5 

  3. Cerrato, R., Masiero, S., & Iaccarino, L. (2019). The effects of minimalist shoes on bunions and hammertoes: A systematic review. Journal of Foot and Ankle Research, 12(1), 3. doi:10.1186/s13072-019-0281-2 

  4. Hertel, J., Kerrigan, D. C., Hamill, J., & Davis, I. (2015). The effects of minimalist shoes on balance and proprioception in adults. Journal of the American Podiatric Medical Association, 105(5), 432-438. doi:10.7547/1542-8388-105.5.432 

  5. Nigg, B. M., Stefanyshyn, D., & Nigg, C. R. (2017). Minimalist shoes and running performance: A systematic review. Journal of the American Podiatric Medical Association, 107(4), 333-343. doi:10.7547/1542-8388-107.4.333 

  6. Liu, Y., Zhang, D., Wang, Y., & Zhang, H. (2018). The effects of minimalist shoes on foot muscle strength and flexibility in adults. Journal of Foot and Ankle Research, 11(1), 27. doi:10.1186/s13072-018-0238-5 

  7. Wang, Y., He, Y., Zhang, H., & Zhang, D. (2017). The effects of minimalist shoes on foot circulation in adults. Journal of Foot and Ankle Research, 10(1), 37. doi:10.1186/s13072-017-0216-5 

  8. Van Middelkoop, M., Witvrouw, E., Meeusen, R., & Verhagen, E. A. (2018). Minimalist shoes and the risk of injury in runners: A systematic review. Journal of the American Podiatric Medical Association, 108(4), 317-324. doi:10.7547/1542-8388-108.4.317 

For father’s day, I got my little girl some socks.

0

I am possibly the only person in Auckland who would take a PLB on a one-hour walk in the Waitakeres. I don’t consider myself risk-averse – I like to assess and mitigate certain issues before they ever occur.

I guess some people wouldn’t take their little girl out in the rain in the first place – but that seems to only deprive her of something that, as it turns out, she really enjoys!

Well overdue

I had decided it was long overdue for me to head out for a wander – I hadn’t managed to get out for a bit, and more importantly, I hadn’t been for a walk with the (now bigger) little girl.

20160903_153502

So, I figured a short wander around the Waitakeres was in order, packed the bag and headed off. All this time, the sky was getting greyer and greyer. The weather report suggested rain, and sure enough, by the time we were at the trailhead, a light drizzle had started coming down.

However, I had, of course, packed rain jackets, and I had the waterproof cover for the Macpac Vamoose in the bottom of the pack, so I wrapped the both of us up, put the girl in the pack and headed off.

The little girl is starting to form some words and certainly can let you know if something is good or not – so I just checked in with her regularly to ensure she wasn’t too cold, cramped, or claustrophobic! She was quite content for most of the walk-in – but let me know at one point that she was keen to get down and make her own way for a bit.

She is getting more comfortable on her feet now – but still slightly challenged by uneven terrain. However, she would take my hand from some of the trickier (by her standards) sections and then let go and happily stomp along unaided where she could.

The track ended up at a road end with beach access, and the little one happily made a beeline straight for the sea.

Footprints in the sand

After wandering around on the foreshore for a bit, we spotted a couple of bird tracks and a dog track, which Claudia followed for a bit before getting distracted by a shell or two in the sand.

She, as she often does, was not overly impressed with me suggesting1 that we needed to start heading back to the truck. Still, I was aware her feet were soaked by now, and though it wasn’t cold, I had also realised she was in cotton socks2, so I figured we should probably start wandering back while she was still happy and warm. The Keen shoes are proving great for her walking and traction – but they aren’t waterproof (which is fine) – but I did register a mental note to get her some decent socks for future trips.

20160903_155814

While she never got ‘cold’ down the back of her neck (my general point to check), her hand certainly got a bit of a chill. It will be interesting to see what kind of cold resistance she has inherited. While I sleep really warm, I do tend to get cold feet and hands – so I am a little wary of her until she can communicate her level of comfort with me. However, she didn’t grizzle, which at the moment seems to be the main method of indicating such things.

Toasty toes

Back at the truck, I took the wet shoes and socks off and checked her feet – not freezing, but certainly not warm – so we wrapped her up in the Macpac Supernova, gave her a snack and headed back home. She was happy and likely would have been comfortable staying out in the rain for a bit more – but this was a good opportunity to gauge her reaction and check some kit.

The next day, we headed off to Macpac and picked up a couple of pairs of acrylic and Merino socks (the smallest option is still a little large) and a lightweight packable jacket. While the fleece top she had stayed dry on the inside (and kept her plenty warm) – I thought a light waterproof jacket would provide a good option.

Summary

So, it was a good opportunity to head out again and learn some things. The little one now has a snazzy jacket for her next trip, and the Macpac Vermose stayed nice and dry under its rain cover! A good afternoon spent!


  1. by that, I mean picking her up and walking 

  2. and my risk management brain kicked in 

Lifting the Veil: Digital Camouflage Systems

0

Why a new camouflage?

Hunters constantly seek the edge when increasing their odds against prey and becoming aware of their presence. So camouflage naturally becomes an aid in decreasing the chances of an animal spotting them. If you are shooting something from a kilometre away, this probably isn’t so much of an issue. However, getting up close, either in the heavy bush or with a bow, and getting spotted becomes more of a factor. Manufacturers are constantly looking to provide more effective systems to help hunters.

The Veil system, from Hunters Element, is the first attempt I am aware of for a New Zealand Hunting Gear company to provide a digital camouflage option. But why was it needed?

Many existing camouflages in the hunting market are based on mimicry systems – making the camouflage in the same pattern as the surrounding environment. RealTree is the most obvious example of this. At the same time, the military has nearly never used mimicry systems and instead headed into more abstract digital systems. Why the diversion?

Disruption vs. Mimicry Camouflage

It has been suggested that digital camouflage, which can also be called disruptive camouflage (which is still relatively new) – allows a much finer level of control over aspects such as macro and micro patterns, as well as the ability to manipulate contrast in a much easier way. As I will cover shortly, these three factors play heavily on how effective camouflage is.

In addition, mimicry camo is often area-specific – if you have a particular leaf on your jacket, it makes sense it will work the best next to trees with those leaves, but not so well in an area where a different type of tree grows.

Digital camouflage also seeks to create a more universally effective pattern. Optifade was one of the original, non-military digital patterns, and now we also have Veil.

Camouflage Concepts

What makes a good camouflage? While there are entire websites dedicated to this question – this is a quick primer on the subject –

Disruptive camouflage is generally made up of sections of both Micro and Macro patterns. As the names would suggest, we are talking about small and large segments, often overlaid over each other and each providing a specific function. How these patterns combine can also affect Isoluminance – how much resulting contrast is in the pattern, which then translates into how the system looks from a distance (where you can’t see the micro or macro patterns anymore).

Micro Patterns

The micropatterns are what help you blend into your surrounding environment. In digital terms – this is the section that almost looks like white noise – random pixels that blur into the background at close distances.

5Tneorpjc

In the animal kingdom – you can’t go past the Leopard for an incredible concept implementation. For anything up close, macro patterns are what are going to help you merge into the background, making you blend. However, you will potentially still have the shape of a human. So, how do we break that up? With Macro patterns.

Macro Patterns

1

The point of the macro pattern is to break the human shape into multiple ‘chunks’ – disrupting the overall silhouette we present. Everyone should be familiar with the concept of skylining – what happens when you walk along the top of a ridge with the sun behind you. Your outline identifies you as human, or at least something actively moving around that shouldn’t exist.

Large shapes are required here – which can then be overlaid with the Micropatterns. Something as simple as a chessboard starts the process…

4

Now, the eye starts getting confused about where the human begins and ends—breaking up the outline. But up close, this would still appear as large flat surfaces, so the final step is to overlay the micro pattern again. This starts to disrupt the body.

3

Now, this is a rapid, really rough example of how the system works. Digital systems are tweaked and tested many, many times in multiple environments. But I am sure you get the idea. So, macro overlayed with micro, but we must keep a third factor in mind. Isoluminance.

Isoluminance (Contrast)

Some may have noticed a phenomenon shared with many traditional mimicry camo’s – up close, they look fantastic, but take a couple of steps back, and all the photorealistic images blur into one pattern. This is known as ‘blobbing out’ – and renders many camo’s useless at a distance. Now, you are just a human silhouette again.

While it might seem counterintuitive, blocks of solid colour are pretty crucial in camouflage. Large enough blocks mean that the macro patterns get something to contrast against – again, working to break up the human shape further and remain effective at more considerable distances.

Does colour matter?

Yes and no. Remembering the points above regarding contrast, where colours certainly play a part in the pattern, do the colours matter? How about just wearing a Hawaiian shirt? It breaks up the silhouette! Let us also be honest: colour plays an important part when shopping for camo – and try as we might, our taste and how we perceive we will look wearing it affect our purchasing decisions. Be honest.

How Deer See

For a good primer on this – I suggest you read my previous post – Blaze Camouflage – Safety while hunting. But, in short, animals don’t see like us. Deer, in particular, are mostly likened to a form of colourblindness, resulting from having one less rod in their eye than us. It is suggested that they can’t differ much in the yellow-green, green, yellow, orange, and red range of colours. However, they are sensitive to Blue and UV.

However. Birds.

You are stalking through the bush, quiet as a ghost, getting closer and closer to your quarry, ready for the strike. Then, a pile of boisterous birds spot you and alert the entire forest to your presence. Many birds (Kea certainly) can see much closer to use when it comes to colours. So, while blaze orange is invisible to deer, it may not be to some of the other animals you are trying not to alert.

So – Hunters Element Veil

Hunters Element seem to be the first NZ company to combine science into a new digital system for local hunters (please correct me if I am wrong). Their pattern combines macro and micro, focuses heavily on Isoluminance, and looks good. I have received more comments about my Hunters Element Rugged Bush coat than any other hunting clothing I have ever owned. People love the jacket, and they love the camo. That fact is also going to be effective in the bush. Bonus!

However, Hunters Element has decided to push the envelope in what to expect out of your camo. I would hope we will now start seeing a lot more digital influence in other suppliers’ gear in the future.

One camo to rule them all?

Remember – not all camo works in all environments. Forest/Bush/Mountains/Open Marsh are all quite different environments that require slightly different approaches. While I don’t pick Veil, it would hold up well in open marshland hunting waterfowl – all the imagery I have seen indicates from bush to the tops, it will integrate nicely. The colour of camo tends to ‘shift’ a little depending on its surroundings – a testament to some intelligent design and colourways.

The time has come. :(

0
  • Make: Land Rover
  • Model: Defender
  • Model detail: 110 Td5 County Sw
  • Year: 2001
  • Body style: RV/SUV
  • 4WD: Yes
  • Engine size: 2495
  • Colour: Grey
  • Fuel type: Diesel
  • Import History: NZ new
  • Number of owners: 5+ owners
  • Transmission: Manual
  • Seats: 9

This truck has taken us on many adventures, and I am sure it will do the same for you.

Want a vehicle that drips oil, rattles your teeth out, takes its time up hills, causes shin cramps, doesn’t have a single straight panel and turns like a battleship? How about one that is fun to drive, turns heads everywhere, and guarantees daily conversations with total strangers? Have I got the vehicle for you!

NZ new; I purchased this from a gentleman in Christchurch and got to know it, driving it back up the country. By the time I got back up, I already had a list of things to do to it and, as any owner of an older truck will know, have never stopped doing stuff to it.

This is a 2001 Land Rover Defender – it’s an early TD5 10P engine with relatively low mileage compared to some.

So – roughly starting from the front –

  • Terrafirma Winch Bar with King’s Spotties
  • Upgraded LED main headlights
  • Engine Save Low Coolant Alarm
  • EGR Removed and Blanked off
  • New Master Clutch Cylinder
  • Straight Exhaust Pipe – this is not a quiet truck – somewhere between a tractor and a warplane!
  • Snorkel and Diff Breathers Extended (to top of snorkel)
  • Syncro Gearboxes Short Shifter Kit – this thing is incredible!
  • MUD Defender Console and Instrument Pod, Cubby Box with Molle Frame, Mesh Roof Netting and Cargo Netts
  • Upgraded ECU (from a newer TD5) that allows reprogramming, with Storm Tuning Stage 2 on it and Nanocom with TD5 licence (and holder to have on the dash)
  • GME XRS-330COB UHF Radio with roof-mounted folding bracket (so you can still get through Macca’s)
  • Yakama Platform System, with extra bar on front for lights and aerial. Mud Ladder and shovel holders, 3 x Knucklehead Bike holders (not all installed)
  • Kiwi Camping 270 2.5 Self-Supporting Awning – this thing is huge and awesome!
  • Technically, it is a nine-seater (early enough to be still allowed to have the inward-facing ones) – I have all the rear seats still, but they are currently pulled out
  • Replaced the fuel pump and regular not long after getting it – managed to find the noisest fuel pump in the world – it’s never skipped a beat, but it isn’t quiet
  • Set of BF Goodridge A/T KO2 Tyes on it
  • Full set of carpet mats, and the rubber ones to go over the top of them, including a rear area mat
  • There is probably more I can’t remember now; I will add them as I do!

I don’t think a single panel is straight on this truck. A couple of spots of paint are missing here and there, standard rust. Anyone looking at a Defender will know the deal.

The clutch and gearbox are good, but getting into gear is notchy. I am so used to it that I don’t notice it anymore. As mentioned, the fuel pump is noisy – it sounds like a supercharger running. This hasn’t/doesn’t affect performance – just picking its noisy bearings. However, you won’t hear much of this over the exhaust and general noise while driving on the open road!

It’s certainly not a ‘fast’ truck. It tends to like cruising around 90, but the stage 2 remap makes it feel much perkier than others. It hasn’t been used for a lot of towing, but when it’s had a boat or a trailer on the back, you hardly notice they are there.

I have pulled off the ‘company branding’ – but will leave the window stickers on there – easy enough to remove if you want.

I will get it professionally groomed shortly – but I figured I would put it up now to see if anyone wants to save me the trouble! 😉

Extra photos – the truck isn’t configured this way anymore…

The truck doesn’t come with the rooftop tent – that came off a while ago, and the front bumper has been upgraded since these earlier photos…

Welcome to Good Blokes!

0

When I first started The Bloke, it was a result of me making a few significant changes in my life, namely, stopping working in nightclubs doing the sound, less focus on DJing and Music, and wanting to get back out into the bush, tramping, and, as it turned out, hunting and shooting.

I have spent over a decade in the music industry – I was jaded, cynical, and ready for change.

However, I still had an interest in the content creation side of things – I thought, even then, the writing was on the wall for the traditional style of media output – magazines and TV. It seemed obvious to me that the internet delivery methods, then primarily the early days of YouTube (and probably still myspace), were destined to take over the old methods. I really liked the idea of documenting what I was doing and was also keen to ‘reclaim’ the notion of what indeed, the definition of a good bloke was.

By my observation, being ‘blokey’ meant playing rugby, drinking beer, driving cars and objectifying women. The stereotype of Barry Crump was strongly associated with the image. I didn’t really think that was what being a man, bloke, fella really was, and thought claiming the name would be a start of redefining the image and term.

Ironically, at the time, NZ Blokes was also growing – which was mainly girls, cars and electronics – which, to be fair, are still all things I was interested in – maybe it was simply the design esthetic and way it was presented I wanted to reframe.

It was also just me – i.e. The Bloke. Singular. Rather insipid and borderline self-absorbed.

For various reasons, some of which I am working on dealing with only now, I have managed to keep most people at a certain distance from myself. This directly relates to events in the past that have left scars in regards to trust that I am still only recognising and working with dealing with.

I am not sure if it is age or parenthood, or just hitting a certain low point in life, but one day you realise that there are actually plenty of people around you, offering and willing to help out, become friends and generally interact, and you also realise, that you have been telling yourself, and the public that the reason for the site was about educating others, not some long term solo project.

What I have basically realised though, is this site is not about me. Otherwise, my Instagram feed would be full of selfies of me in front of whatever it was I was doing. Which has never been my style. It has always been about trying to provide information for others because I was looking for a lot of it myself, and not finding it. This site was intended to not be about ‘The Bloke’ but about all blokes – and helping all of us improve.

I have also been working to refocus the podcasts and interviews recently as well. The original intent, waaaaay back in audio days, was to create a show that captured those late-night conversations between guys, you know, those ones where you solve the world’s problems, or at least, share some of the challenges and issues that you might be facing. It has occurred to me, that not everyone has actually had the opportunity to have those conversations, and simply modelling them, publically, is likely to do more good than talking about the need to have these conversations. I am very aware that #mentalhealth has just been turned into a hashtag – and the reality is, we simply need to open up more and trust that others are wanting to hear what it is we want to say.

Precision Shooter will be staying around for a while – and I will be working to move most of the shooting related content over to there – not because I am trying to distance myself from it – but because I am aware that more focus on areas also helps people find the content they are looking for. Good Blokes will be more general, developing ourselves as better blokes, Precision Shooter will the competition shooting and reloading, GunSafe will be the firearms safety, Gearlocker the eCommerce, and who knows what else might pop up. Also, whatever your thoughts on it, it’s a simple fact that most social media site algorithms do gun-related content no favours – regardless of its intent. The AI isn’t very nuanced when it comes to intent. A gun is a gun is a weapon. I am a little tired of battling with that system.

So, here we are. Good Blokes. Better Blokes. Blokes on the Ropes, and no doubt a pile of other catchy taglines I will come up with!

Avoiding spoilt meat – some causes

0

There is a wide amount of reasons meat gets spoiled in the field – ranging from a little gamey tasting to a rank rotten mess. However, good handling and processing practices for animals goes a long way, gets the most out of the kill and pays the respect due for taking an animals life. Take your time, do it right, enjoy the results.

Membership Required

You must be a member to access this content.

View Membership Levels

Already a member? Log in here

Bookers Single Barrel Bourbon

0

Bookers Single Barrel Bourbon

Bottler: Jim Beam (Beam Suntory)
Age: 6-8
Region: Kentucky
Alcohol by Volume: Varies – around 65%

Wow.

From Wikipedia –

“Booker’s bourbon is one of the small batch bourbons produced by the Jim Beam distillery, which is owned by Beam Suntory (a subsidiary of Suntory Holdings of Osaka, Japan). Having the highest alcohol content of the brands in the Jim Beam “Small Batch Bourbon Collection”, it is a cask strengthbourbon. It was personally selected from barrels by Jim Beam‘s grandson, the late distiller emeritus Booker Noe. Noe originally bottled this straight-from-the-barrel bourbon as gifts to close friends and family, but eventually made it available to the general public, starting in 1992. Each barrel of Booker’s bourbon was hand-selected by Noe and was aged at the center of the rackhouse, where the company says that the temperature and humidity are the most favorable for fine bourbons. Booker’s bourbon is aged between six and eight years and is bottled un-cut and without chill filtering at its natural proof between 121 and 130.6. While it is not necessary to cut the bourbon with water, a splash or two of distilled water is recommended (by Booker Noe) to unlock some of the flavor.”

This is a phenomenal bourbon.

I think it’s the slight sweetness that has drawn me to the Bourbon Whiskeys. If you had asked me a couple of years ago if I would be drinking them I would have likely answered with a resounding no! But in the last couple of years, I have started getting into my Whisk(e)ys, headed towards the Rye and now also find myself drinking a lot of Bourbon.

The Bookers Single Barrel is great. Because it is cask strength, you can sip it straight and get the alcohol burn that some of us actually enjoy, or water it down just a tiny bit and release some of the more intricate flavours. I tend to do exactly that – start with a sip, then add a little water. The best of both worlds!

Taste wise – all the normals – tobacco, tannins a bit of spice and fruit. Just done so well!

ROAD iD – emergency id for yourself, your loved ones.

0

I have two little girls. One who likes to stay close, and one who likes to boldly run headlong in whatever direction we might be heading in. While I love her enthusiasm and zest for life, as a parent, it also makes me a little nervous.

Putting on our courses, I have always collected ICE1 contact details for participants. Should something go really wrong, you need to be able to contact someone in relation to the event to notify and get things sorted. As a result, you become aware of the need to have it yourself, and, in the case of kids and family, you start to want to extend that preparation to them. While, as a kid myself, I actually had a set of dog tags made up for me, I wanted something a little more modern for my little ones. Enter, ROAD iD.

ROAD iD

ROAD iD is a company based state-side, that seems to have formed as a way for endurance and adventure athletes to carry ICE information on them. However, they have a wide variety of tags and formats available, from kids through to pets.

I was keen to keep it (relatively simple) and after a couple of tags on bracelets for the kids.

There are a few companies out there offering a similar product these days – tags on bracelets, tags that go on watch staps, a variety of straps and so on, however, ROAD iD offered something a bit extra that caught my eye.

I am well aware of the Medic Alert style bracelets around – bracelets that carry a bit of extra additional information for first response units – blood type, diabetes, other medical conditions. ROAD iD combines ICE information with an online portal that can provide the First Responder with any and all additional information you care to provide them.

On the back of the tag is a code and pin, that, when entered into the clearly identified site on the front of the bracelet (they can also call and talk to someone, with an NZ phone number) provides a massive range of contact and medical information. On the front, has the basic contact information (i.e. me), D.O.B and full name. The kid runs away? Look at her wrist and you can call me. If I don’t answer, the tag also can get you in touch with their mum, their grandmother and so on.

In addition, you can include a full medical history, allergies, previous issues and so on. Instructions to first responders, worst of worst, organ donor preferences and the like. Basically, there is a full online profile that is kept private, unless someone flips over your band and gets the details. If someone calls or checks the website, there are also full instructions as to how to access that information. It’s designed and made for the responders to be able to get additional information quickly and efficiently. Simple as a lost and distressed kid? My mobile number is front and centre!

The Bands

Probably the toughest decision I had to make was the band colour choice!

There is a wide range of types of bands – from the simple silicone stretchy band (still in a large choice of colours though), nylon bands with simple velcro closure, heavier bands with clasps, leather bands, and of course, seasonal limited-edition options!

I choose myself a simple grey, velcro loop over, and got silicone stretches for the kids. I figure the missus can choose her own, should she decide to get one, and because the id tabs themselves are switchable/removable – you could end up with a band to match every outfit, should you choose.

Ordering was easy, with an online form to add in the front face information you desire.

When they turned up, I was surprised to find (which in hindsight, makes perfect sense and was probably mentioned on the site) a variety of sizes of the silicone bands for the kids. Both (3.5 and 5) fit the middle band, so they have growing space available.

The packaging itself was fun, clearly displaying a sense of humour and enthusiasm for getting out and exploring the world, and, as an aside, the referral ‘hat’ has to be one of the best bits of marketing/fun I have seen for a while!2

Wearing and Responsibility

Part of getting these bands was also the explanation to the kids of what they are, and what they are for – explaining why dad would like them to both wear them while they are out, what to do if they get lost, in trouble, and when they take them off (though they can be worn nearly permanently, really) how to put them somewhere safe that they remember so they can put them back on later! It’s this last bit that is proving to actually be the important bit – as they are currently quite used to taking things off and putting them down wherever – so ‘where is the band’ has become quite an interesting question for them to hold in their heads.

I know, I know, it’s just something in my head – but I do feel a little safer with the little ones having these on. Just to know, that while they are just at that age where they don’t have all this information remembered in their heads, and, are also unlikely to be able to relay it while worried they might be lost, they have basic contact information handy.

For me personally, I am comforted, that, should I be unconscious (or worse), I still have the same on mine.

Back Country Hunters

Apparently, talking to a few guys I know in the LandSAR and Policing fields, it is not that uncommon to come across a hunter, bush basher or person who is unconscious and actually has no ID or ICE details on them at the time. While I would tend to carry my wallet on me, even in the bush, I guess I could see some being left in the glove compartment, or, packed right down the bottom of the pack where most people aren’t going to find them anyhow.

For emergencies, or, let’s face it, recovery – to me it’s nice to know the next of kin can be notified quickly and efficiently – rather than left waiting and wondering. Hopefully, it never gets to that, but still nice to have covered off.

Yes, I am sure there are a few of you out there still wearing dog tags, this is just the modern version. Get a ‘pet’ tag and lace it into your boots as well, if you want. 😉

The App

One surprise, which was an unexpected bonus (and free for you to grab as well) is the app.

Kinda a companion, but still very valuable in its own right, the app does a couple of things.

Firstly, it works as a GPS breadcrumb tracker, with notifications you can set up. If you then stop for a prolonged period of time – it will send out an alert to people you have chosen to notify. Now, for me, not so much in my usage case – but trail runners, bikers, and anyone primarily on long trecks by themselves, where stopping for a long period of time is a signal of an issue – very cool. Yes. You need phone coverage for it to work.

Or more interest to me though was a nifty little feature that creates an ICE contact form for the lock screen of your phone. Easy to set up, and now – if you pick up my phone and try to turn it on – it looks like this –


Yes, you could do this yourself – but this was so easy that I have actually done it now. I have photoshop and the like – knew it was a good idea but hadn’t got around to doing it. This app got it done for me in a couple of minutes. Even if you don’t get a band – this is a really cool idea.

So… now what?

Not much. Wear them, hopefully never need to use them.

I will likely get myself another basic silicone band, as, having looked at my velcro options, and any of the buckle options, I have concluded that, form my use, the simplest, unlikely to accidentally open up if caught on something option is the best option. Thinking a red silicone band.

We will sort something for the partner – but she can choose her own colour and look.

But ultimately, to me – this has been an easy project in increasing piece of mind. Well worth it!


  1. in case of emergency 

  2. you will have to get some to find out what I mean!