Pretending to be a navy seal with the Garmin Tactix
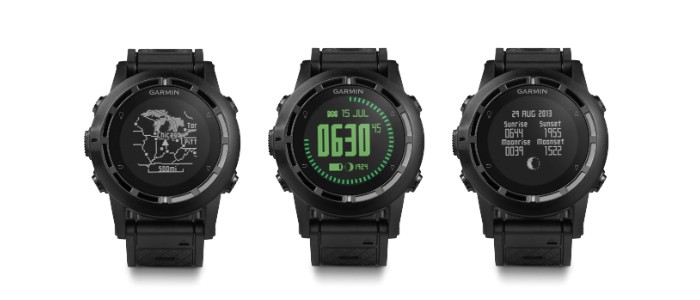
Yes. I was taken in by the marketing. I mean – it’s got Tactical practically in the name! The Garmin Tactix caught my eye while looking for a watch for the outdoors. Primarily, I wanted to get a digital watch to replace my Tag Heuer watch that has served me well for many years, but I did want a couple of digital features – like a stopwatch and an alarm. Stopwatch to record my walking time more accurately, an alarm to wake me up before sun-up while hunting.
Look online, I initially had my eyes on a Suunto Elementum Terra – A well built digital watch that added some functionality like altitude and air pressure measurement. However, in the back of my head, I was also aware of the GPS enabled watches like the Garmin Fenix and Suunto Ambit.
Because I do tend to read a lot of Tactical and Military style blogs, the Garmin Tactix also popped up. After much comparing of the Tactix and the Fenix, I decided to go with the Tactix. Reading online – the one potentially useful difference was the ability to have the Barometer run separate from the Altimeter – therefore having an ability to track weather trends. In reality – yet to see/utilise/fully appreciate that difference – so if you are after the short version – just get the Fenix 2, save some money, get the newer hardware.
This isn’t a product review
Just putting that out there. There are already several in depth feature reviews online – the most comprehensive being DC Rainmakers review of the Tactix. There probably isn’t much point in me just repeating what he has already said. This article is more about how I have been using it in my travels – how it works into my navigation system.

Map, Compass and then GPS
I can’t stress enough how important it is for people to first understand how to use a map and compass. This has to be the fundamental practised skill when navigating. Maps don’t ‘break’, then don’t run out of battery and the settings on them don’t mysteriously go out of whack and send you off in the wrong direction.
Like any other skill, navigation requires practise – and I have found one of the best methods of practising is heading out into the local bush to test yourself.
In my case, I will wander off into the Waitakeres for a day. The great thing about some of the more used parks is that there are going to be heaps of established tracks around. You can use these as hand rails to ensure you never get too lost if heading off track. I am going to presume at this stage that you can follow a map and a track well enough.
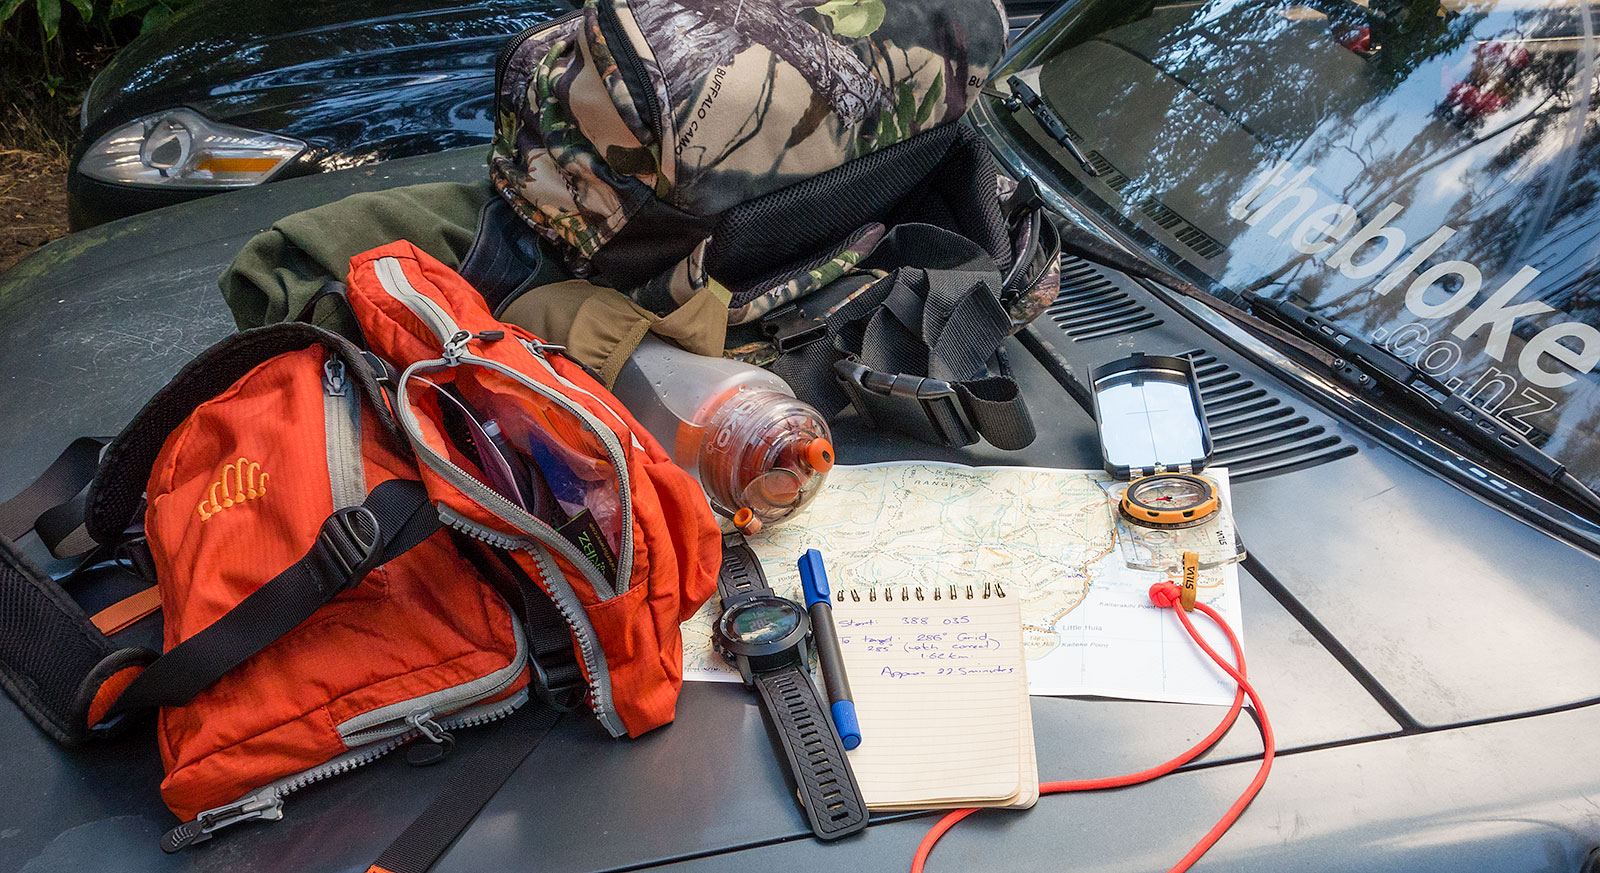
Anyhow – this is what my practise generally looks like –
Step 1 – Figure out where you are
Work on identifiable landmarks first, ideally from hardest to easiest.
Obviously, I could have just said, well, I am in the carpark at the head of the trail. This is where I am on the map. However, that doesn’t really push you at all. Look at any hills or mountains you can use. See a Trig Point? Easy. This is also a really good time to practise some resectioning with your compass and map. Take 2 identifiable points, and work backwards to where you are.
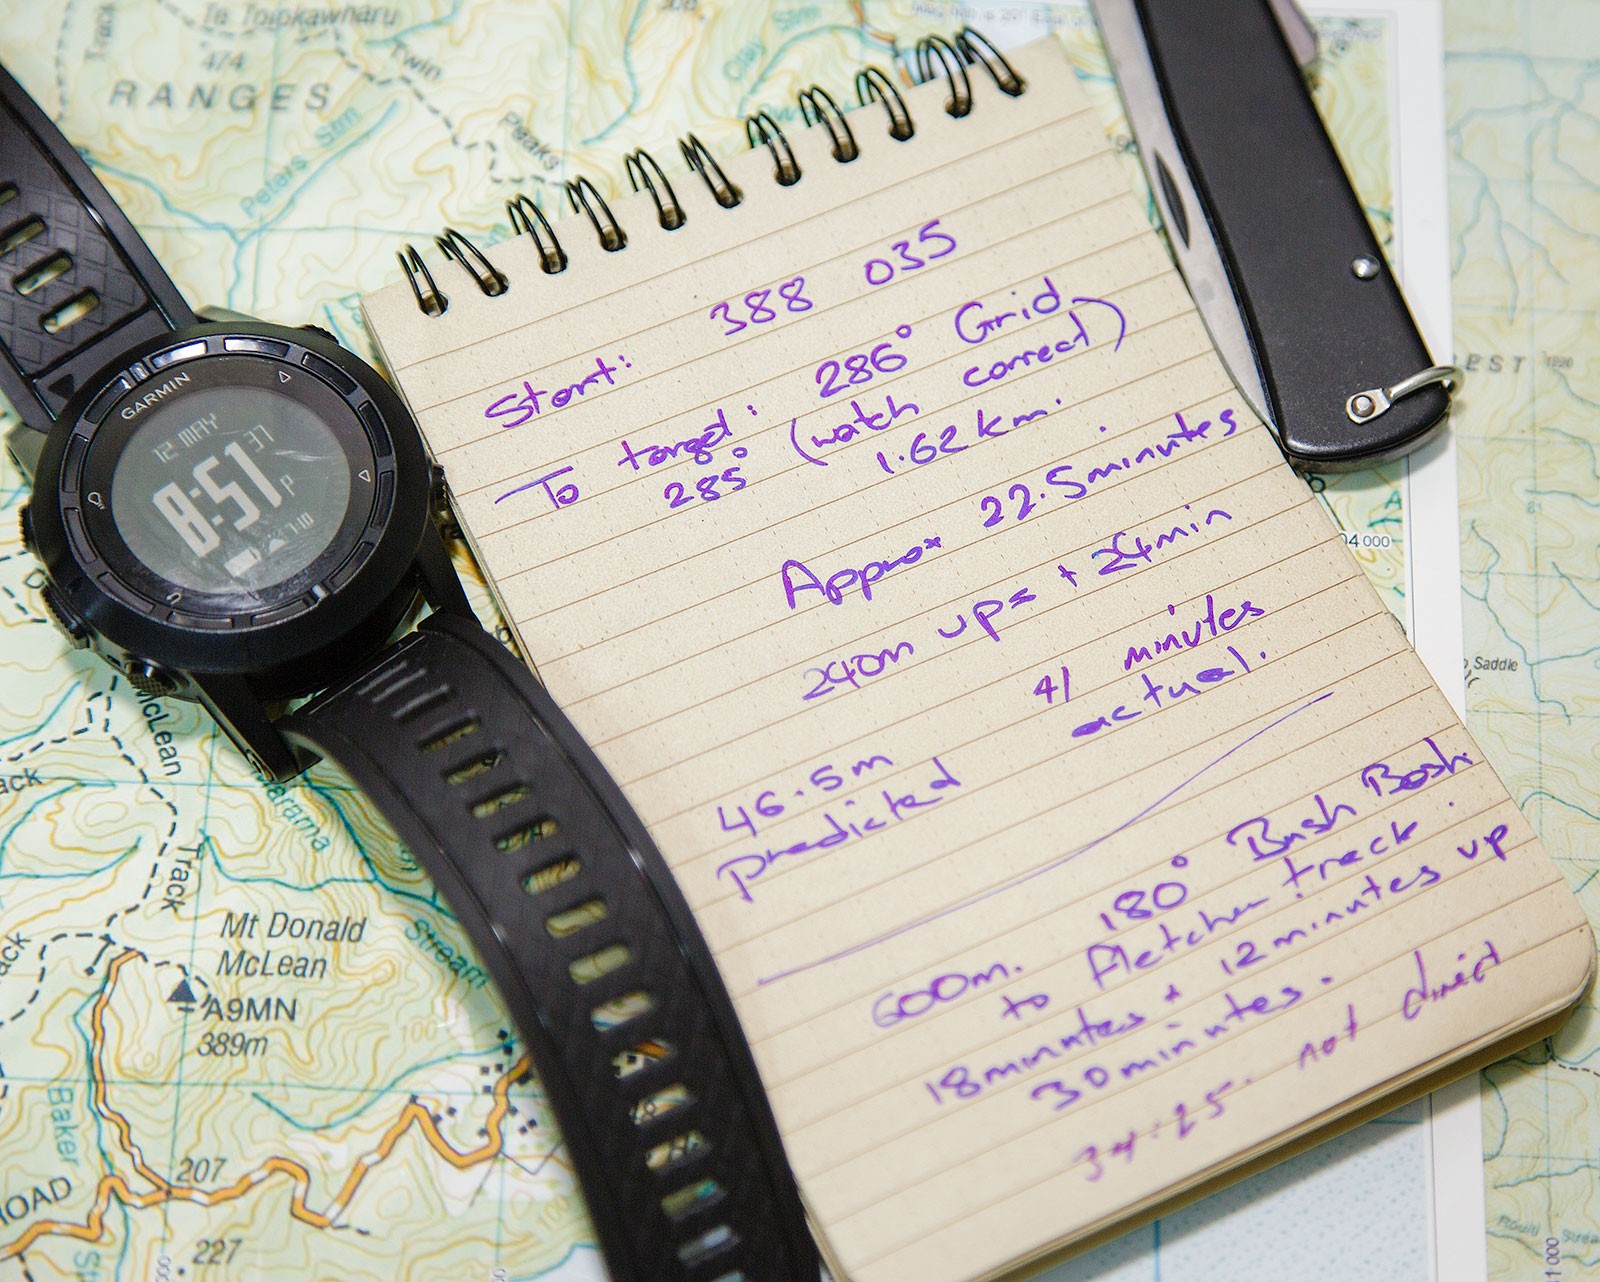
Once I have a good grasp on where I think I am, I write it down. This keeps you honest and lets you track how accurate you are. Get yourself a grid reference. Then you can check it.
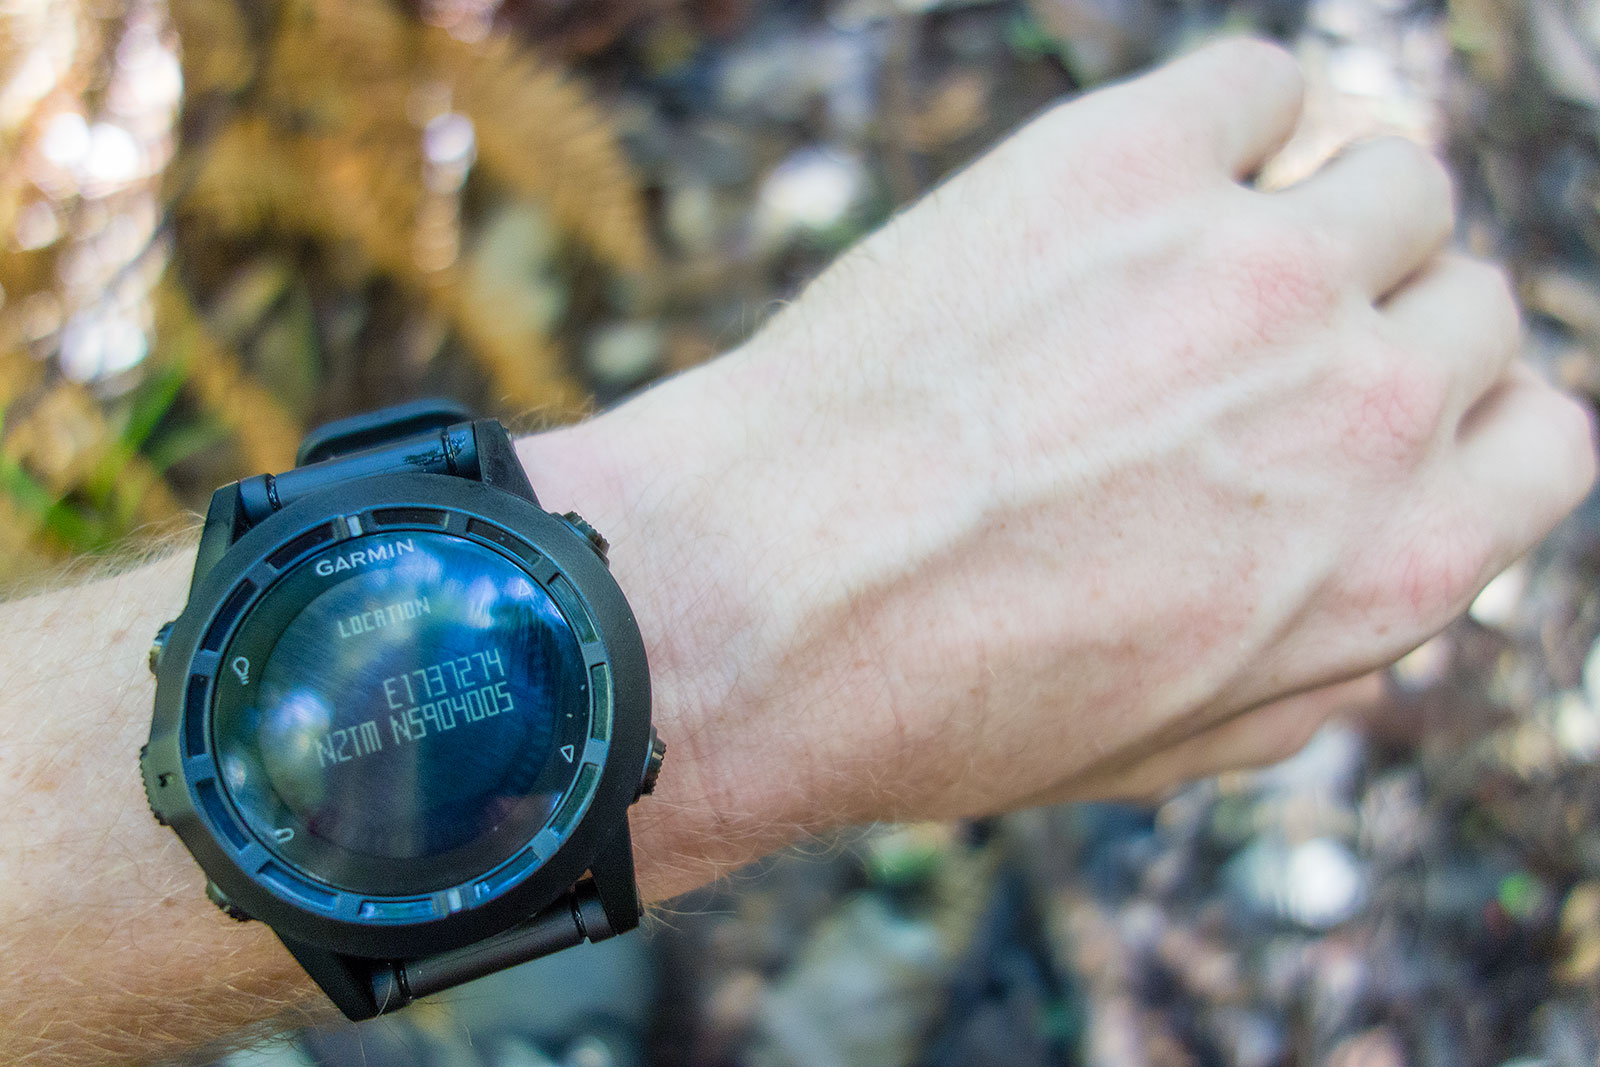
This is my primary screen for all my GPS navigation. Really, I just want it to confirm that I am where I think I am. This is also one of those good moments to make sure that your device, be it a watch, handheld GPS, whatever – is actually set up correctly. I am primarily using Topo50 maps. So that means my system needs to show NZTM, and be set to Datum WGS 84. If you don’t understand this, you are going to have issues using a GPS in conjunction with a map. If you don’t know at all what this means, you are also likely far too dependant on a GPS to be relying on it out in the bush. Just saying.
Once I have confirmed I am within 100m of where I think I am (we are realistic here folks) I can move on to step two.
Step 2 – Figure out where you want to be
Again, put the GPS away. Get out that map and compass. Figure out somewhere to go too. If you are just getting going, start easy – choose a track junction, or something else that is going to be easy enough to identify. Plan a route. If you are not heading directly there, this may take the form of several legs. Regardless, what you want is an idea of bearing and total distance.
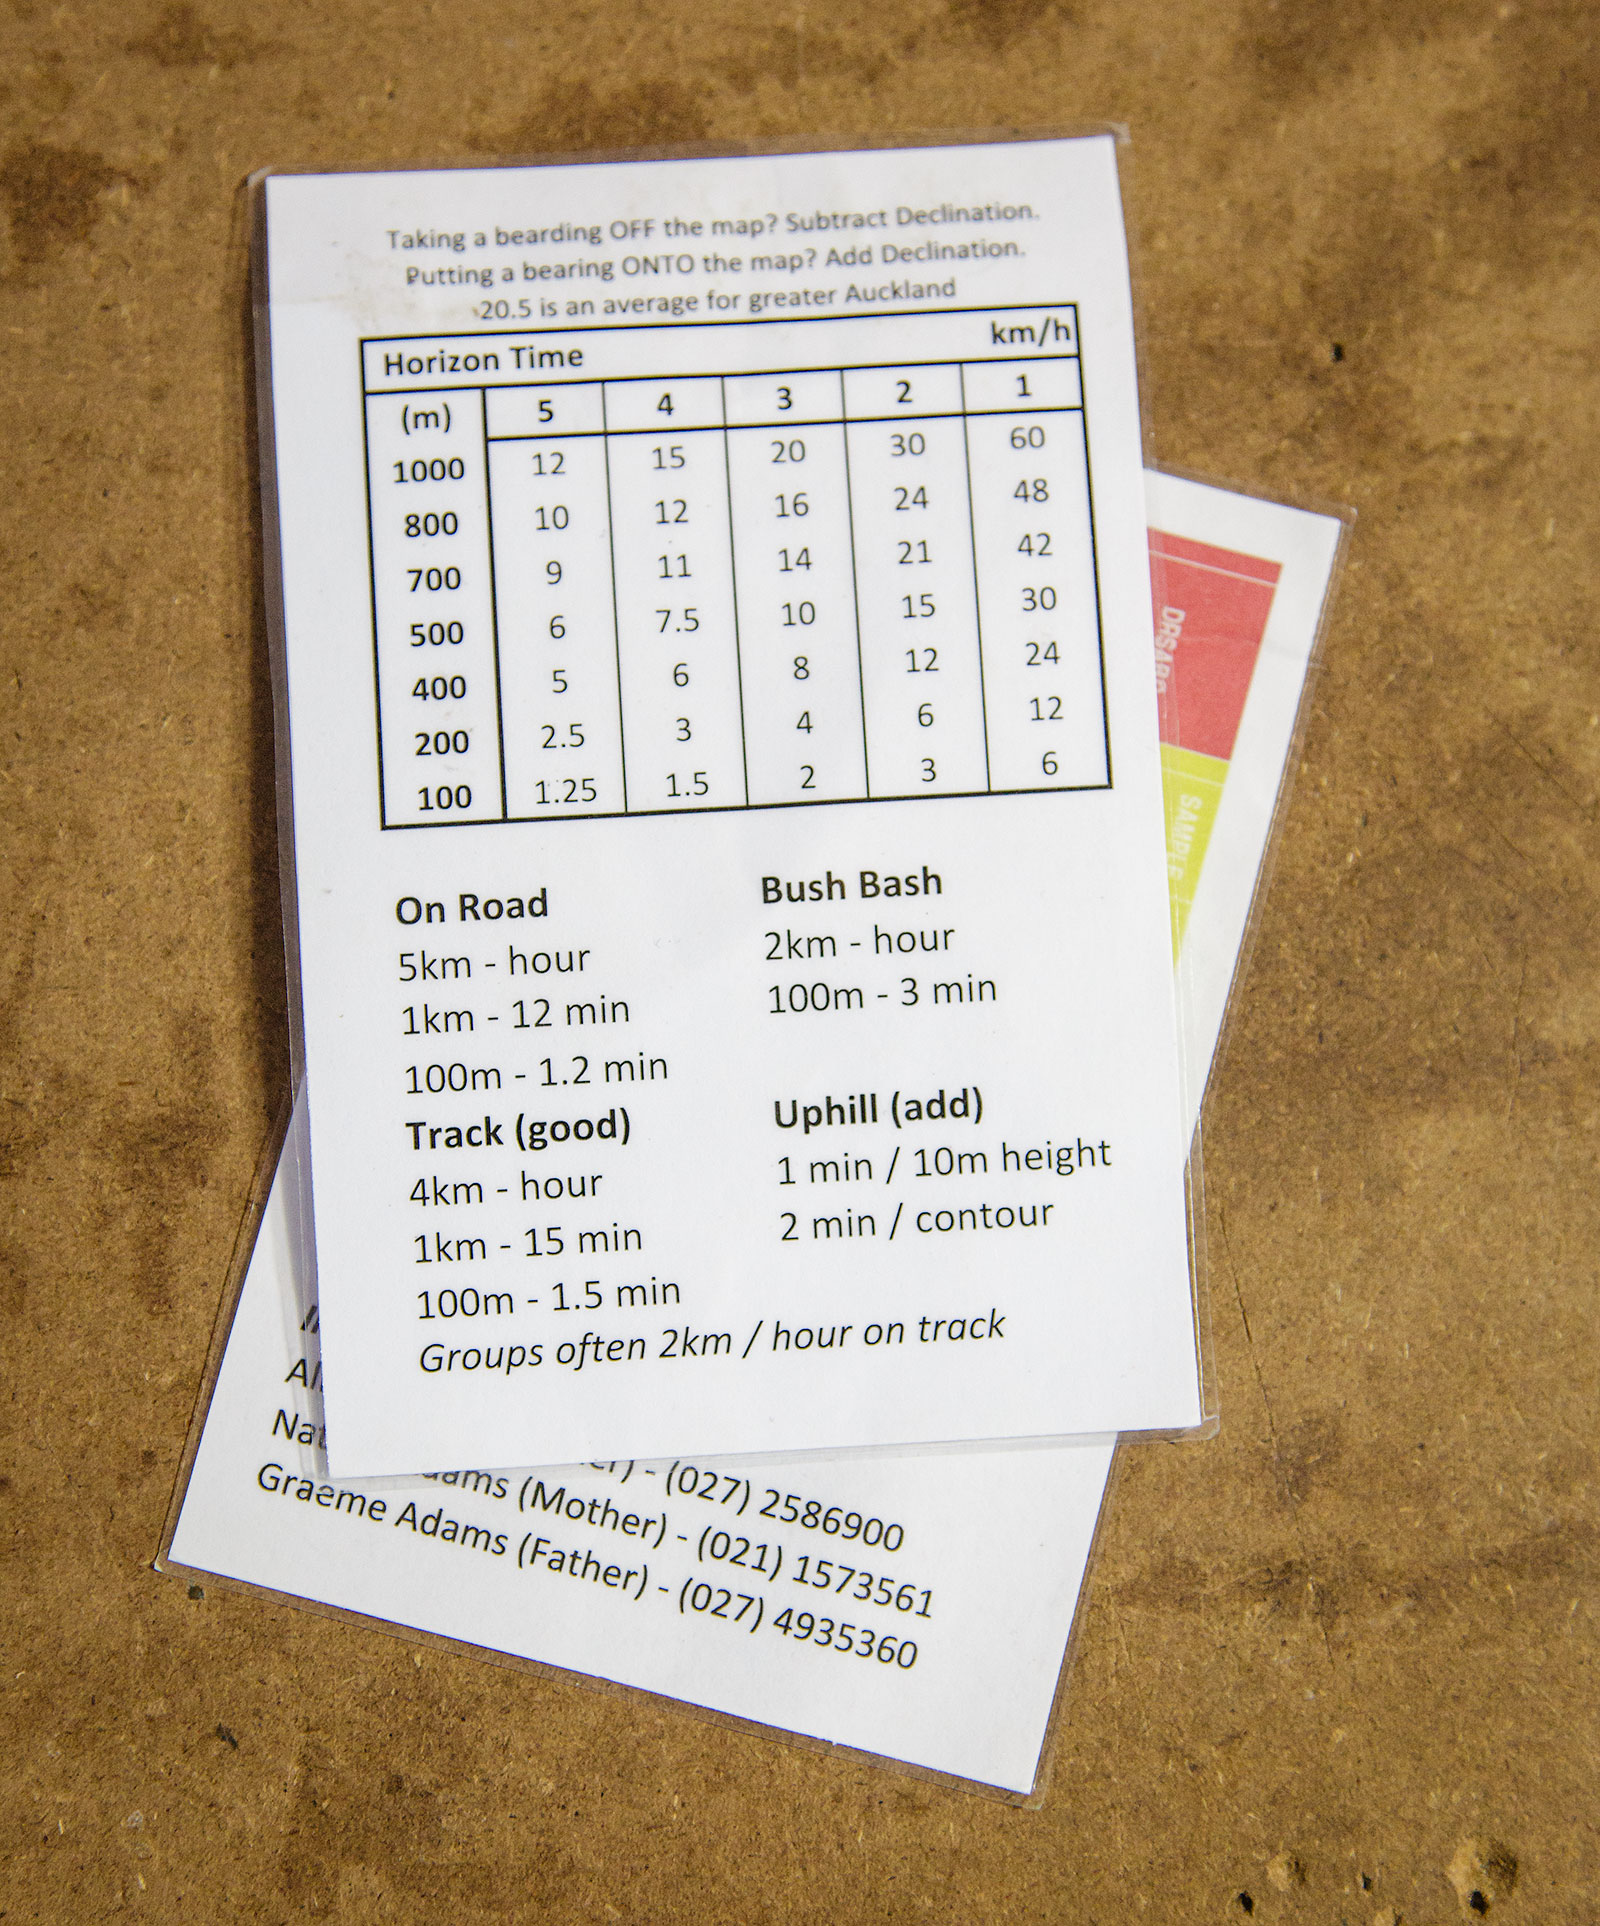
This is where a little bit of history comes in handy. I know have a card which I regularly update, which has a couple of useful bits of information on it.
It is a record of averages – based on how fast I move in certain situations.
Whenever I head out, I review it and see if something needs changing.
For example, to keep it super simple, say I know I want to travel 1km, on track and I will also be climbing 60, or 3 contour lines on a map. Looking at my chart I can estimate it is going to take me 15 minutes, plus 6 minutes for a total of 21 minutes to get there. Remember, this is only an estimate – but really, that is all it needs to be. If I am still travelling after 2 hours, I am going to know something is wrong.
Once you have all this information (written down) – you can set your compass, start the stopwatch (yay Tactix!) and go.
Once you get to your point and have identified it, either through the terrain features you are using for a catching feature – like a track junction, for example, confirm your location via a grid reference, then see how close you were timewise as well. Then rinse and repeat.
Using the GPS a bit more
Once you are comfortable essentially navigating with map and compass, simply using the Garmin Tactix to double check your calculations, you may want to also practise using the GPS to aid your navigation a bit more.
Now, I never just put in a waypoint and follow the GPS to it – looking more at the screen than the area around me. That’s a really good way to either miss any animals you might be trying to stalk, miss the nature around you and miss that gully you have just managed to walk yourself down into.
Instead, I will just use the Garmin Tactix to do some of the manual calculations for me.
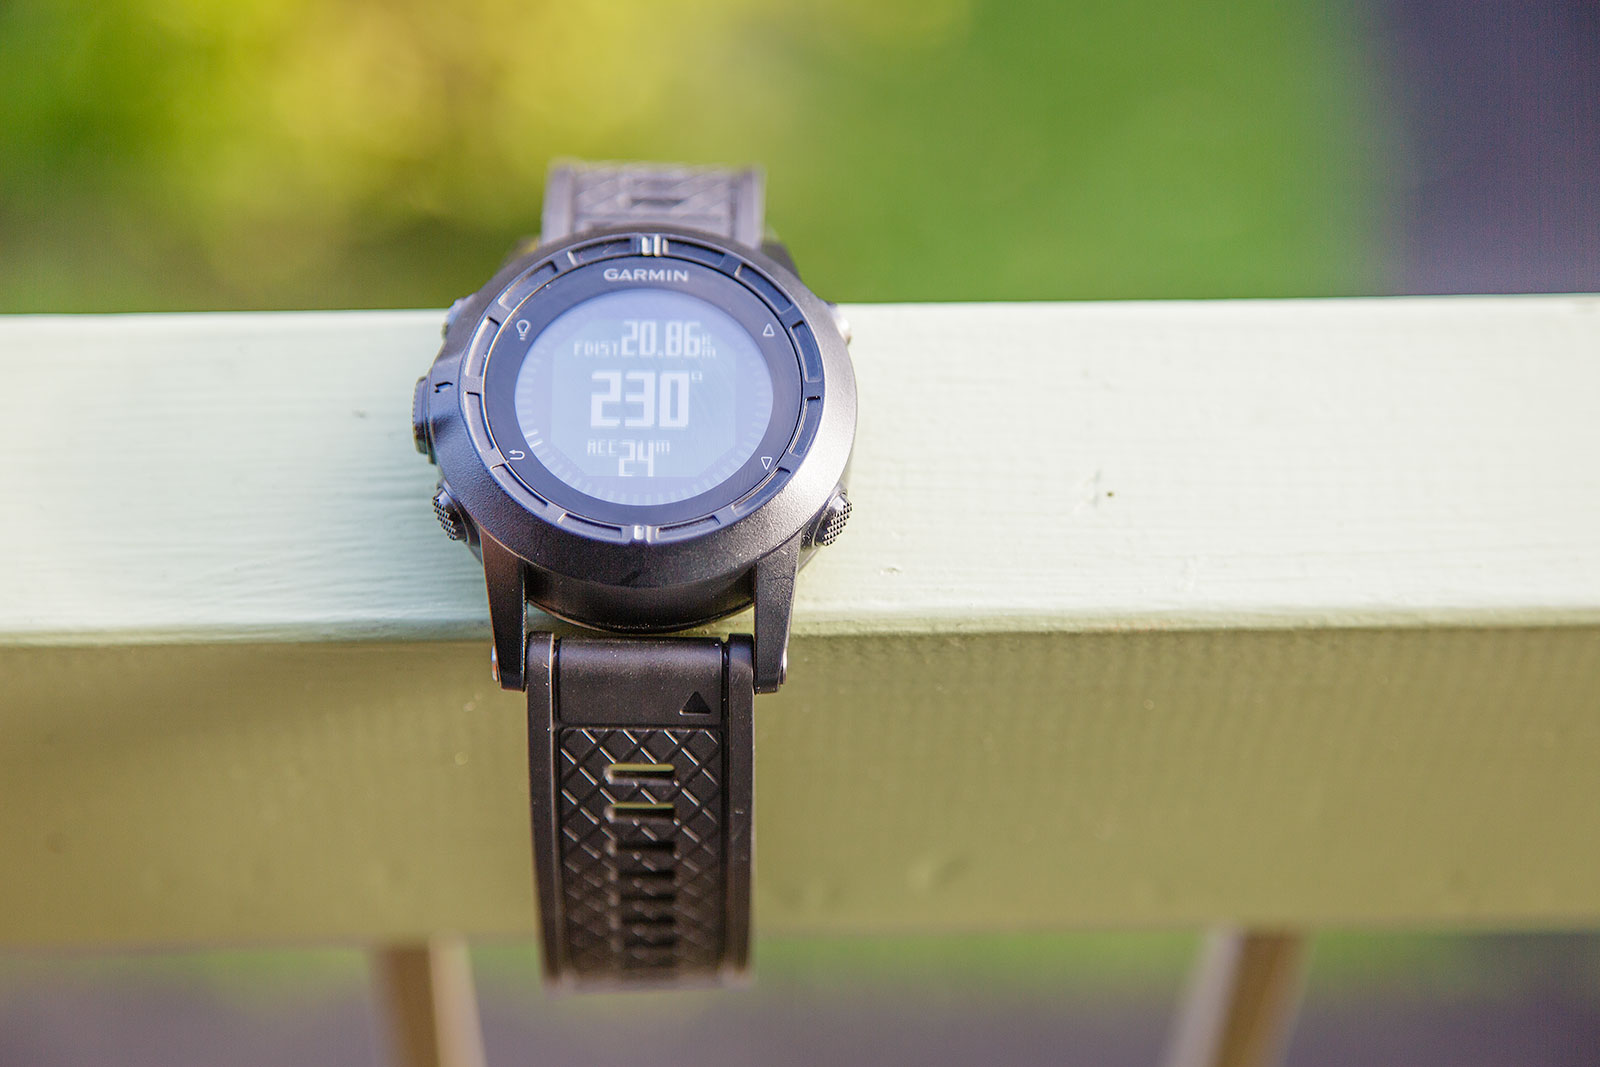
With the Garmin Tactix, you are able to enter in your target Grid reference and then set it up to display the information you require to get there. In my case, I have set it to display distance, bearing (in grid – compensating for magnetic declination so it translates directly to a map), GPS accuracy (as a precaution) and the outside ring basically points to where I need to go. Normally, I have my compass around my neck – so I just match the bearing and go.
This means I can ultimately wander/stalk in the correct direction, occasionally referring to either my compass or watch to ensure that I am not drifting too far off to one side. In my case, I know I have a natural tendency to turn counter-clockwise. We all have a preference – test yourself!
However, it means I don’t totally turn off my location awareness – I am still aware of the direction I am heading, and more importantly, I am still spending most of my ‘headspace’ looking outward – being in the bush, not just navigating on automatic.
I have found, the best way to not get lost, is to not lose track of where you are in the first place. Simple. If you always know where you are, how can you get lost?
Even with all these gadgets, it is important that you still remain aware of your location and surroundings. Don’t totally trust the GPS to get you there. Because it just might fail you and you could realise you have been walking for an hour or two and don’t actually know where you are. It happens.
The Watch itself – my thoughts
Size
While this isn’t a traditional review – I do have a couple of thoughts on the unit. For a start, it is big. Real big. However, what is interesting is that now I am used to it, I find my other watches small and it is certainly smaller than my E-Trex 30.
Satellite Fix
It takes quite a long time to get a satellite fix. As in, minutes sometimes. It has always got one, even under tree canopies, but it is a lot slower than the E-Trex 30 – with I think in no small part is due to the GLONASS the 30 has. However, for what I am using it for – it doesn’t really matter. I am simply turning the GPS on, getting a grid and then generally turning it off again. This also maximises battery life.
Battery life
Much better than I initially thought. While some of these watches will say they only have an 8-hour battery life with GPS, you have to remember, at least the way I am using it, is that I am only using the GPS for a couple of minutes at a time, not leaving it running to track my course. Yes, if you want it to record your track on the Garmin Tactix, you are going to need to recharge it – and right here is one of the little tricks with this watch. It requires it’s own charger, and the charger will only plug into a USB socket.
This means, unlike the E-Trex, you can’t just swap out the battery on the Garmin Tactix and be on your way. Part of my original plan was to cut down on weight by replacing the E-Trex with the Tactix. In reality, if I am out overnight or even two, this is the case. The Watch will easily get me through 72 hours with intermittent GPS use. Longer than that though, and you start looking at charging solutions. In my case a Solar Monkey – however, that is another article.
Does it replace the handheld GPS?
Yes, and no.
If you just want something that can give you grid cords, then yes. It does. For most of the time, this is all I want. However, for example, when I want to record my track – say during SAR exercises, then no – the battery just isn’t up to it. So in that case – I will likely end up carrying both. Redundancy is always a good thing when it comes to electronics anyhow… It’s just more weight!


