The Tarp Shelter
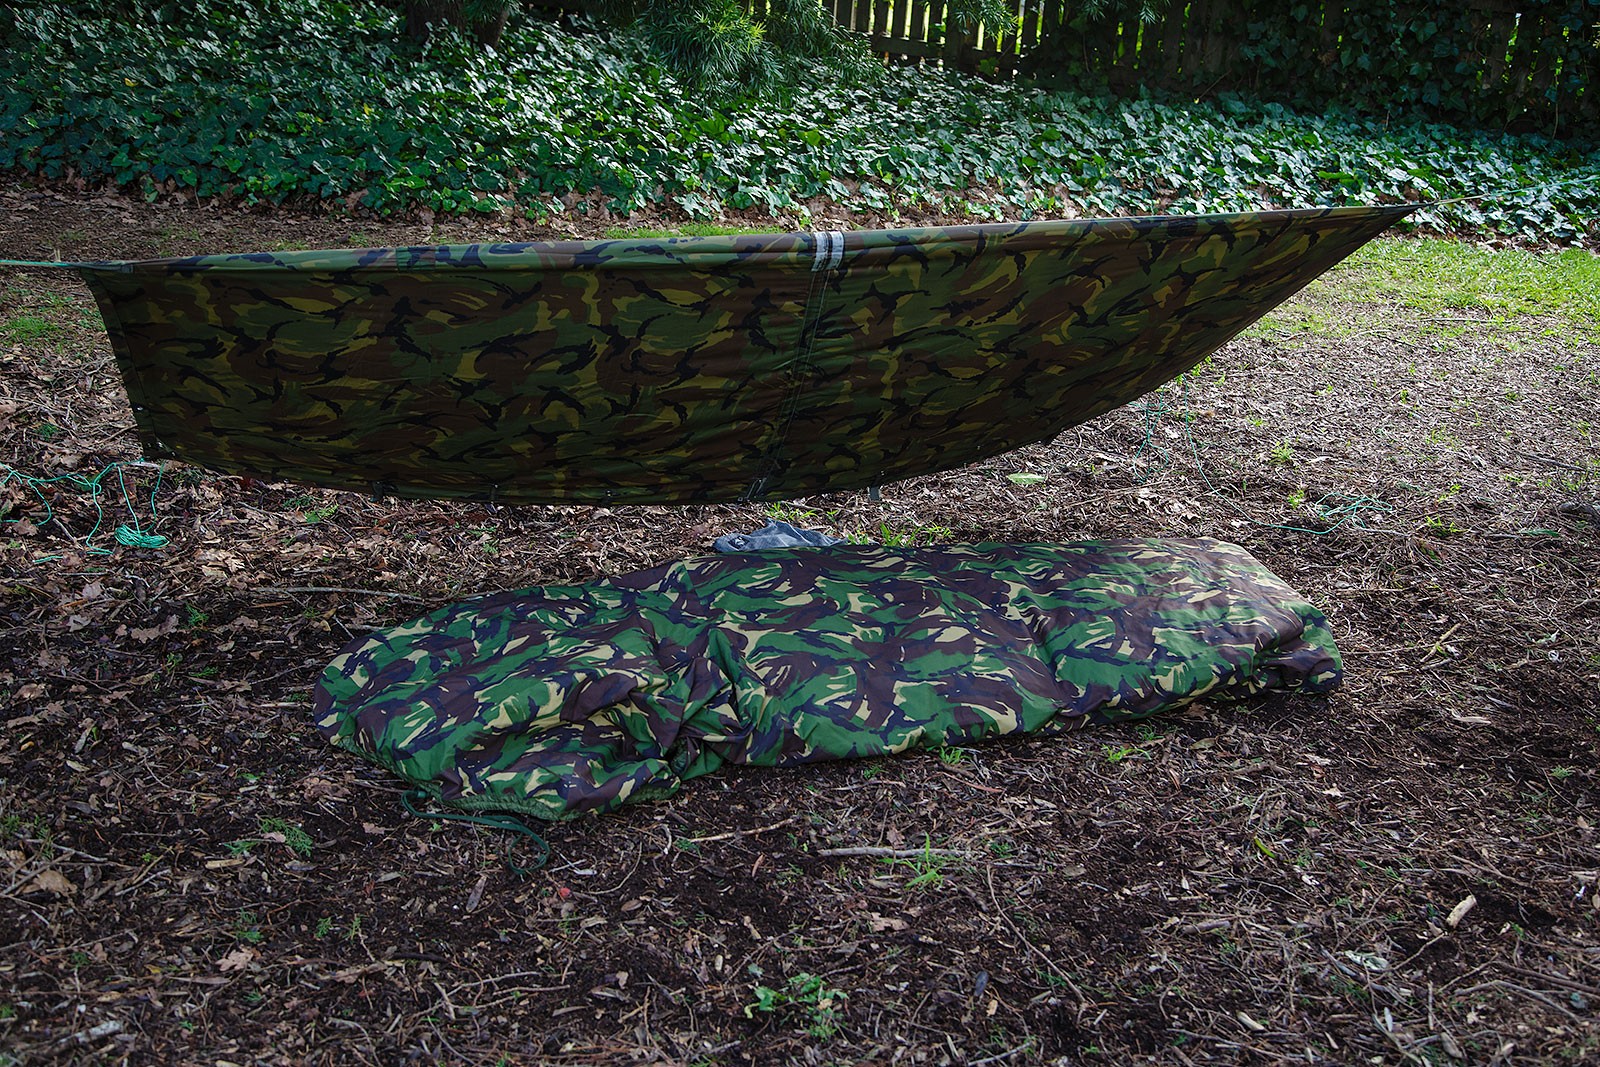
I was introduced to the idea of Tarp Shelters during my early Bushcraft courses with the MSC1. They were suggested as a good option to try. So I promptly headed out to the Military Surplus Store2 and grabbed myself a British Basha. Tarps, Bashas, Hoochies, and different names for fundamentally the same thing. A flat sheet with tie outs all around the edge, designed to be tied up in a myriad of ways. At one end of the scale, it’s a purpose designed, lightweight system with tie-outs all around and all sorts of trickery, at the other – it’s exactly what you find in the warehouse for covering over vehicles when not in use.
Never looking back
It’s been a case of switching to a Tarp, and never really wanting to go back for me. The Tarp shelter seems to be one of the easiest, most versatile systems out there. It’s potentially one that takes a little more thinking about to get into – and if you are used to having walls between you and the outdoors it can be a bit of a shock, but to me, nothing compares to waking up in the morning, and being able to see and hear everything wake up around you. Second only to the Bivy bag in minimalism, it’s a great option when you need a bit of shelter from rain or condensation, but want to be right in the surrounding environment.
Of course, this also means you are a lot more exposed than a traditional tent. Horizontal rain? I hope you also brought a Bivy – because, without a bottom, or, depending how you pitch it, sides, extreme weather has a much greater chance of getting in at you. Splashback can also be a problem – which is rain hitting the area around the edges of the tarp and basically bouncing back up under the tarp. On saying that, I have seem some tarps used in some slightly challenging situations.
The Versatility of a Tarp
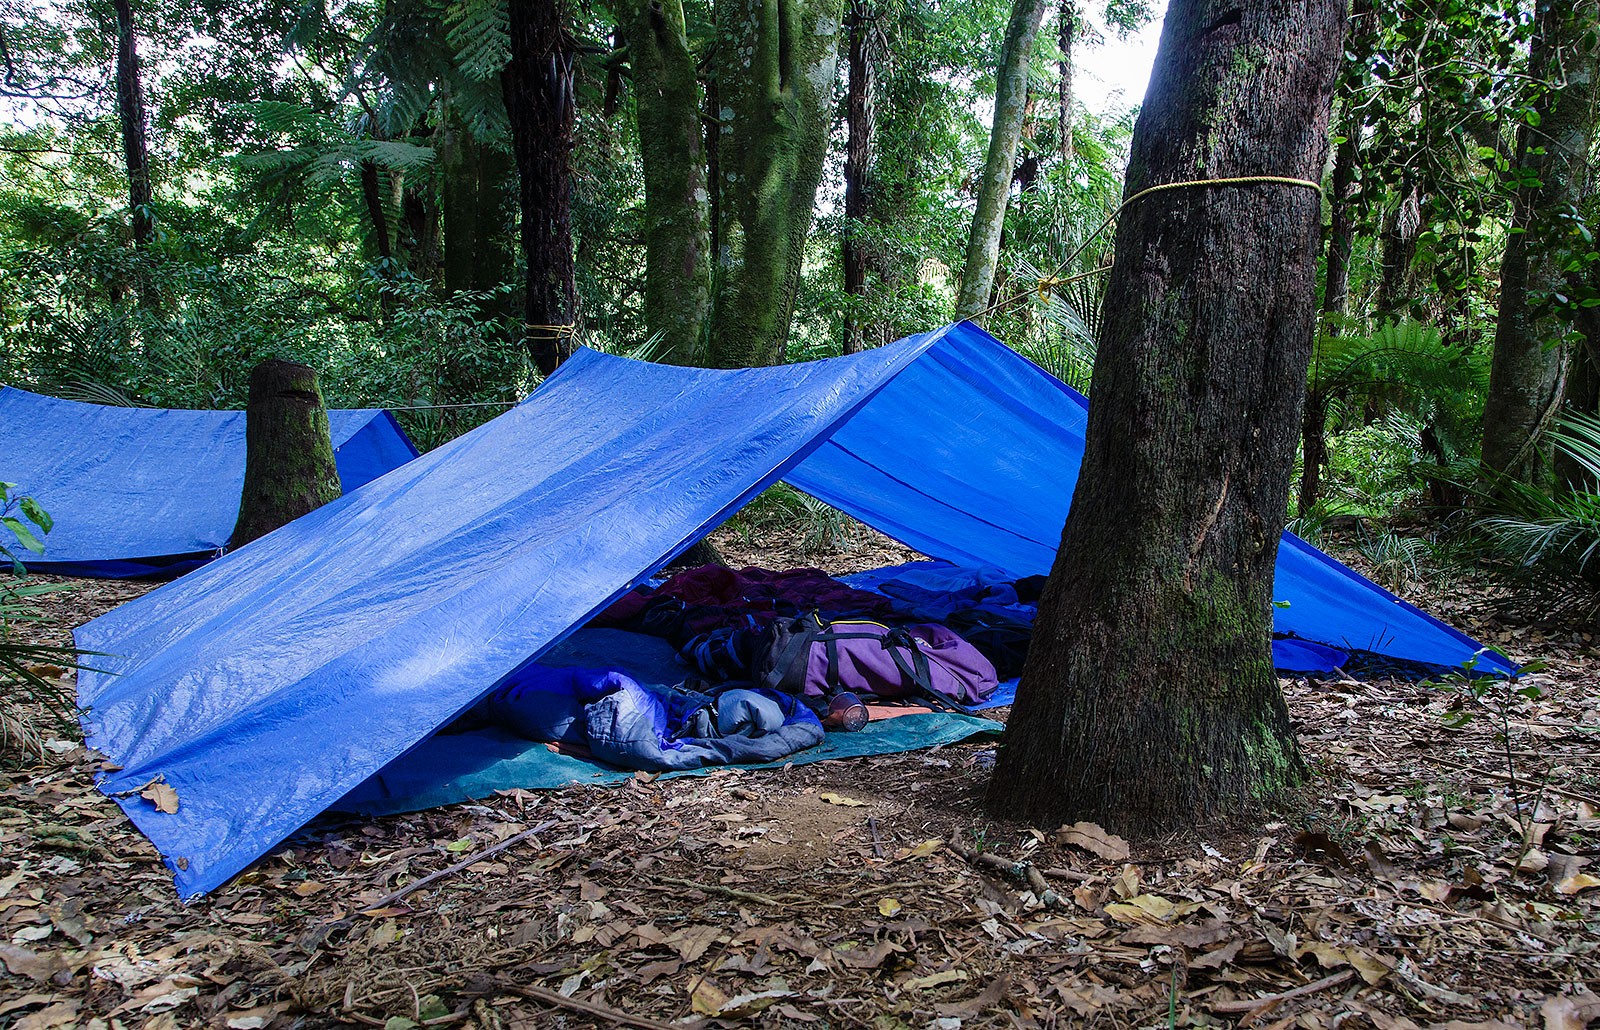
The great strength of the tarp is it’s versatility. The basic a-frame pitch requires a guyline and four corners held out. Pegs are useful, but rocks work. Don’t have two trees to string up the guyline between? Use a couple of tramping poles or even branches. With a little bit of creative thinking, the tarp adapts to nearly any situation.
I generally just use an a-frame pitch – it’s simple, works well, but ties in nicely with my hammock system. Put up a tarp quickly in the wet, and you now have a dry environment to work underneath.
There are plenty of other options when it comes to pitching a tarp – some add additional protection to the set up, some become almost origami like in their construction. I really need to get out and try some more variations. Even if you don’t use them when outback, just knowing how they work gives you more adaptability in pitching you tarp.
Important Tarp Additions
Many people under a tarp are also using a bivy. This is to protect the sleeping bag from any splashback or rain that may get under the tarp. This also means if the weather is looking fine you can drop the tarp altogether and just sleep in the bivy.
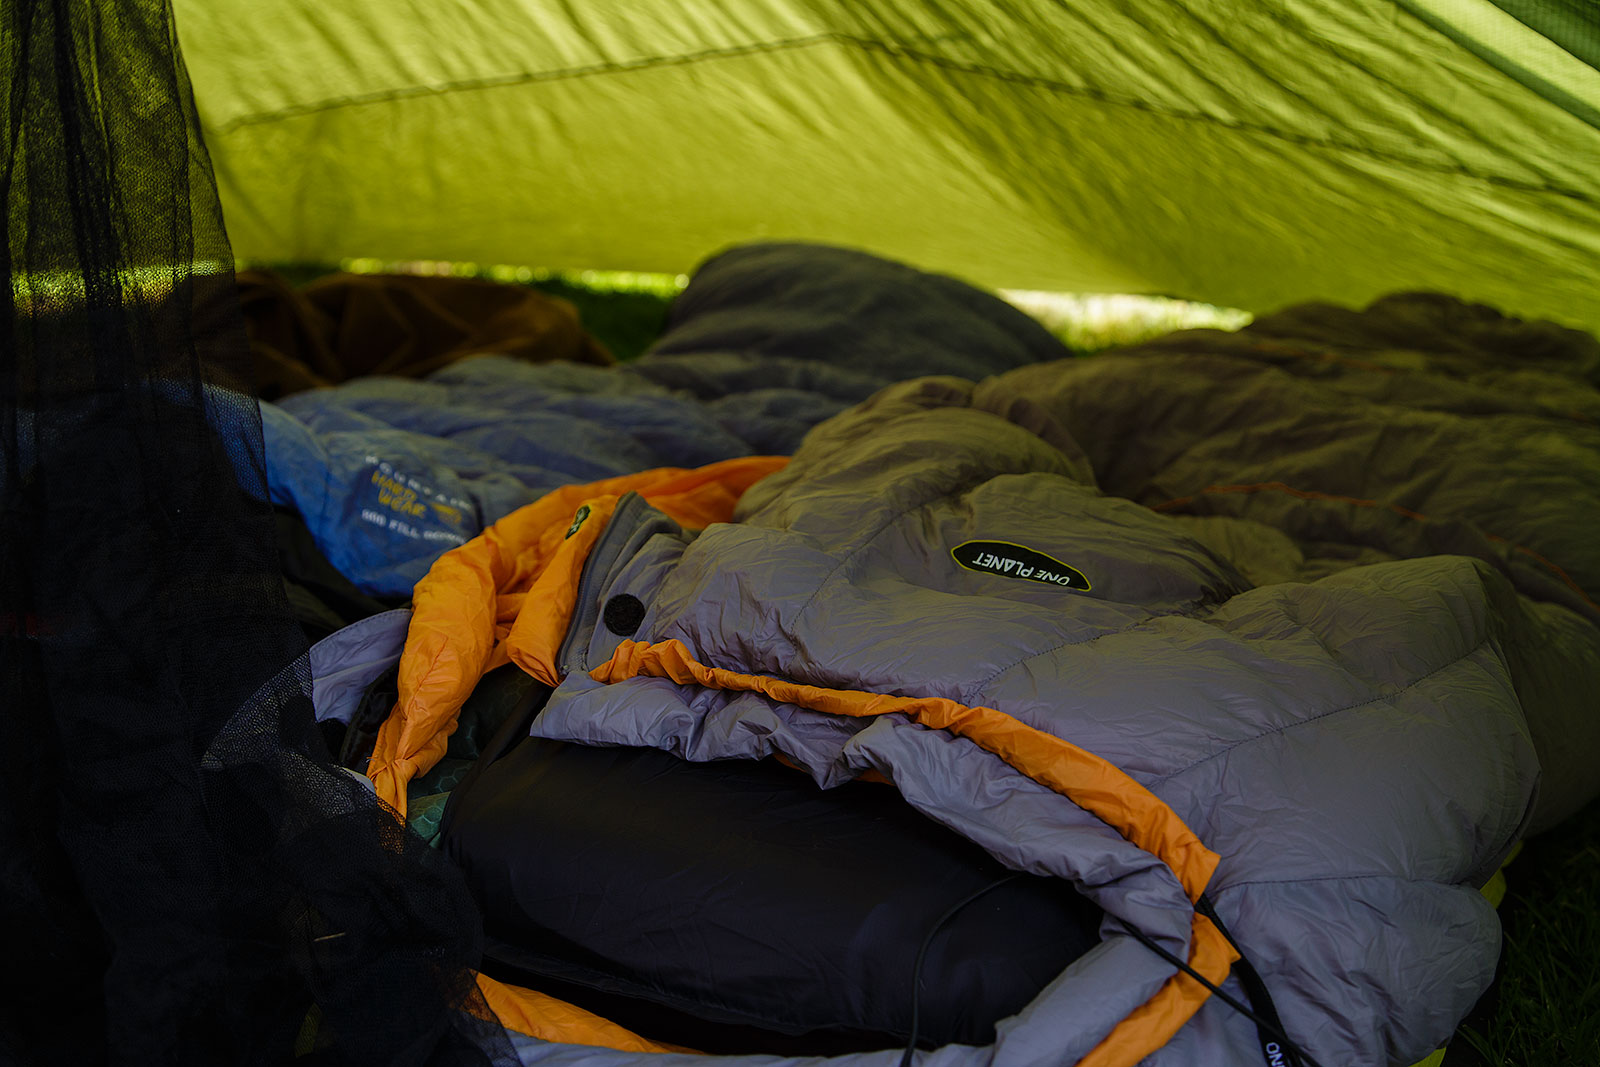
At the minimum, you need to have a groundsheet of some kind to protect your sleeping mat and bag. I permanently have one in my pack anyhow – if needed, the groundsheet itself could be used as a shelter.
Sleeping under a tarp is a different experience than a tent. It’s something I suggest people try at least once. You might decided you prefer the additional ‘enclosure’ of a tent, you might even be tempted to go lighter again! You never know. For me though, it provides shelter over my head, without closing me back in, which is what I was trying to avoid by being in the outdoors in the first place!
Advantages
- Quick to setup
- Versatile
- Lightweight
- Fairly bulletproof in design (no poles to break)
Disadvantages
- Requires some thought in regards to location
- Can get splashback from water around the edges of trap
- Not ideal in a blizzard
Best Used When…
- You want a minimal shelter, want to be able to see the countryside around you
- Hammocking
- Bivying in dubious weather
Mountain Safety Council ↩


