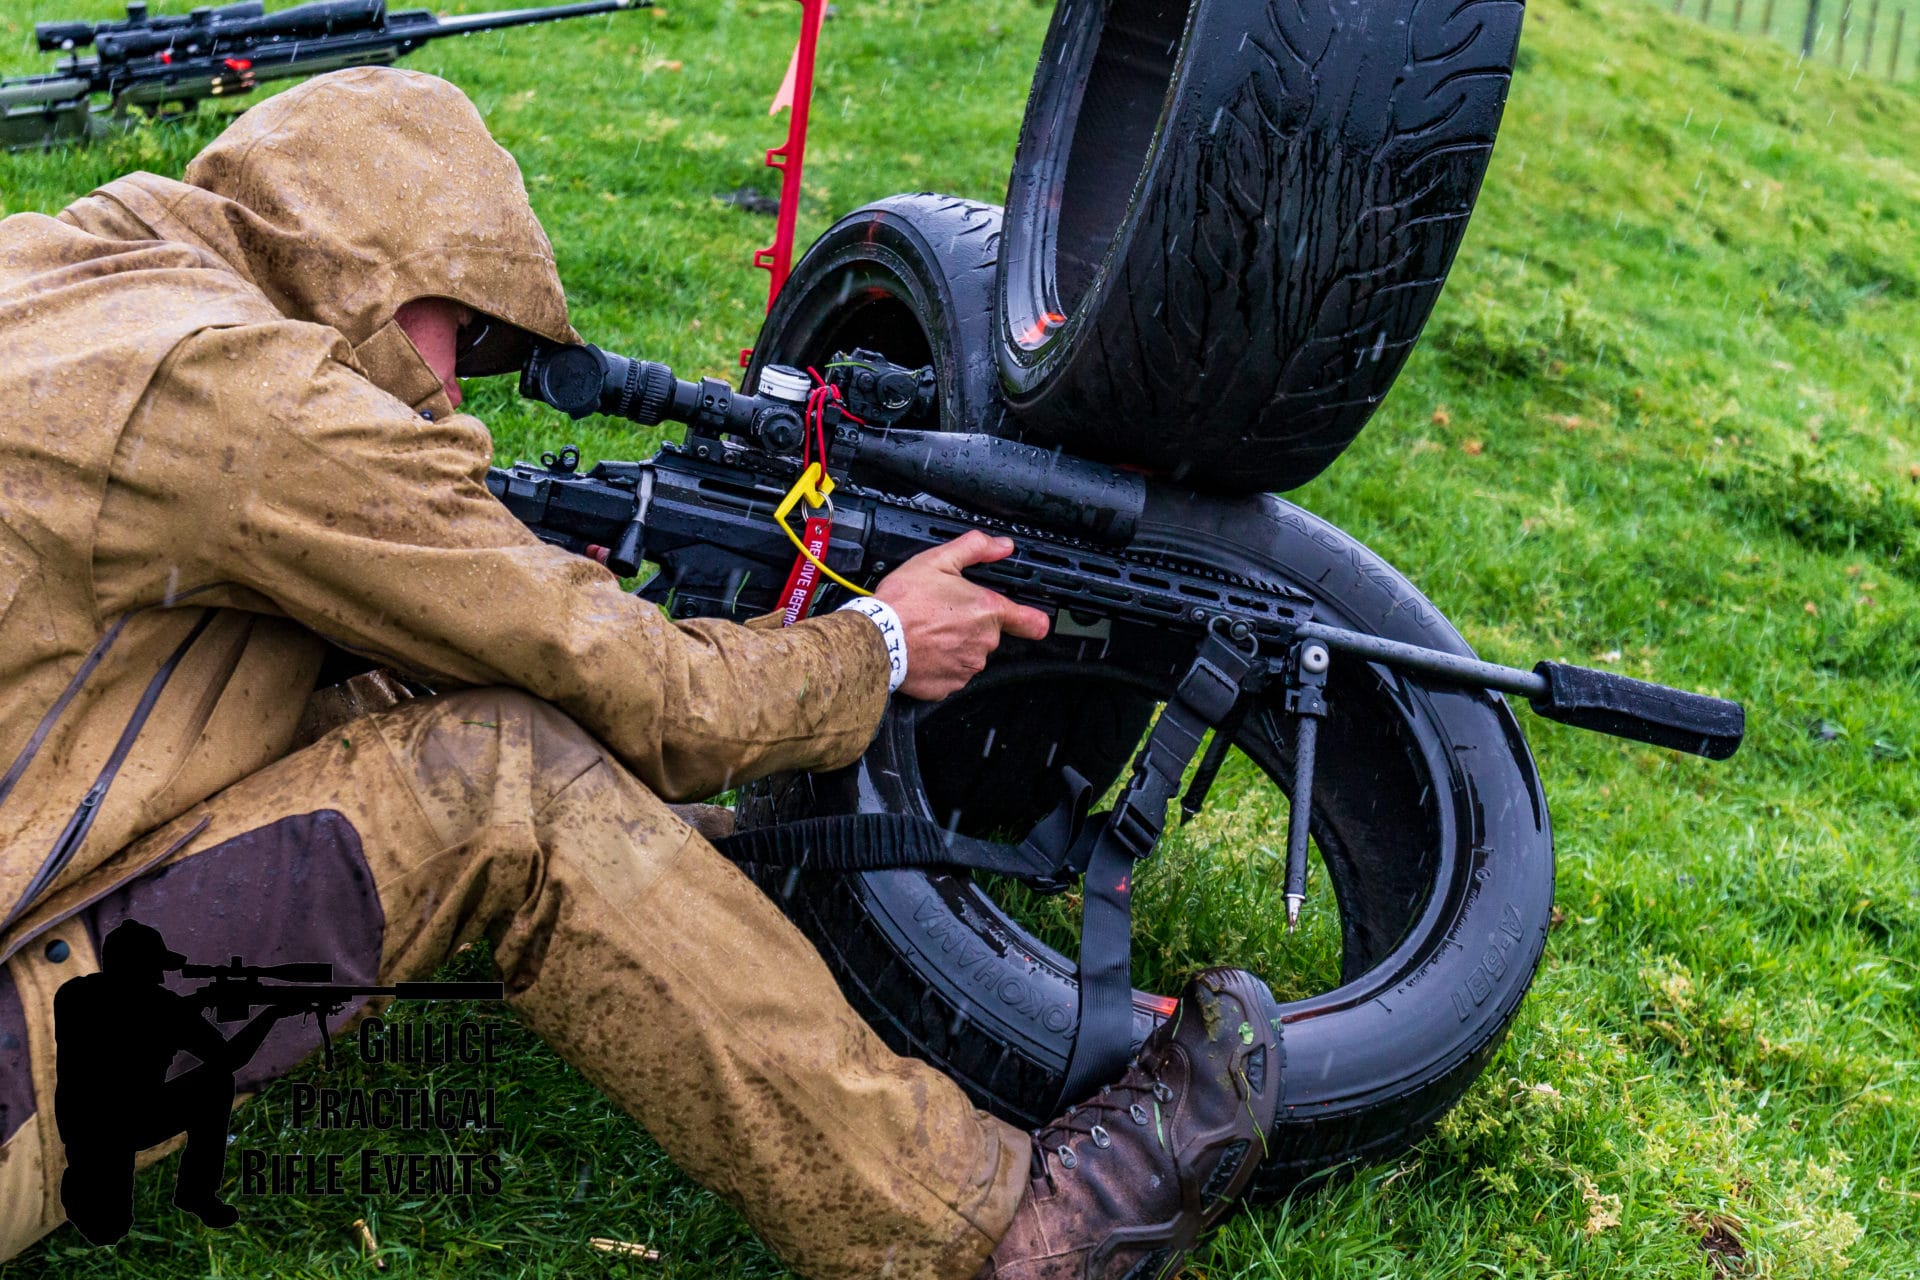
While I shoot a lot of factory ammo (mainly in clients rifles) for the comp gun, where I potentially will be shooting 100 rounds a weekend and want to have more for practice (I am going with the one-gun to rule them all theory) reloading is both a precision and cost-related exercise. I realise, the whole cost thing is a bit of a black hole, but like pistol (or the old AR’s) precision rifle means volume, which is where cost saving can occur.
So, I needed some brass. I could have just shot a pile of factory – but – that would basically mean Hornady – and I am not huge on the consistency of that stuff. Fine for reloading, not handloading.
So, it was now a case of finding what could be sourced in NZ.
Premium Brass Options
We are starting to see some of the premium competition brass turn up in NZ, smaller companies that up the production game and do a lot of the brass prep for you.
Of course, there is also the ‘reigning King’ in the form of Lapua – but – as is sadly often the case for Lapua in NZ – there was no stock with the importer. I could have waited, but I guess it being out of stock made me consider options, and, likely found a better one!
The contenders were essentially Peterson from Workshop Innovation and ADG from Alpine Precision – I couldn’t find 6 Creedmoor on the Alpine Precision site – so Peterson it was!
Peterson Cartridge Company
Founded in Pittsburgh, Pennsylvania by Derek Peterson and his two business partners, Peterson Cartridge was built with one main goal. That goal is to produce extremely consistent, American-Made brass rifle casings and precision ammunition which are designed around, and for long-distance shooters.
https://www.petersoncartridge.com/about-us/
I could write a pile about the company, but I don’t really need to – when there is already plenty of good videos out there… like this.
Honestly, I didn’t really compare pricing to Lapua option – it simply wasn’t in stock – but checking now – we are half the price with Peterson Brass. Like the video mentions – I am expecting to lose the odd piece, and, will have to sacrifice a few pieces in setting up the Aztec Mode on the AMP Annealer and ‘templating’ the reloads in regards to shoulder setback etc. That and I can see a couple getting crushed, a couple lost in the grass etc.
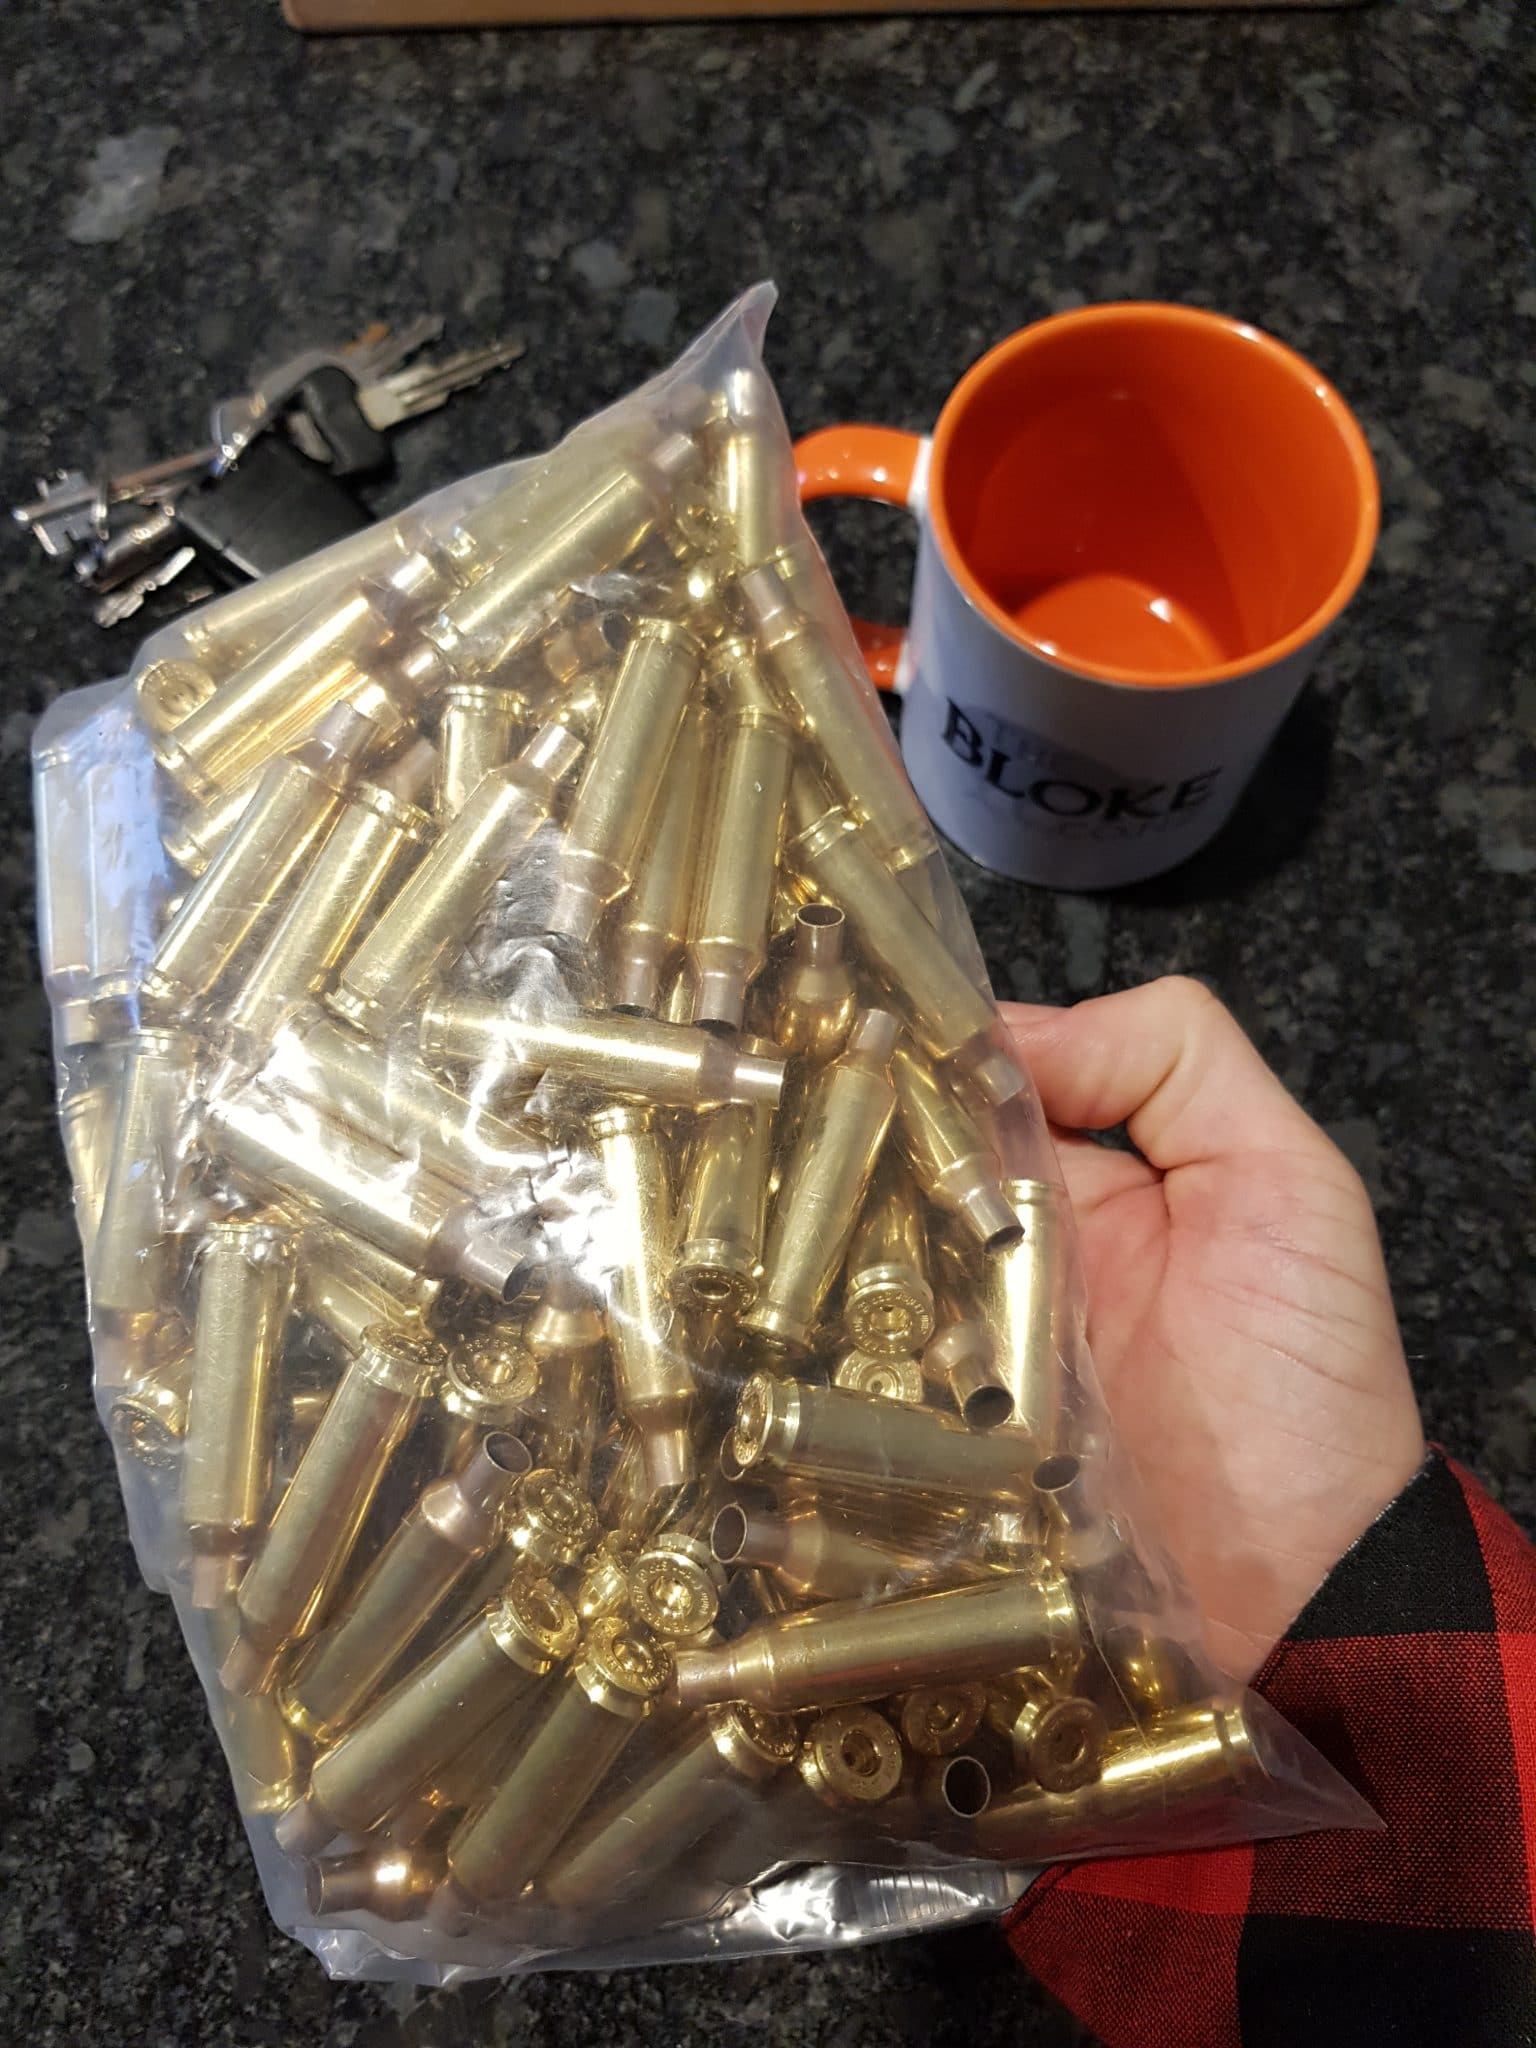
In the end, I ordered 150 pieces. Picking 100 for a shoot, and the rest as extras. Next question though – was small primer or large primer?
Small or Large Primer
This question first came up as an option for the .308 Lapua brass – and you can now choose for several other calibres. Essentially, like the name would suggest – the small primer is smaller than the standard primer and claims to provide more consistent ignition, but more importantly to me, more reloads out of a case.
I initially considered large primers – as I have a pile of Large Match Primers already in the reloading cupboard – but – considering the price of primers, getting a couple more reloads out of a piece of brass, but having to switch, makes more economic sense.
The one thing I will need to check will be the firing pin on the Remington Action – it might need to be reduced a bit. We shall see. The other discussions about handling more pressure aren’t really of interest to me – I don’t have any intention to try and squeeze as much speed as possible out of the system. If I was doing that, it would make more sense to just use a bigger cartridge!
Bulk Pack and Brass Prep
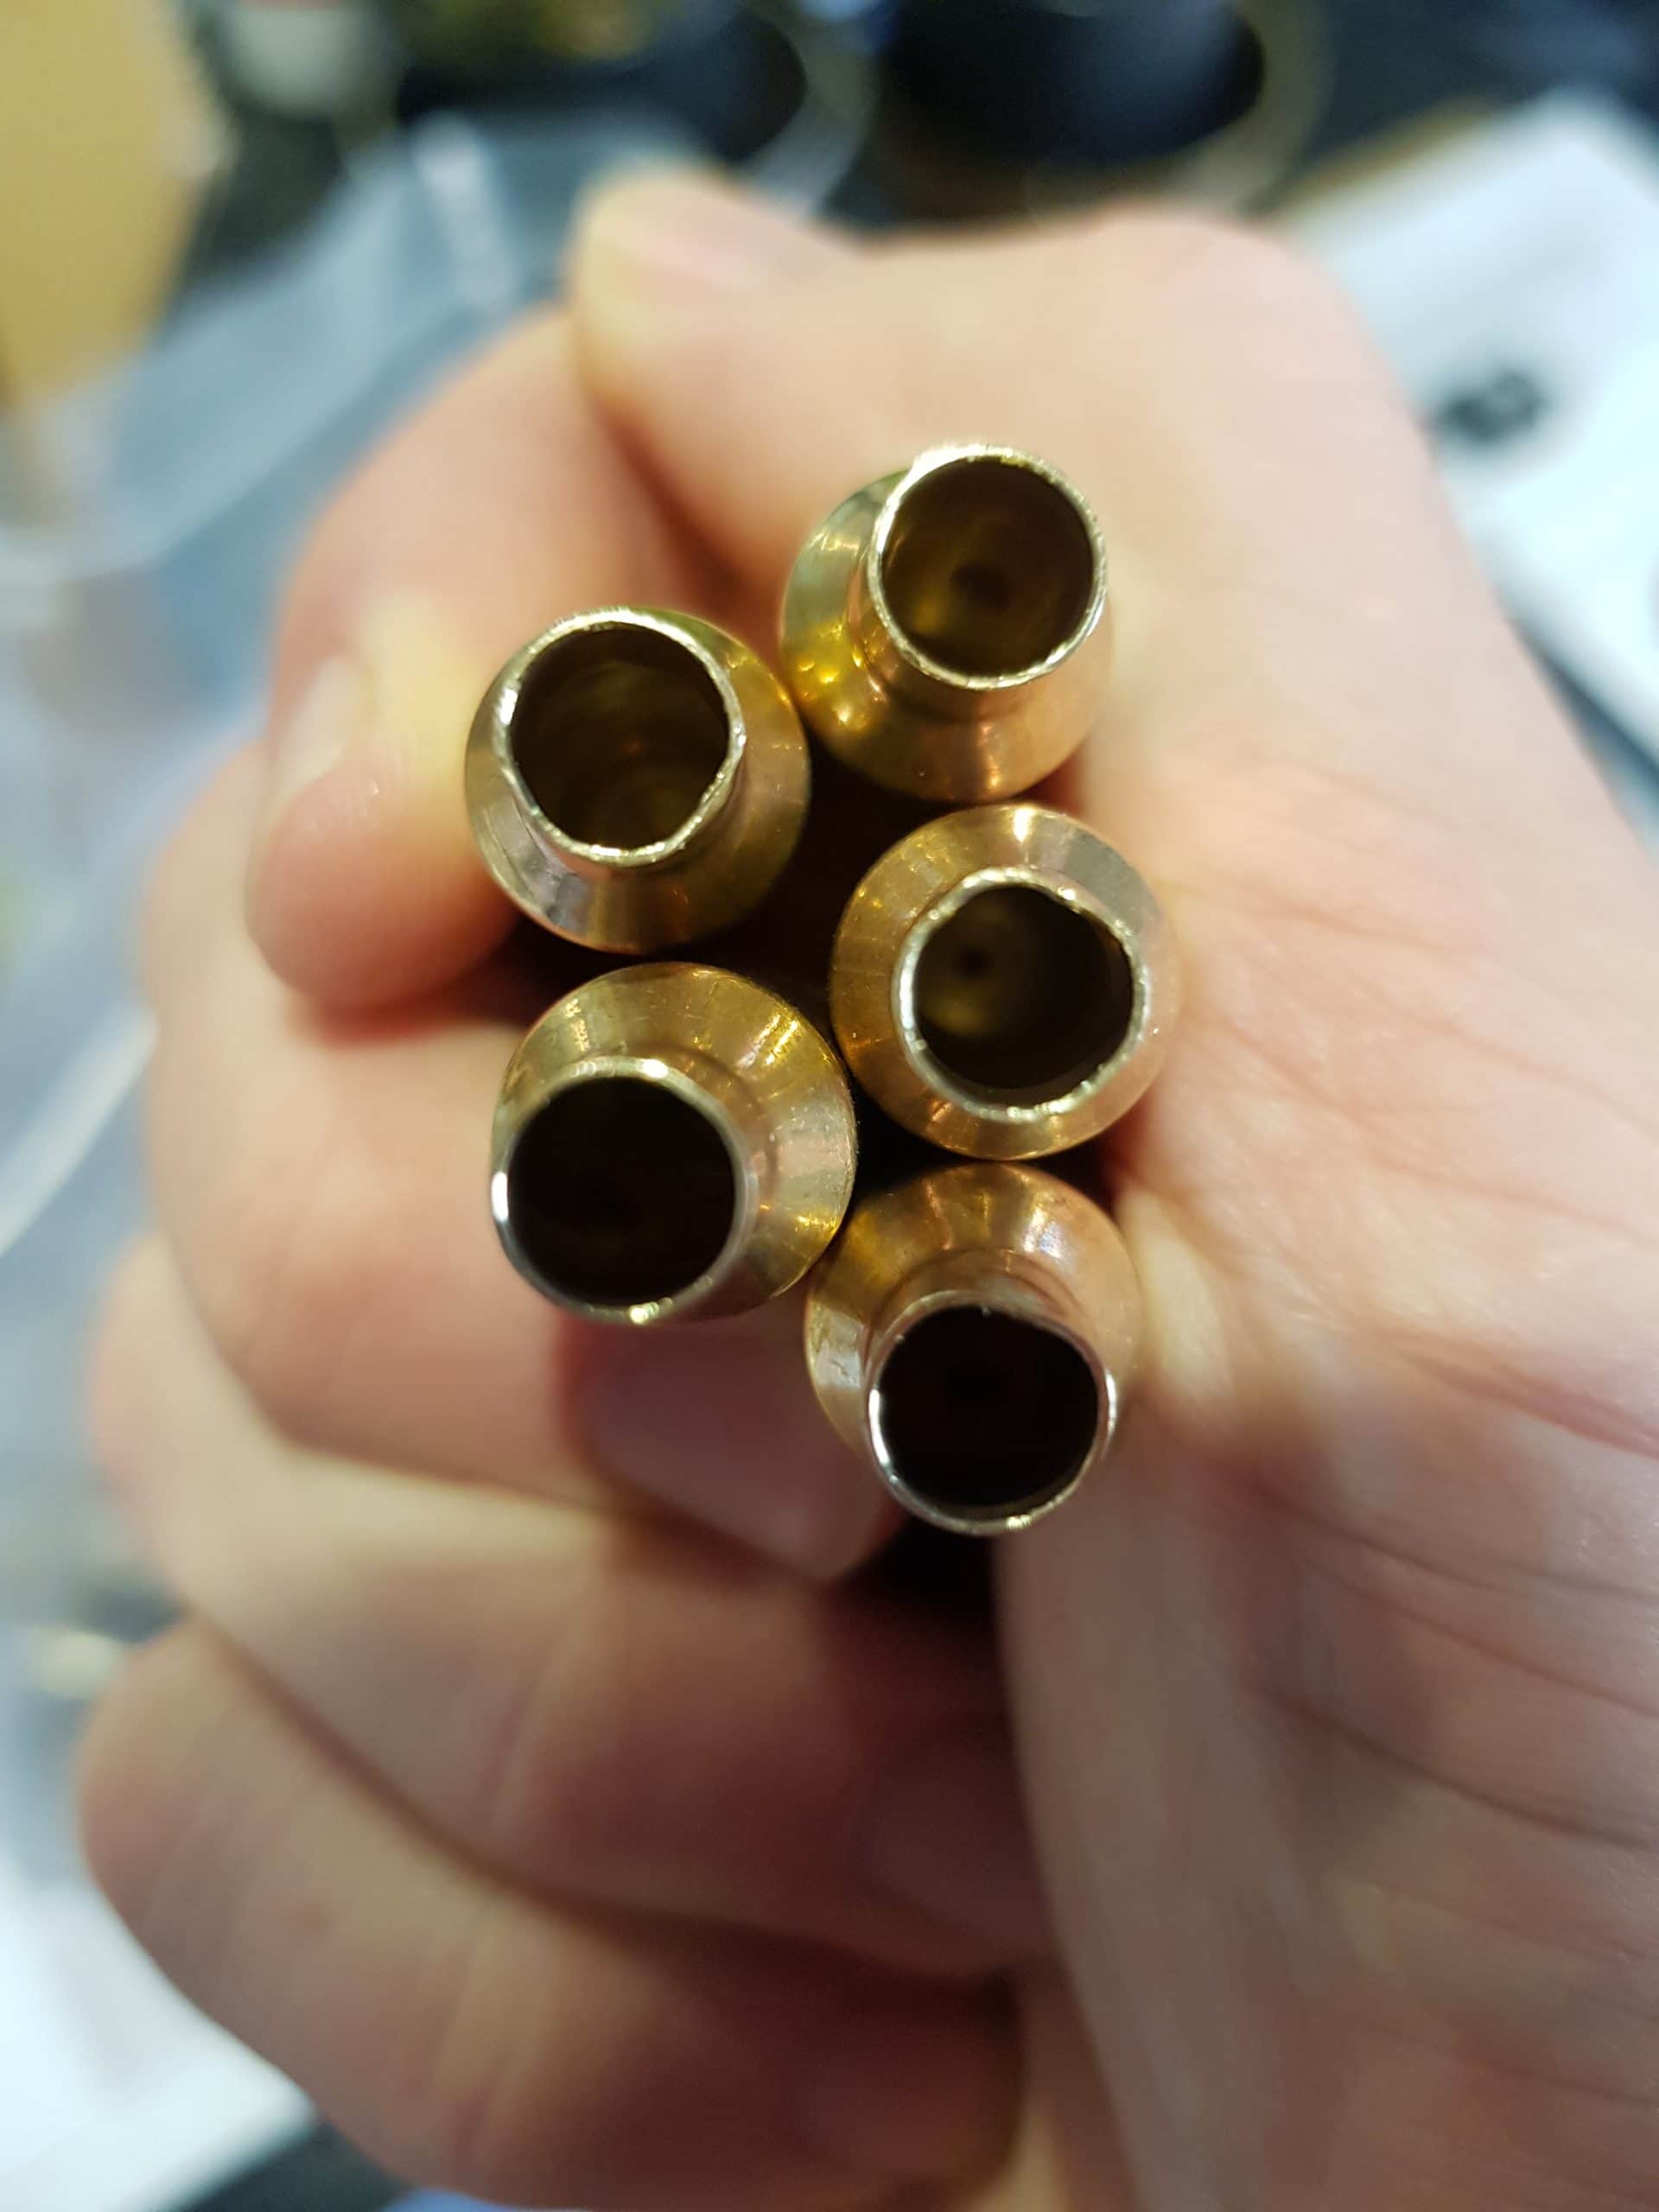
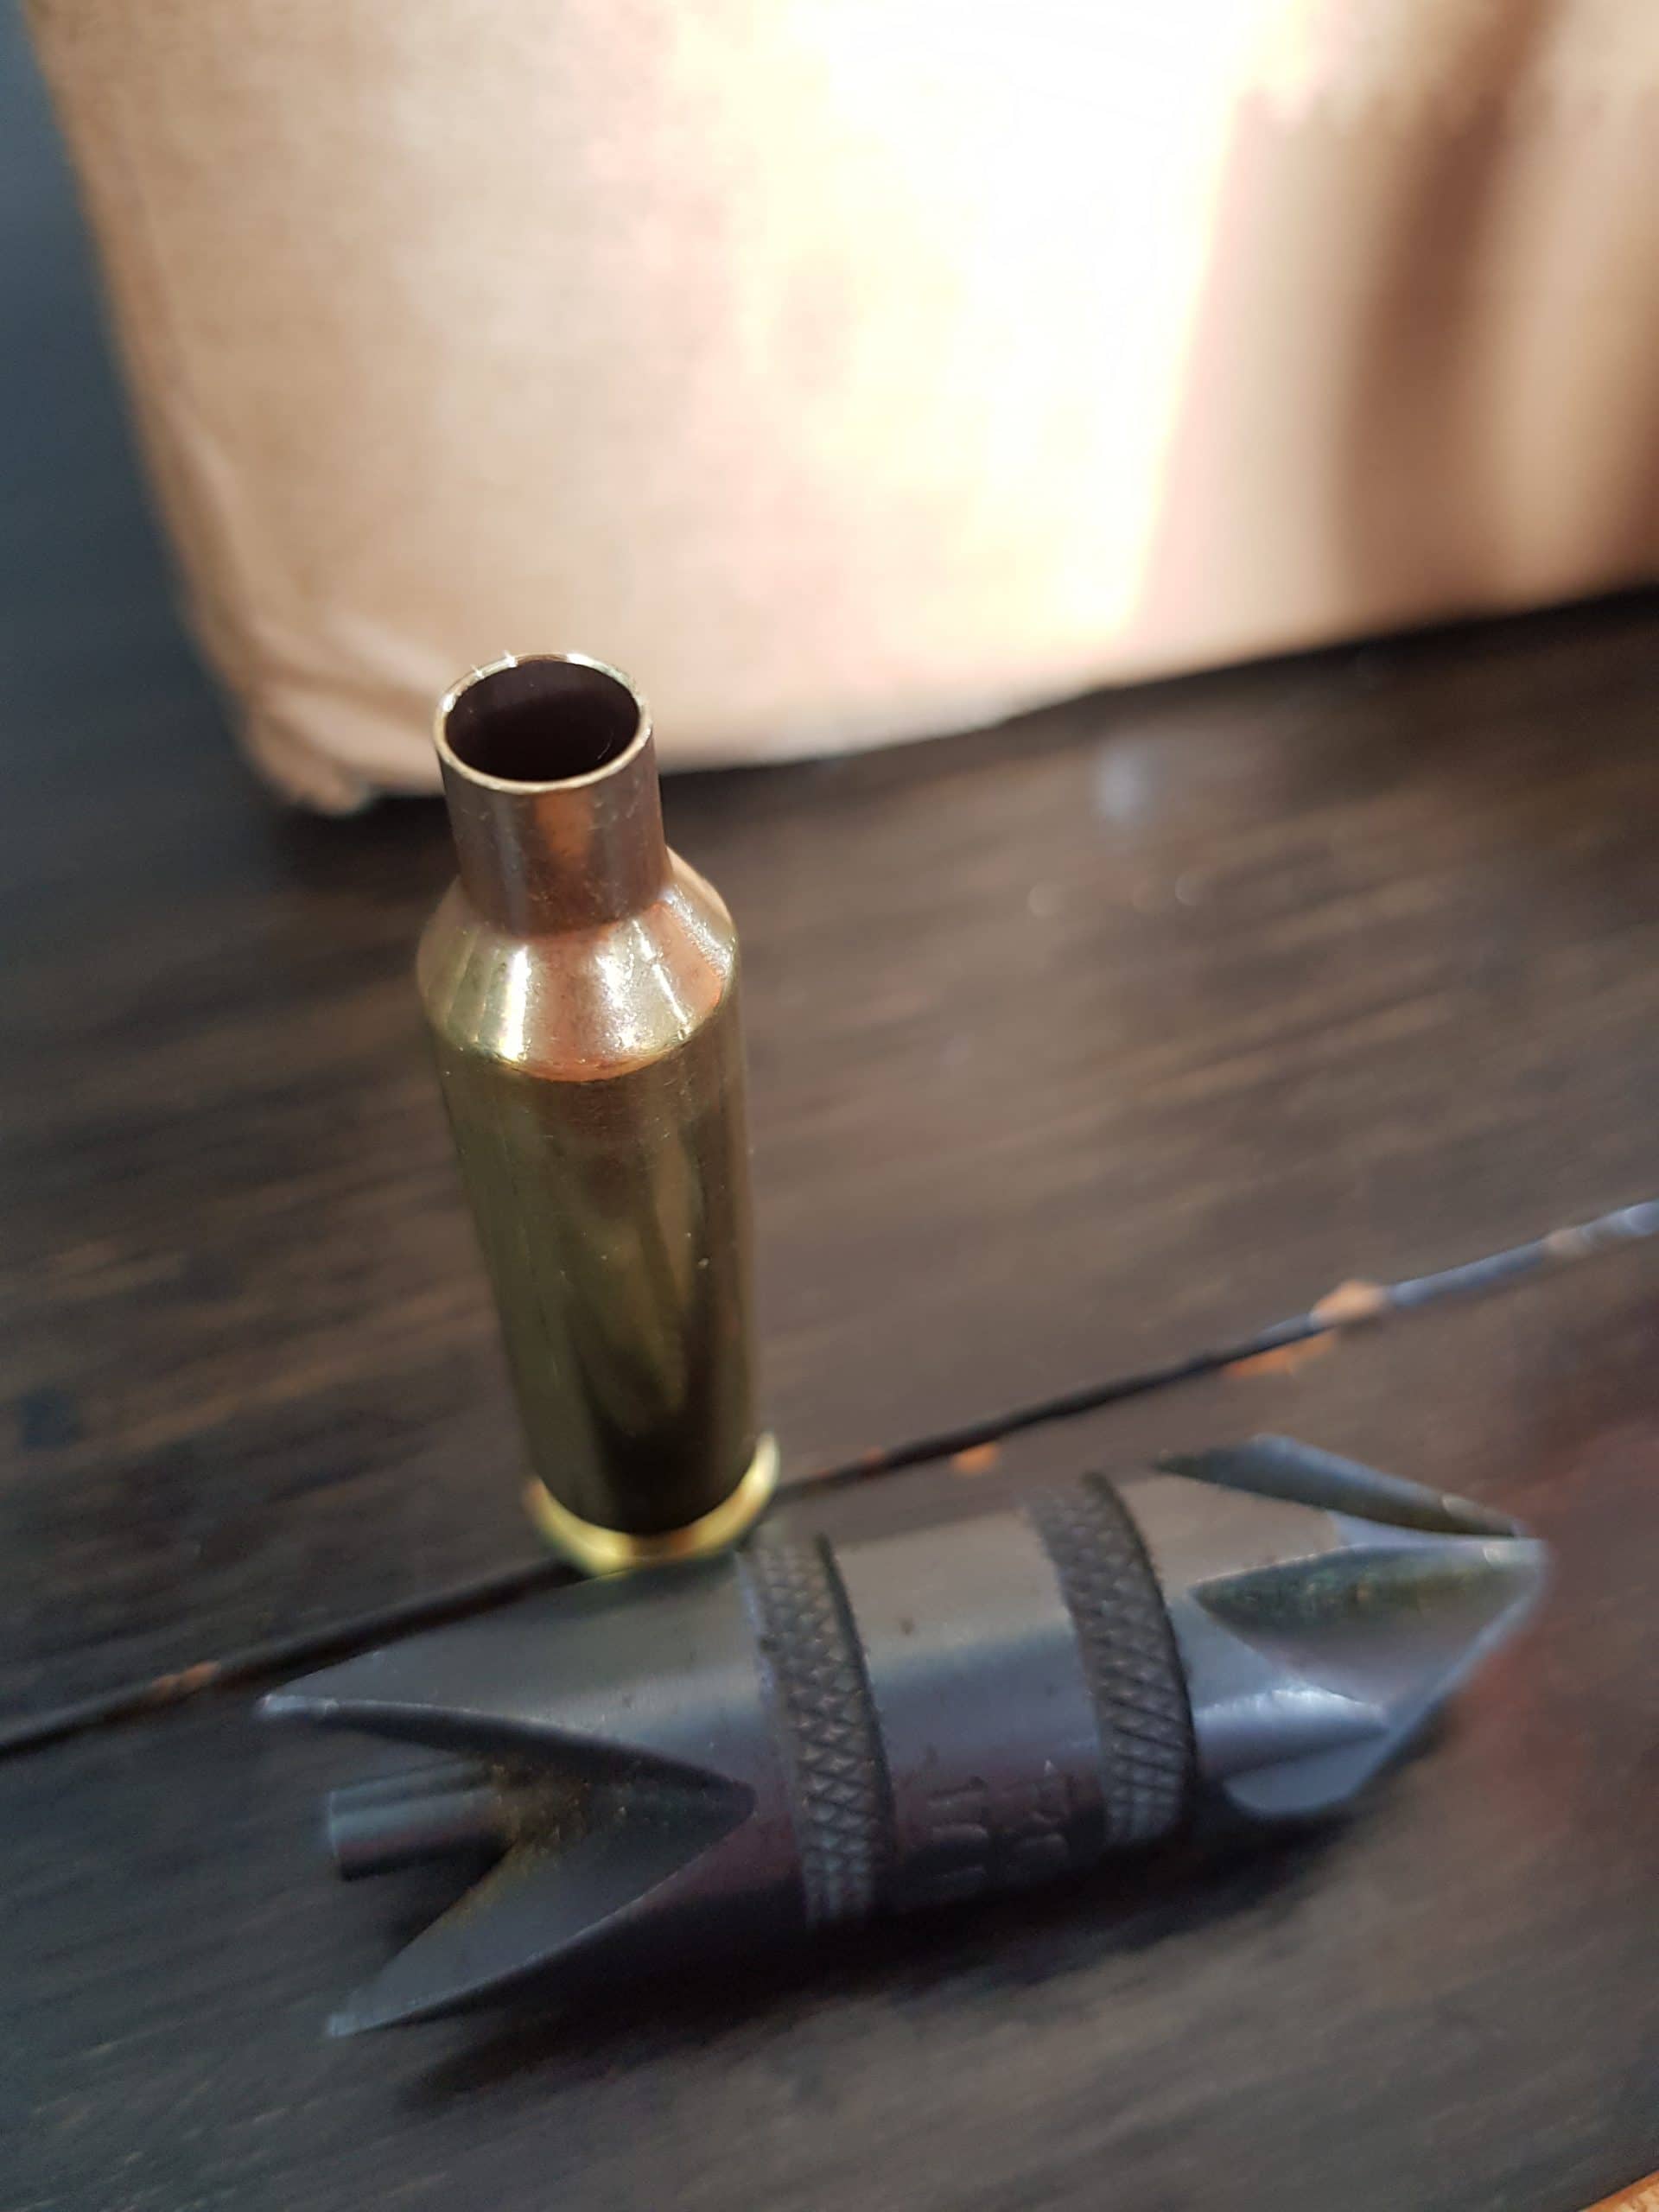
Maybe because I ordered 150 pieces (not sure) – the brass turned up in a bulk pack. It seems there are two options with the Peterson Brass – bulk pack and boxed. Though I don’t really care either way – I did note that several of the pieces had a dented neck – not a major – as I intend to run an expander mandrel through all of them before loading anyhow.

There is also a pile of debate online about the need to uniform primer flash holes. I don’t have the right sized Redding Tool to do the job, but, will likely get one and go through and do them all after the first firing. It’s one of those do once and forget about it jobs, and even though I now understand that the idea that Lapua Drills their primer holes and doesn’t require it (seems that might be a bit of an internet myth in reality) I did it to my .308 brass anyhow.
What was more interesting is that the Peterson Brass doesn’t have the necks chamfered anymore. This is due to them coating the brass in a material that reduces the galling (scraping). However, what I am unsure of, is what happens to this coating after annealing and cleaning. Like many brass prep stages – its something I can just do and not worry about it anymore. Until I need to trim the brass that is.

Once that happens, I will be using my RCBS Trimmer with it’s Tri-Head anyhow – so it all gets done as part of that process.
So, the brass is here. Projectiles are ordered, the load is loosely planned, just need it all to come together and get loading for it!
Another video with some real world testing below.

Enjoy this content?
Then you will probably love Precision Shooter. A website dedicated to precision shooting, reloading and competition.


