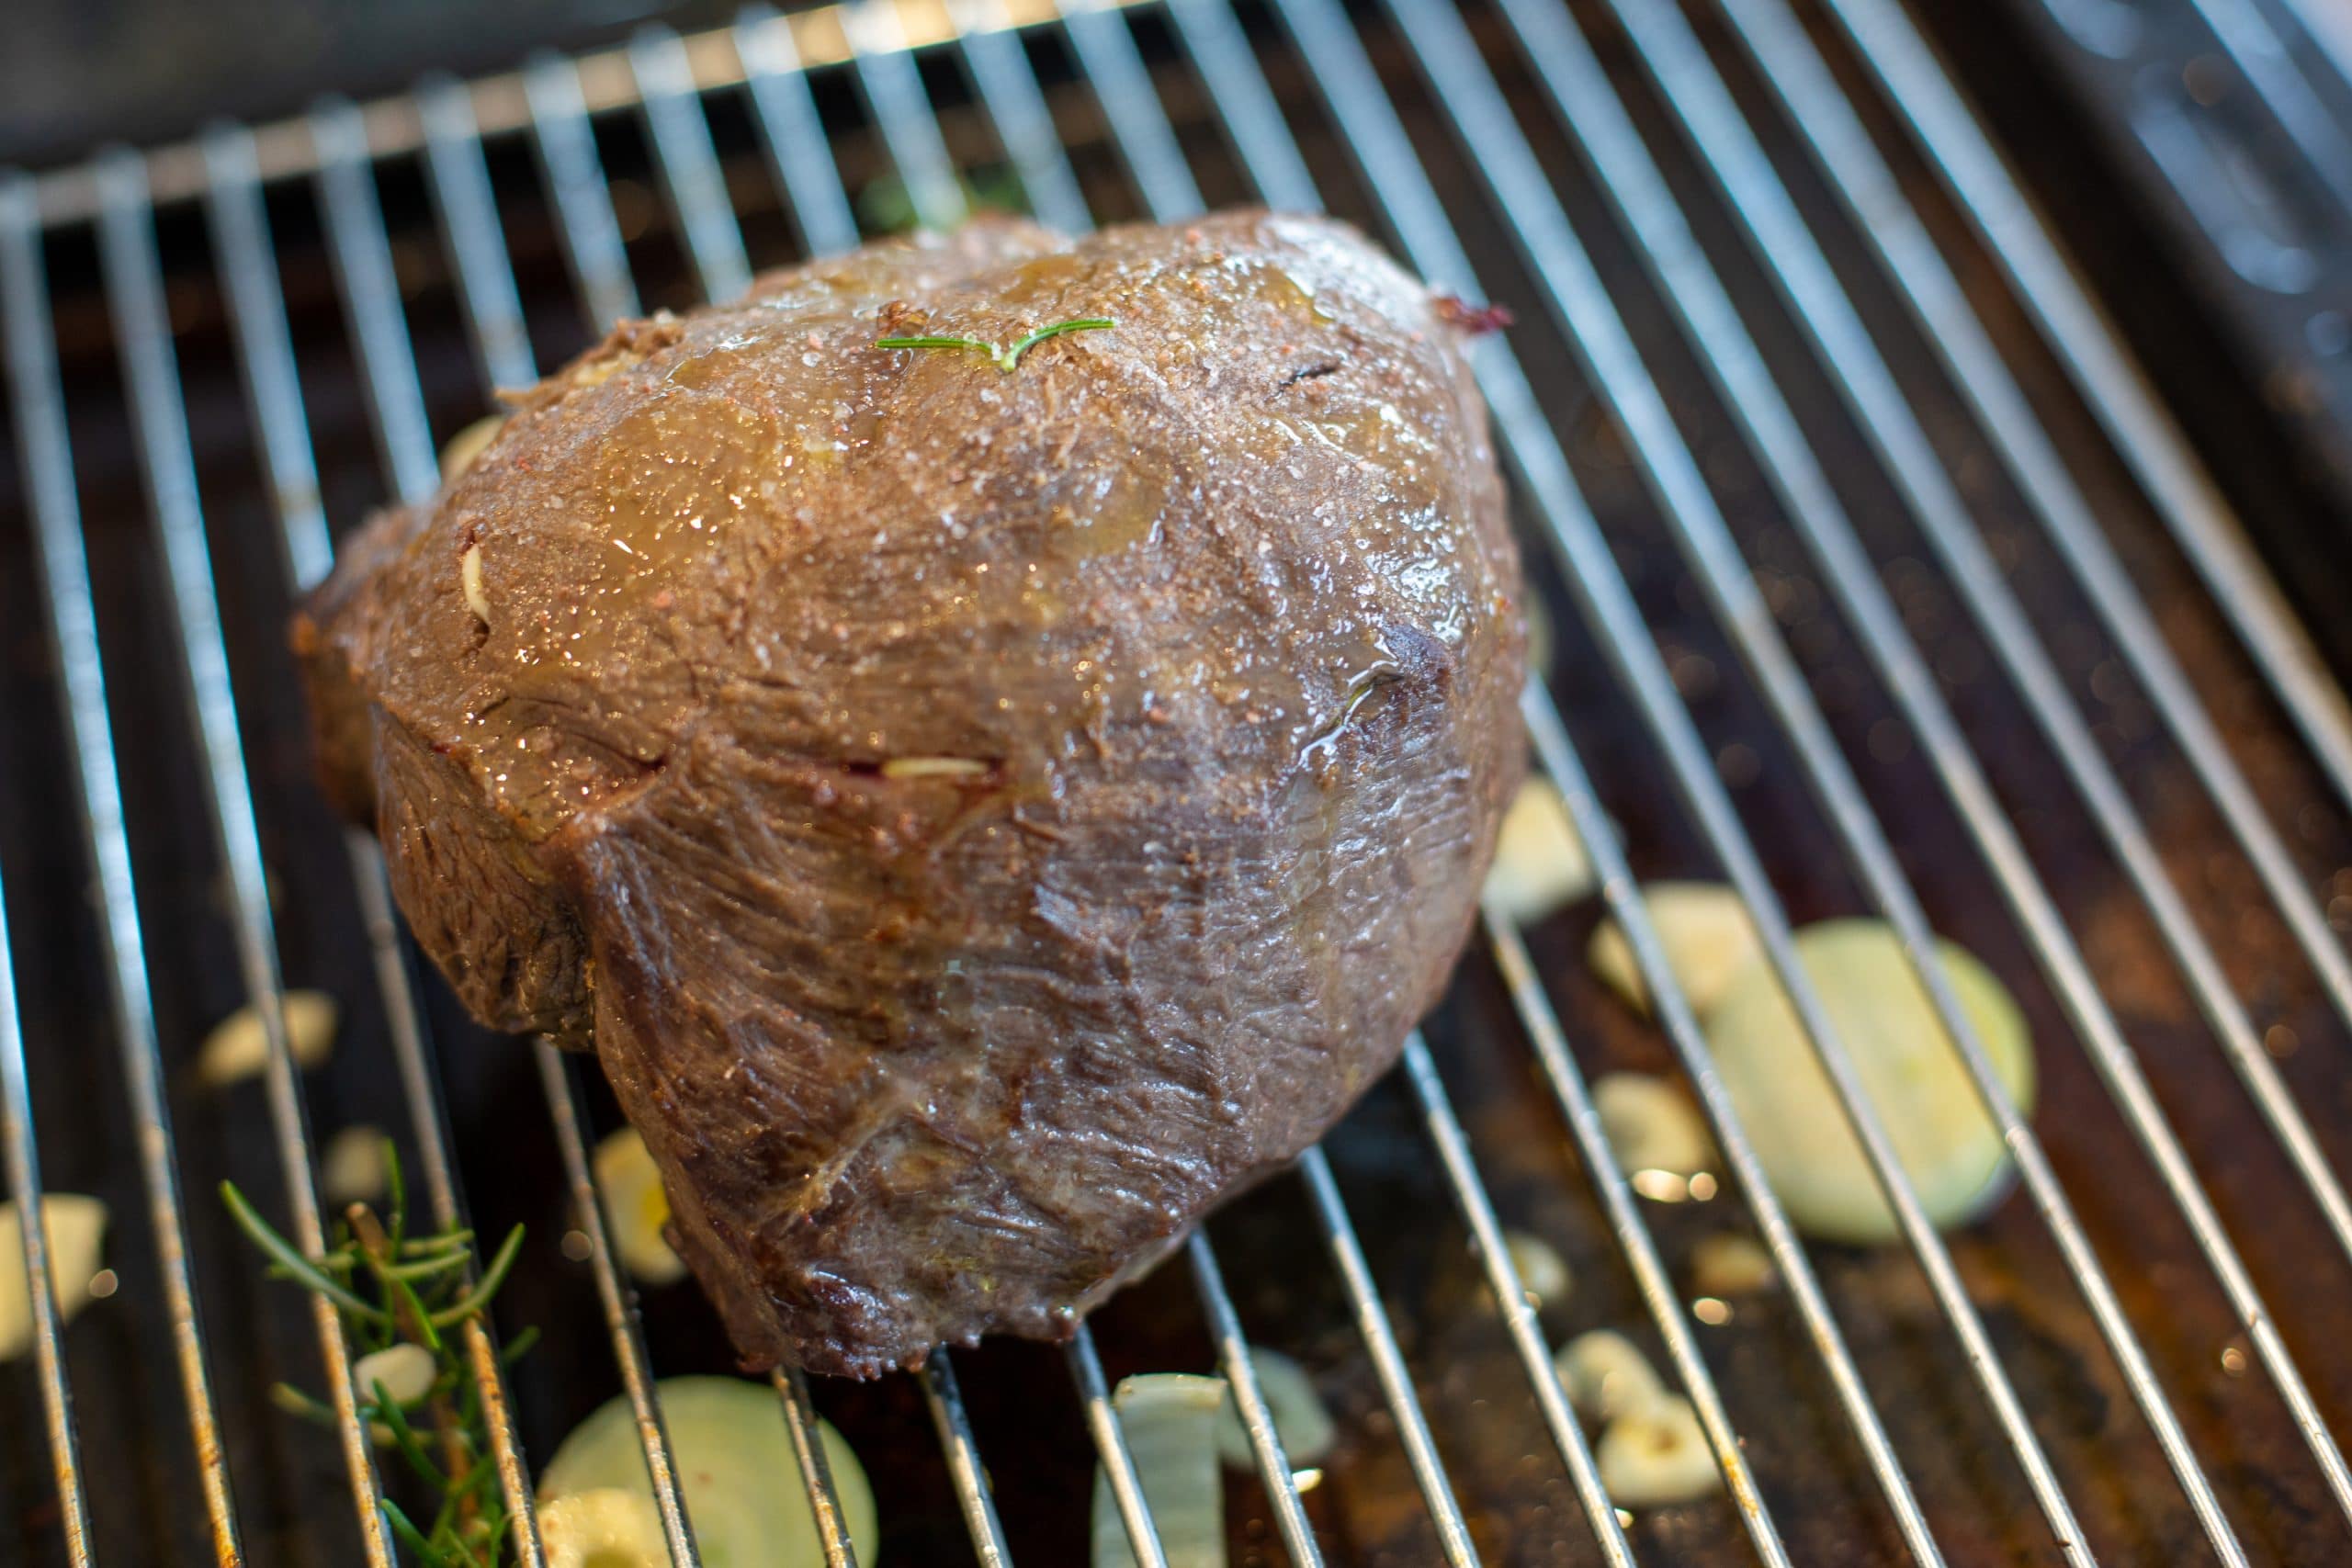
I don’t get out hunting as much as I would like to at the moment, lock-down certainly hasn’t helped – but – I did remember I had a Boneless Venison Leg Roast sitting in the freezer. So. Out it came to defrost and I whipped up a quick Sunday Roast with it.
Keep it simple
I would suggest, if you haven’t done a lot of roasts – don’t get super duper fancy for the first couple. Get the basics sorted and then start having a play. Meat and veges is fine. Don’t put too much pressure on yourself (i.e. don’t invite everyone around for the first attempt). In my case, it was me and the kids. Got time to get things down pact.
Room Temp
Take the meat out of the fridge (assuming it’s properly defrosted) at least 30 minutes before cooking and let the roast come up to ‘room’ temperature – I don’t suggest you try and roast a partially frozen piece of meat other – unless you want cooked to death on the outside and raw in the middle. Some do.
Season. Lots.
Member, even if it ends up being a 5mm thick crust of salt on the outside of the meat, it’s only on the outside. I generally take the roast out in the morning, then regularly start covering the meat with salt and then dabbing off the moisture the salt rub pulls out of the roast. Counterintuitive it might be, but the idea is to pull out a bit of the moisture before putting it into the over. I then salt and resalt the roast during cooking as well. Again – surface coating – not putting a teaspoon of salt down into the folds.
Cook hot, then low
You can sear the outside of the meat in a couple of ways. Some folk prefer to literally fry on a hot skillet and brown the outside, or, you can run the oven hot (like 250c hot) for around 20 minutes, maybe a bit more. Essentially you want to brown the outside without cooking the inside too much. This sear creates the flavour.
Now, despite persisting rumours, searing meat doesn’t create an impermeable barrier that moisture can’t get out (or in) from.
I tend to use the over – because I want the roasting pan to start building up some flavour for the gravy I am going to make with it at the end. I take the meat, season (i.e. salt) it again – then cover it in oil. I would suggest something with a high burning point – so maybe not Olive Oil here – consider peanut, grapeseed or even avocado oils. Or melt some lard.
On the bottom of the pan, I put some vegetable stock. Not enough to cover the bottom – I am not trying to steam the meat, but just enough to help keep smoke levels down, and, start gathering up all the oils, fats and salt that start dripping off the meat. Again. Pan Gravy! I probably didn’t sear the meat enough for this particular session. But. No major.
Add erb’s if you have em.
After the searing stage, turn the oven down to 180c. Take the meat, apply more salt, and then in my case, I thinly cut up a couple of cloves of garlic, pierced the meat, then stuff slivers of garlic down into the slots. It’s not enough you end up with mouthfuls of garlic in your roast, but the slivers almost melt and just infuse the meat with flavour. If you are going to add herbs (i.e. rosemary) then do that after the sear – otherwise, you could just end up with a pile of smoke and burnt herbs (no, not that kind).
In the bottom of the pan, I added a bit more stock, rosemary, half an onion and some more garlic. I ‘rubbed’ some rosemary over the meat and, skewered it with a meat probe and put it back in the over.

Probe that meat!
If you want a simple ‘hack’ to make your life easier – get a meat thermometer. It helps measure the inside temperature of the meat – so allows you to remove a bit of the guesswork out of how well done the meat is.
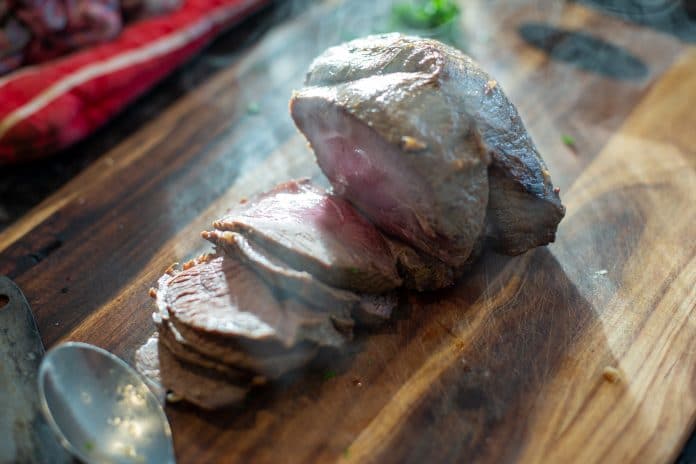
While there is a pile of recommendations online – I would suggest after a couple of goes, you will know where your sweet spot is. For venison, to have it medium rare – I tend to aim for 57c internal temp.
Think about where the probe is sitting (don’t push it through the bottom of the meat – aim for the middle) and remember to check if the gauge is in F or C – as they are not interchangeable – some very, very overdone meat taught me this lesson a few years ago!

And while it is cooking…
Get your vegetables ready. I tend to find root veggies go nicely with venison – so simply chop up a pile of veggies, oil them and cook them. However – a couple of suggestions and pointers –
Parboil your tubers
I parboil (partly boil) my potatoes and kumara. Not enough to cook through, just enough to soften the outside surface. Then I empty the water, bash them around in the pot to ‘fluff’ up the surface and through them into a bowl with the carrot and other veggies to be doused in oil, salted and then cooked.
This does a couple of things. It partly cooks them, so means I can put all the veggies in the oven at the same time and they all come out cooked around the same amount (consider the side you cut veggies up to account for this as well) and also, the fluffed surface soaks up oil – making for an awesome crispy surface on the potatoes and kumara.
Garlic
If you have never roasted garlic – I strongly suggest you give it a go. Simply cut the top off a whole garlic bulb, oil, salt, roast. The flavour comes out mild, and sweet – not actually what you might expect. It makes the house smell phenomenal as well. Oh, and wards off vampires.
Fancy it up
Cut up some Italian parsley, and once the veggies come out of the oven, add some salt and pepper, parsley and a sprinkle of lemon juice. Add a dob of butter on the spuds at the table, and there you have it. Instant fancy pants veg!
Let it rest
For the love of all that is holy, once the meat has come up to temp, take it out, wrap it in foil and let it rest. 10 minutes is the minimum. 20 minutes is better. It won’t be cold at the end, in fact, it will continue to cook for a bit in the foil, and resting the meat helps it be tender when you serve it.
Cutting it also influences how the meat ‘appears’ in regards to the tenderness factor.
Cut across the grain, and when people bit in, the grains fall apart with less effort. Cut down the grain, and you have to sever them with your teeth.
Also – sneaky tip – but your carving knife is often sharper than even the steak knife. Because I have kids, but just because, I often slice the meat thin and stack it on the plate instead of just dropping a big hunk of meat on the plate.
Pan Gravy
Or, how my old man taught me to make gravy.
This isn’t a specific recipe – rather just a basic methodology that you then turn into your own style.
Take all the scrapings in the bottom of the roast pan. Add some more stock, a little bit of marmite (for colour mainly) and some cornstarch in water (to thicken things up). I often add the water from the peas etc into it. Low heat on the hob, keep string, play around, add things, try things. For this night, I added in a tablespoon of come cherry jelly I had in the fridge to sweaten things up a bit.
I then to then pass it all through a sieve and put it onto the table for people to help themselves to. The secret here is to taste as you go. Taste as you cook – how else do you know what you are cooking tastes like?
Cooking meat isn’t that hard. If you follow some basic rules, get the fundamentals sorted, then start experimenting. Enjoy!


