Spoils of my hunting
 Processing the spoils of my hunting has quickly become a favourite hobby of mine. Having only hunted seriously for about three years, I consider myself a ‘newbie’ to pretty much all facets of hunting. However, I think I’ve picked up on a few tips that could make your life as a new deer butcher a bit easier. This past week I harvested three red stags. I’d like to share with you what I’ve learned over the past three years to assist me with the harvest of these triple chaps.
I believe it’s important to understand all the steps right from the beginning. Please note, this is just my deer butchery process. I’ve picked up things from other hunters, books, and websites but moulded my style mainly from my experience. I am fairly small, not particularly strong in my upper body, and I have limited resources at home and a small budget. I will mention the equipment I have chosen to use to help me – this is just what I use.
I would also like to request before you read further that you respect my decisions of what meat to take and what to do with it. Every kill has different limitations and resources. I am not a wasteful person, so I consider every option and reflect on past hunts and butchering experiences before making the final D.
Stag 1
No big deal, just a huge 12 pointer from 443yards… long story short, this animal was very pizzled up (read: he had been jizzing on himself a whole lot) and smelled like a swamp. He was situated up a steep gut and over a muddy, silty river crossing. By the time I got to him, it was pitch black. I removed his back steaks and noted the very deep reddy brown colour of the meat and pungent smell. I decided to take the head and back steaks only. Once I made it back to my vehicle (this took two trips because the head itself was heavy enough for me!), I placed the meat into a sack I made from a tube of mutton cloth by tying a knot in both ends. The temperature was about 16oC and about an hour later the meat was in the fridge back at the hut.
Stags 2 & 3
Both these boys were shot in the front shoulders by .308 and .260 respectively within 300yards. These stags were out by themselves and had no girls. They were not so smelly, and I guess they were less than three years old. Stag 2 suffered immense damage to both front shoulders due to the hard hitting .308. Stag 3 appeared to have smashed the near side shoulder only. The animals came to rest in a fairy accessible area – flat with only a small drain to cross.
My partner took the head, back steaks and back legs from stag 2.
I took the head, back steaks, back legs and far side shoulder from stag 3.
We kept the skin on the legs and placed them in our chiller box made for the back of the ute. This box is made from chiller panel but has no method of being cooled – it is just very well insulated. Think of it as a giant chilly bin. After about two hours we reached a petrol station where we purchased five bags of ice which we cut open and distributed over the meat. All the back steaks were placed into a fish bin, and the mutton cloth still identified the big smelly stag’s steaks.
I think this is a good time to mention that it is important to cool your meat as soon as you can. In this case, we separated each leg individually and carried them one by one over a shoulder. Usually, I will keep the back legs together and make them into a backpack to travel longer distances. If you do this or are lucky enough to be able to take the animal whole, it is imperative to open up the hips and ball joints as soon as you can. The H-bone holds so much heat; it’s quite staggering. This heat will taint your meat if you can’t cool it down quick enough.

The Hanging
I am lucky to have access to a full-sized walk-in chiller. If you don’t, a fridge does just fine. This is what I used to do (make it a dedicated meat fridge out in the shed or garage, though!). It is important to have good air circulation around the meat so place legs in the fridge without touching each other (skinned) and lay back steaks on a wire type rack. If you’ve taken the whole animal, it’s not necessary to hang flaps/trim so just chuck them in a rubbish bag and straight into the freezer.
This time, I let all my meat hang for seven full days. Sometimes I will process it after as little as four days; it’s different every time. It just depends on the meat and my schedule.
The Processing – Deer Butchery
 This is where I wanted to share what makes things a bit easier! It’s best to prepare all your gear before you start. Making things easier for yourself makes this job so much more fun. Add a couple of beers, music, and some mates and you’ve basically got a party. Now that it’s not so difficult, butchering has become one of my favourite parts of being a hunter.
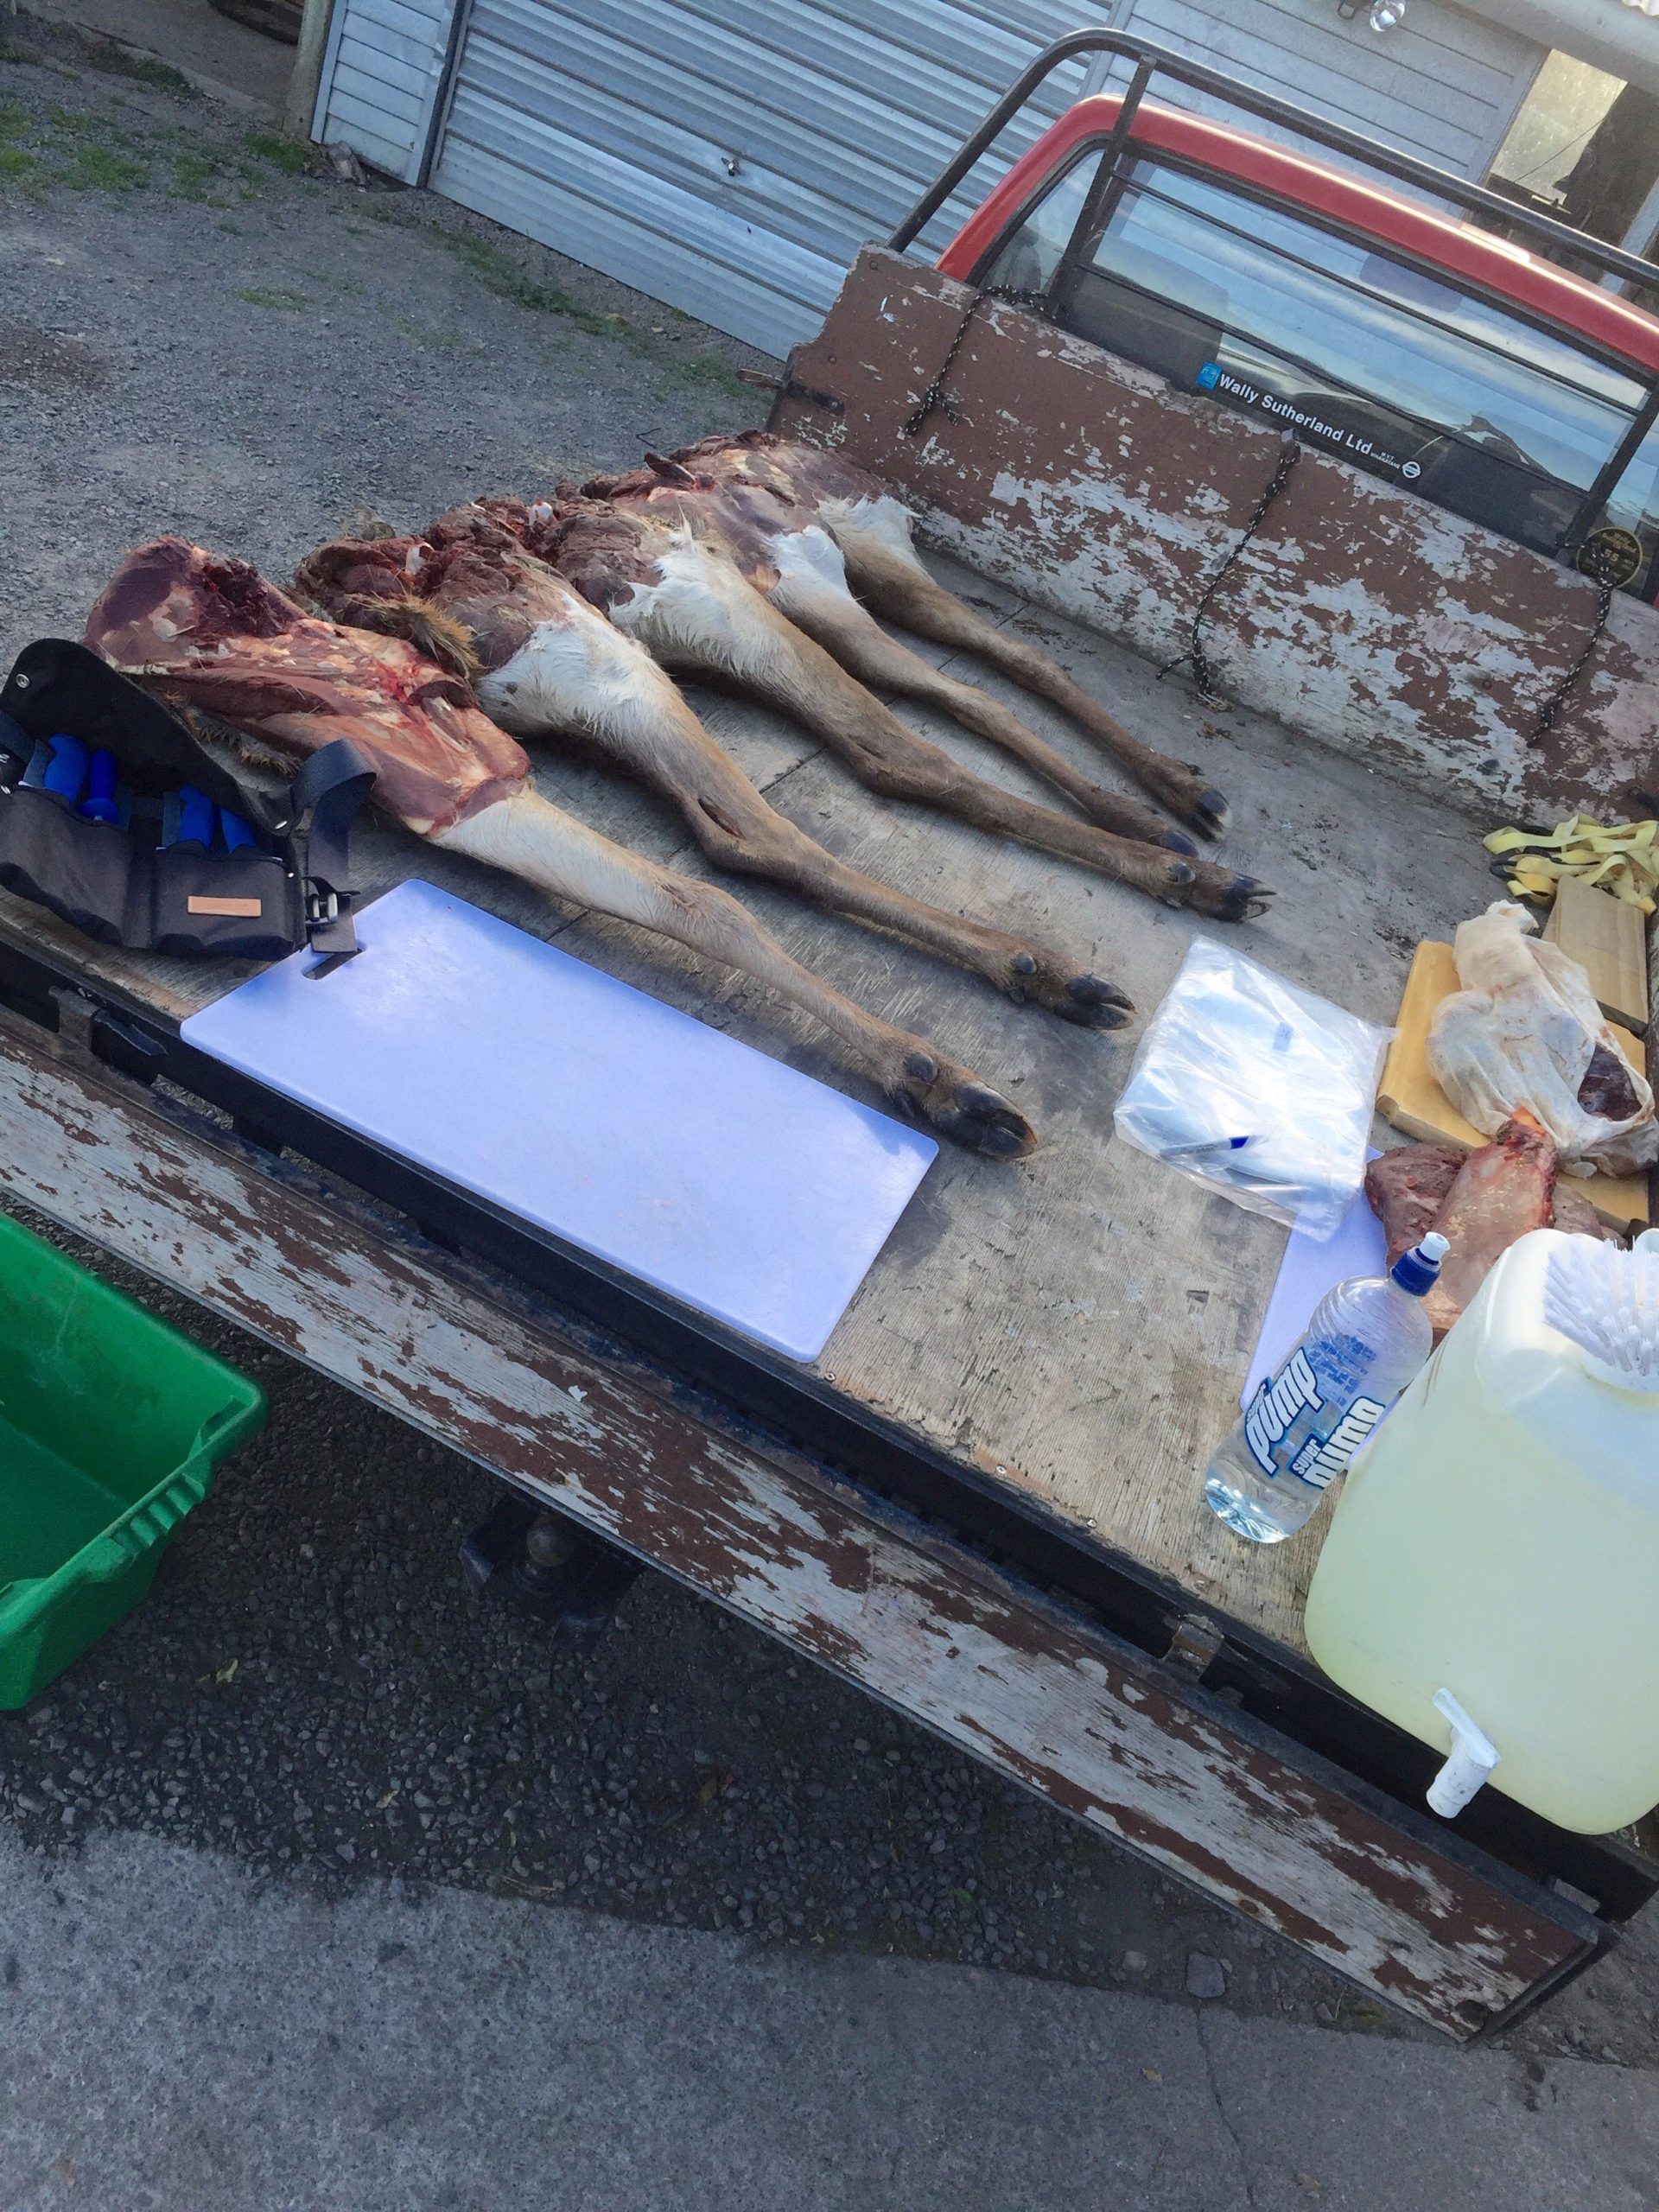
I’ve got a dedicated butchery bench in my shed that I made out of a couple of pallets and some plywood. I also have two chest freezers that, with the addition of a chopping board, make okay benches. For whole animals/huge legs, I have a pully and various hooks too. This time though I decided to make the most of the warm weather and do everything outside on the back of my ute.
Here’s the stuff I prepared:
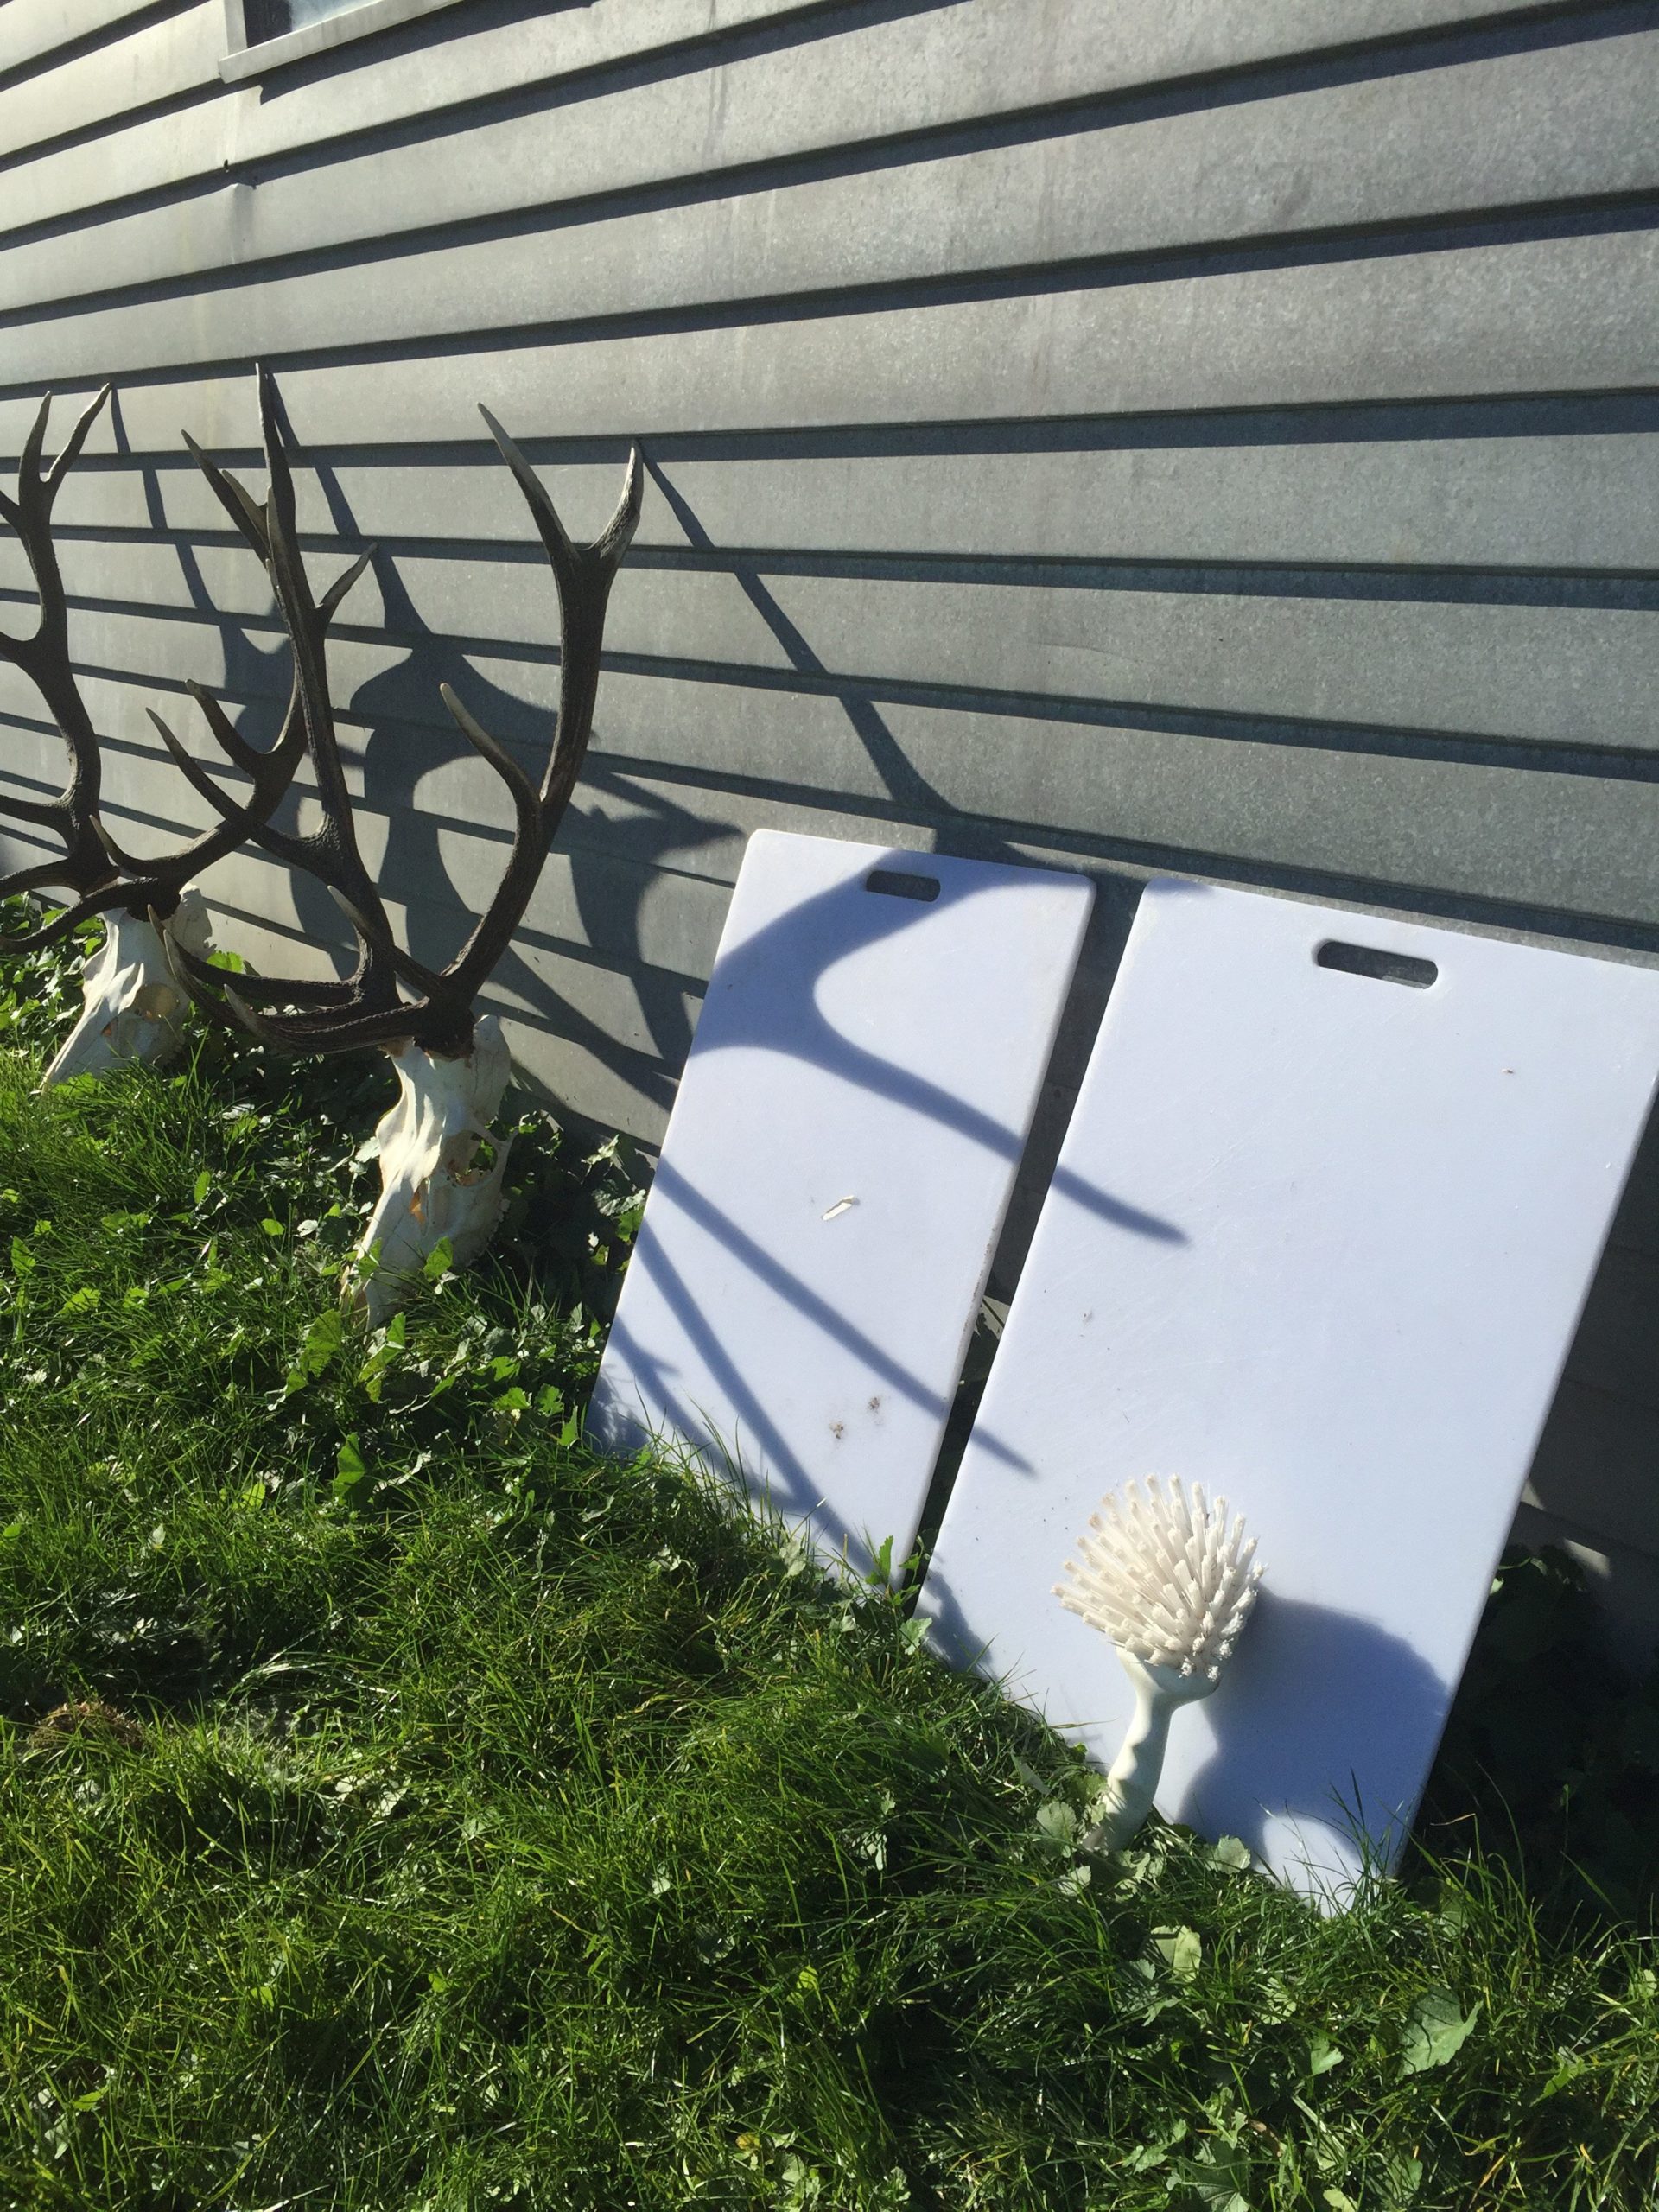
- Chopping boards. I have a selection of giant nylon boards I got from the warehouse and old hunks of ply and other giant wooden boards
- My fav is the butchery set from EKA and a good steel my partner already had
- This could be the hose, but I use a 20L container with a tap
- Scrub brush
- Drink bottle (‘cos you might be out there a while!)
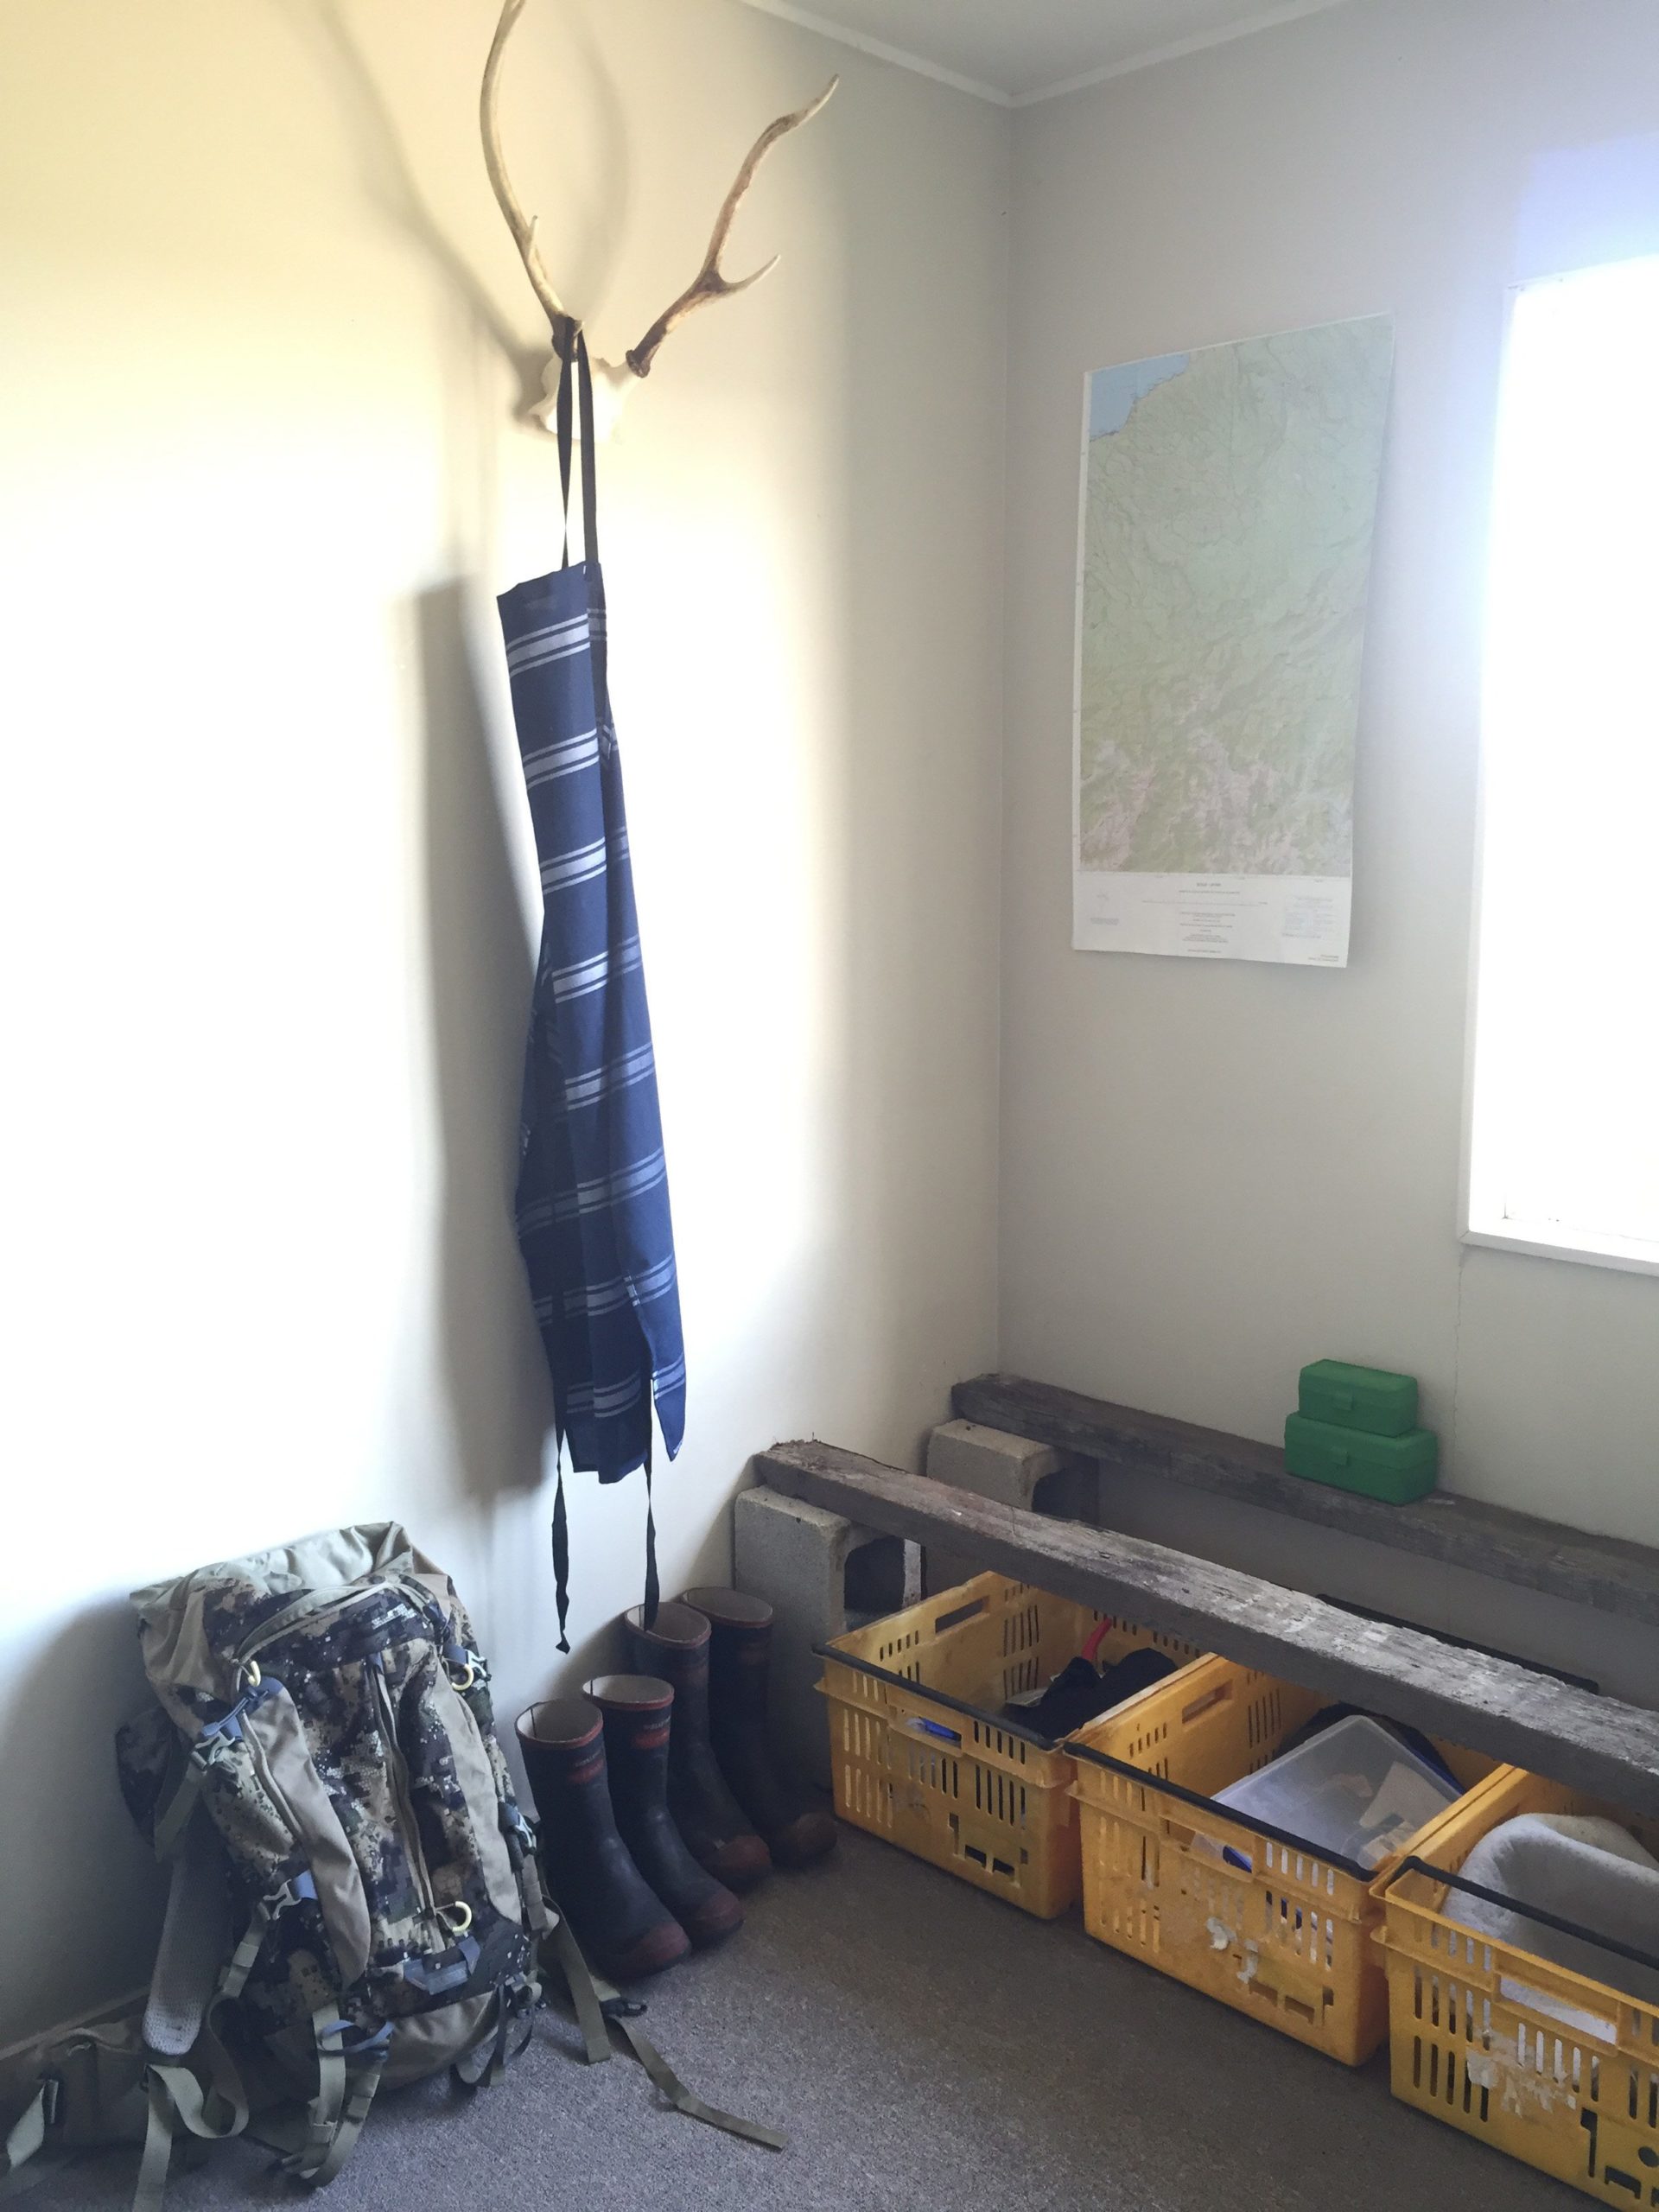
- Gumboots
- Apron
- Fish bin
- Old buckets with rubbish bag liners
- Giant thick rubbish bags
- Freezer bags/Glad wrap
- Permanent Marker/Vivid
I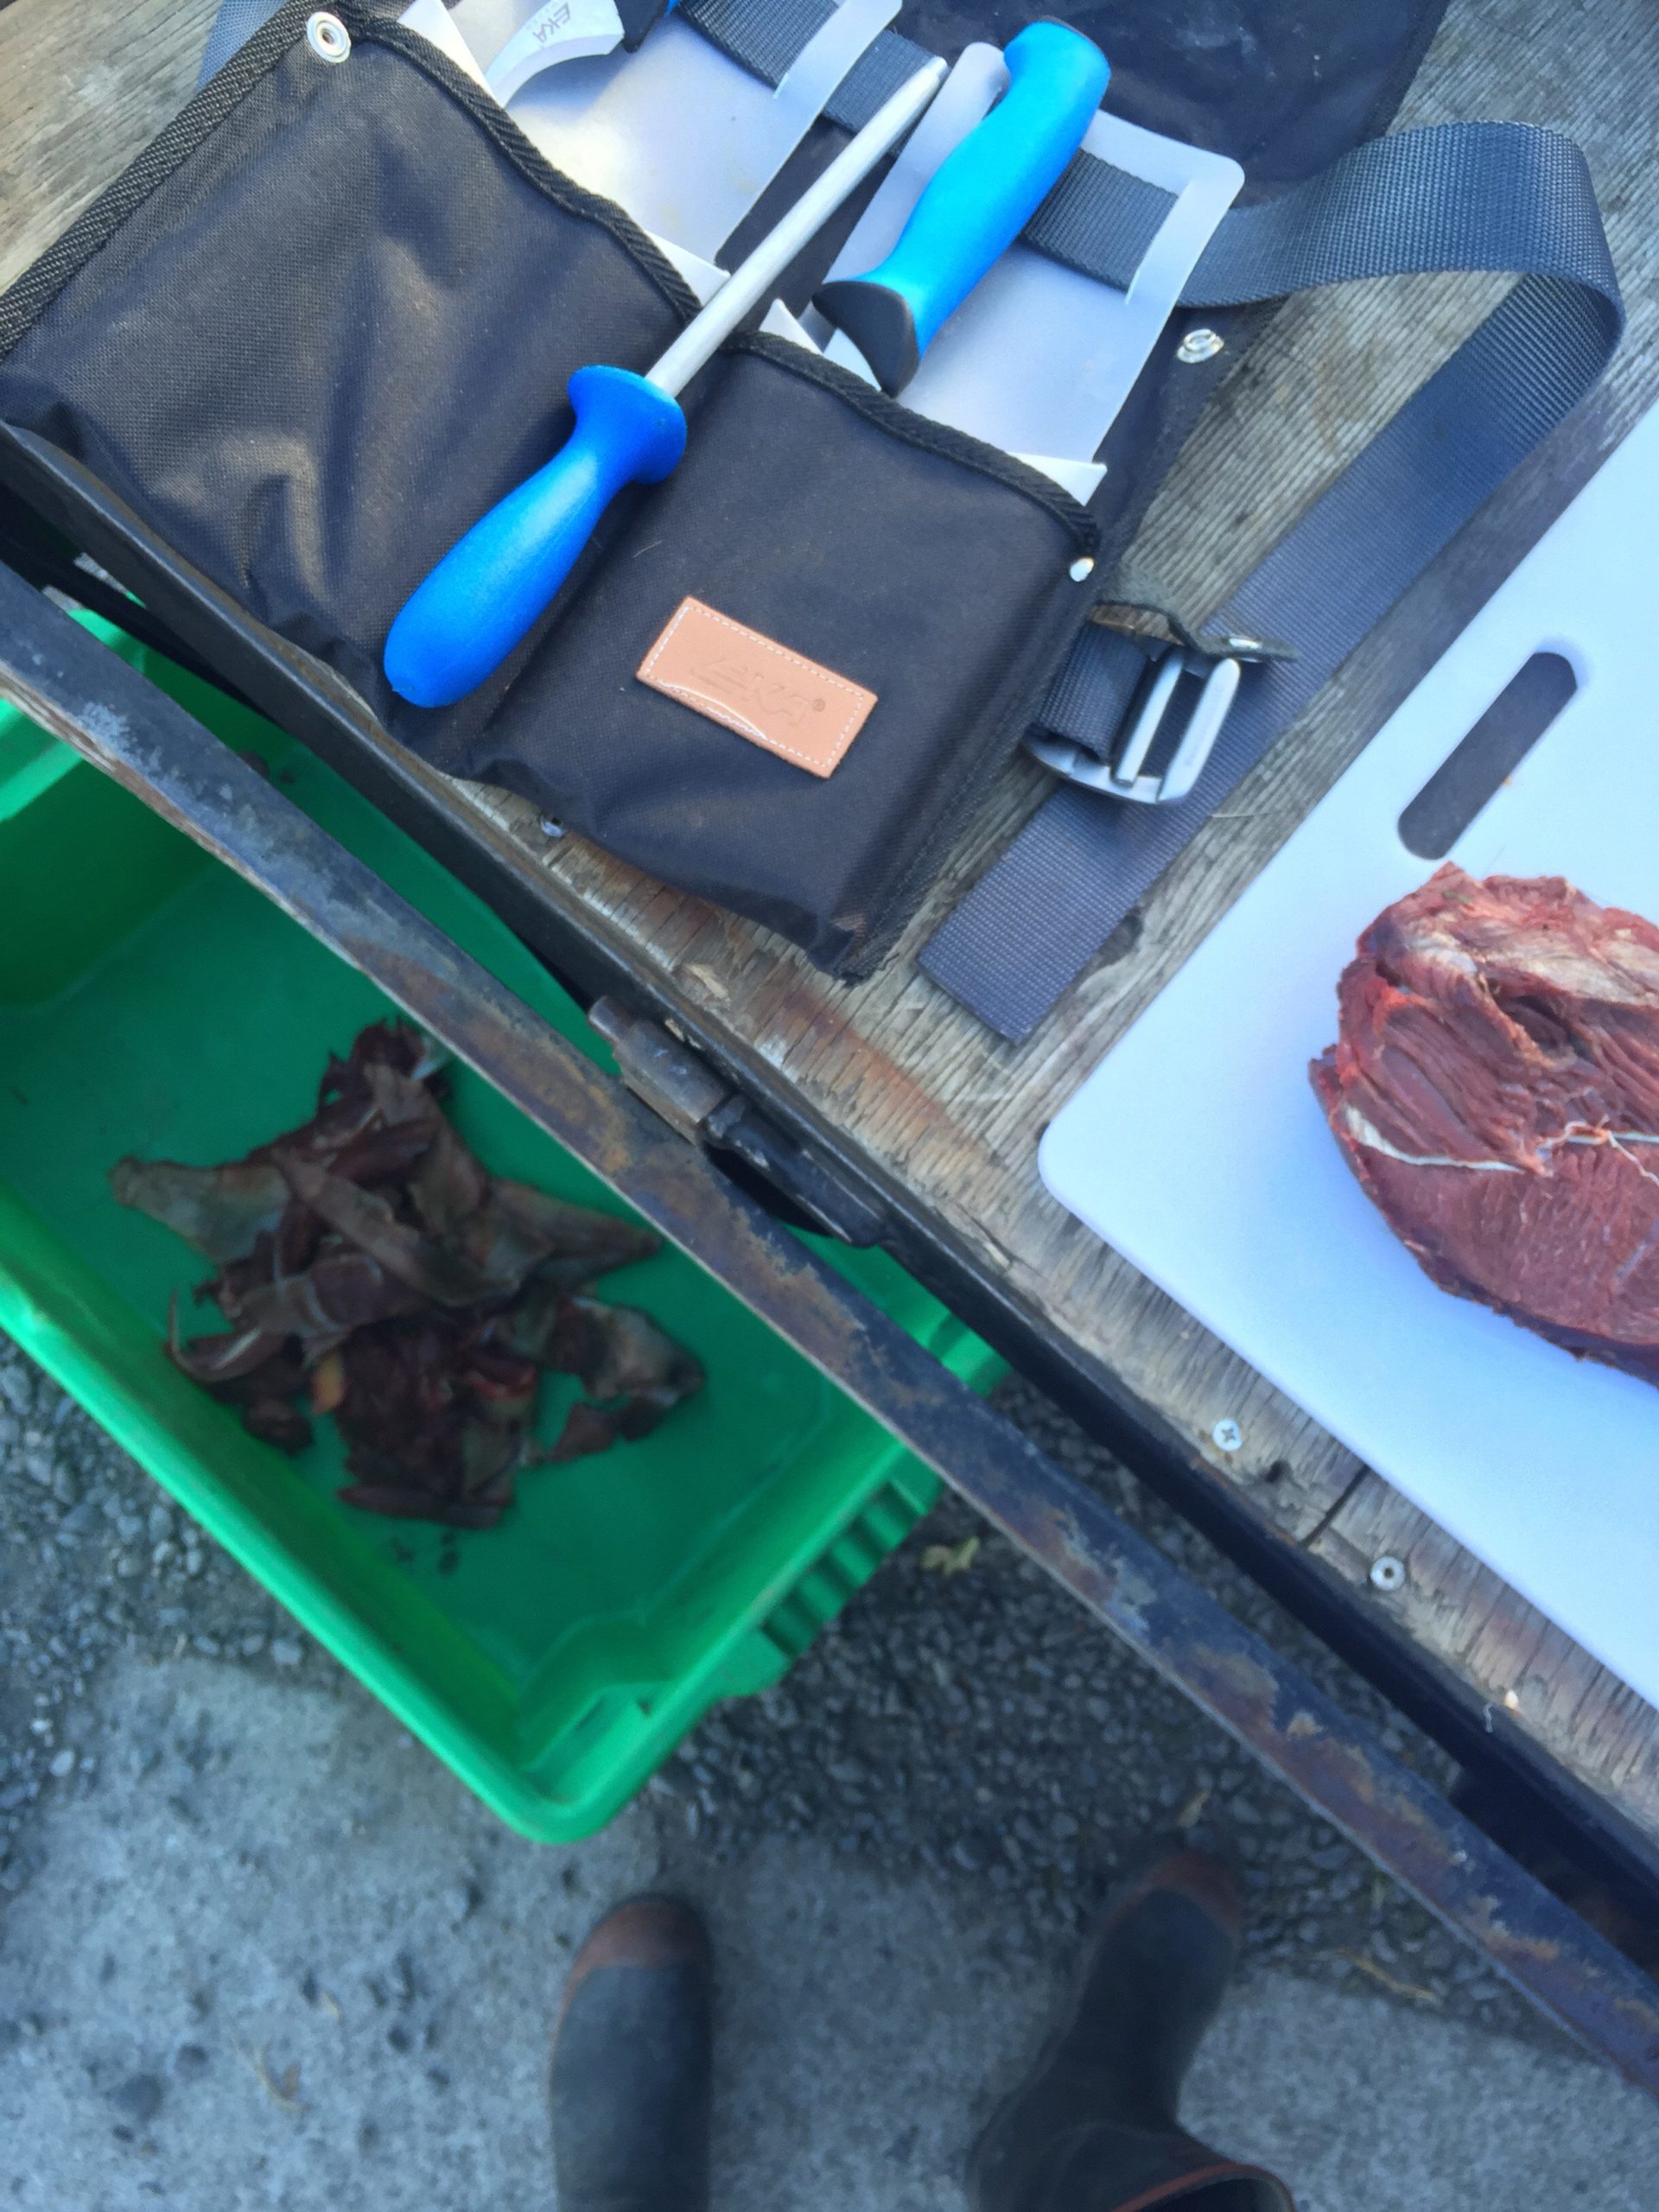 t’s important to remember that although it’s a gruff manly outdoorsy thing, deer butchery is still handling food: hygiene and tidiness are very important. I wash my hands and knives frequently. As I still had the skin on these legs, deer hair/grass/dirt is in my processing area, so it’s important to keep cleaning the items that get dirty and keeping finished products separate.
My process is to:
- Filet the back steaks – by that I mean remove the sinew
- Bone out legs, steaking and packaging as I go
- Add to trim bin as I go
- Organise meat in freezer
- Clean up
I use freezer bags for my steak/chuck meat and mark accordingly. I separate everything else as I go, and that’s where the buckets/bins/bags come in handy.
Trim Bag
For me, this time, this was a cardboard box holding open a giant black rubbish bag. It ended up being too heavy, so I split it into two bags once I was done. Trim is anything that is not easily steaked, cubed or has an annoying amount of sinew in it. The meat around the lower legs goes into my trim bag as well as the smaller muscle groups in the back legs. Pretty much all front shoulder meat goes into my trim bag. We are very fond of the patties and sausages that come from our mate Rob at Wild Game Salamis! Once I’m done, the bag gets marked and then chucked into the freezer until I’m ready to take it to the butcher. If it isn’t much and you’ve got another hunt coming up, you can wait until you have a substantial amount. Trim keeps for quite a while in a well-sealed bag in the deep freeze.
Dog Food
This is small stuff, whatever I feel generous giving to the pooches. DO NOT put sinew or coagulated blood, rotten meat or anything nasty into your dog food bin. What goes in must come out and trust me you don’t want to have to be involved in the “out”. Venison bones are great for dogs. If you have the freezer space, separate to whatever you want (I keep whole bones together as my dogs are pretty big) by cutting tendons or using an axe. Remember that whatever you chuck in the freezer will freeze together so either use sheets of plastic or separate strategically so you can smash with a hammer later to get individual bones out.
Rubbish bucket/Fish Bin
 Bloody meat, anything a bit dicey, long filets of sinew, etc. If you don’t have much, clearly label this as rubbish and freeze it until rubbish day. If you have loads, make friends with someone who has an offal pit.
Boss Wear
Wearing an apron and gumboots will not only make you look like a boss, but it’s so much easier to clean up and keep your meat clean. I tend to have to use my whole body to move around big legs, carry boxes, etc and having a clean apron be the contacting surface with your game meat is much more hygienic than whatever you are wearing under it. I have a pretty big selection of aprons these days for different jobs. Honestly, they are wicked. I got my butcher’s apron online for about $25. Gumboots are easy to hose off, and it won’t matter if you’re standing in a puddle while processing. Essentials for deer butchery.
Clean Up
It’s tempting to leave the clean up until later, but trust me, do it right away. Scrub all equipment with dishwashing liquid and water. Leave chopping boards to air dry but look after your knives. Sharpen and oil accordingly. Ensure your rubbish is in a safe place where your dogs can’t get it (Tess puts me to the test on this one) if you can’t dispose of it straight away. If you used a fridge to hang your meat, turn it off, clean the inside and let air out with the door open.
There you have it!
That’s a basic run through of how I have settled on doing my deer butchery. I’m always finding out new tricks with each animal, and I think it’s important to keep an open mind to any new ideas that might help you. If you have any tips yourself or still have questions, do not hesitate to comment or check out my full bio.
Hot barrels and sharp knives!
Dougie