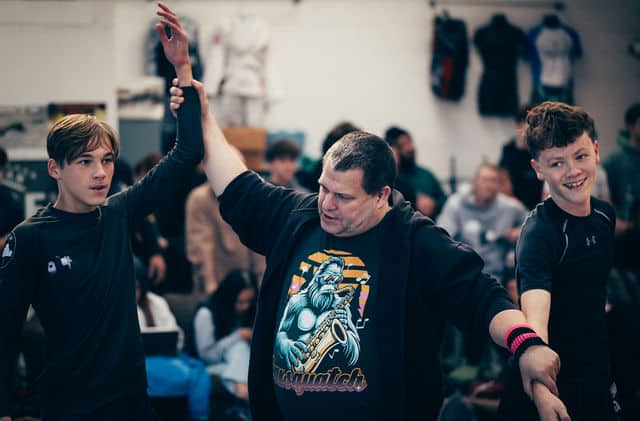
https://thebloke.pixieset.com/willmachadocompetition
Stepping onto the mats as both a Brazilian Jiu Jitsu (BJJ) practitioner and a seasoned photographer, I’ve often wondered, why not combine these two passions? With years of photography experience and a deep interest in BJJ, it seemed only natural to start capturing the essence of this intricate martial art. So, I set out to get some photos for my website and to immerse myself further in an activity I truly enjoy.
In this article, I will share my journey into BJJ photography and offer some practical tips for SLR enthusiasts and those using their phone cameras. Whether you’re a seasoned shutterbug or a beginner looking to snap some dynamic shots, you’ll find something useful here.
Photography is the story I fail to put into words.
Destin Sparks
From capturing a match’s fluid movements to getting close to the intricate details of techniques, BJJ offers many photographic opportunities. Let’s delve into how to perfectly frame that fierce armbar or the subtle camaraderie between training partners.
- Choose the Right Equipment
- Understand the Lighting
- Perfect Your Timing
- Experiment with Angles
Understanding the Unique Challenges of BJJ Photography
BJJ photography is like many other forms of sports photography. It demands an understanding of the techniques and the subtleties of human movement and emotion. One of the primary challenges you’ll encounter is the fast-paced and unpredictable nature of the matches. In BJJ, the tide can turn in mere seconds.
Another challenge is the typically low-light environment of most gyms and competition venues. This requires a solid grasp of your camera’s settings to avoid blurry images and ensure proper exposure. Flash is often not an option, as it can distract athletes and disrupt the flow of the match.
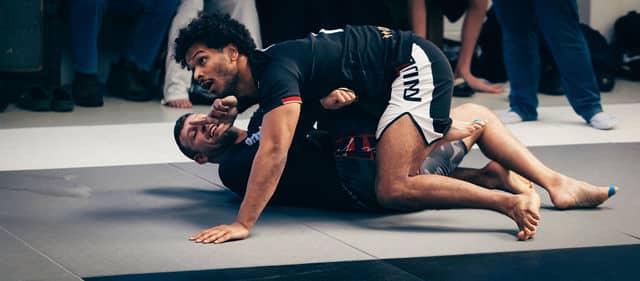
BJJ also involves a lot of groundwork, so you’ll need to get creative with your angles. Capturing the essence of a submission or the intensity of a sparring session requires you to often be on the mat, moving around to get the perfect shot. This can be physically demanding and potentially hazardous if you’re unaware of your surroundings. Always be alert to avoid interfering with the athletes.
Lastly, capturing the essence of BJJ—the techniques, the camaraderie, the struggles, and the triumphs—requires patience and an eye for detail. You’ll need to immerse yourself in the sport and build a rapport with practitioners to get genuine, candid moments that reflect Brazilian Jiu Jitsu’s spirit.
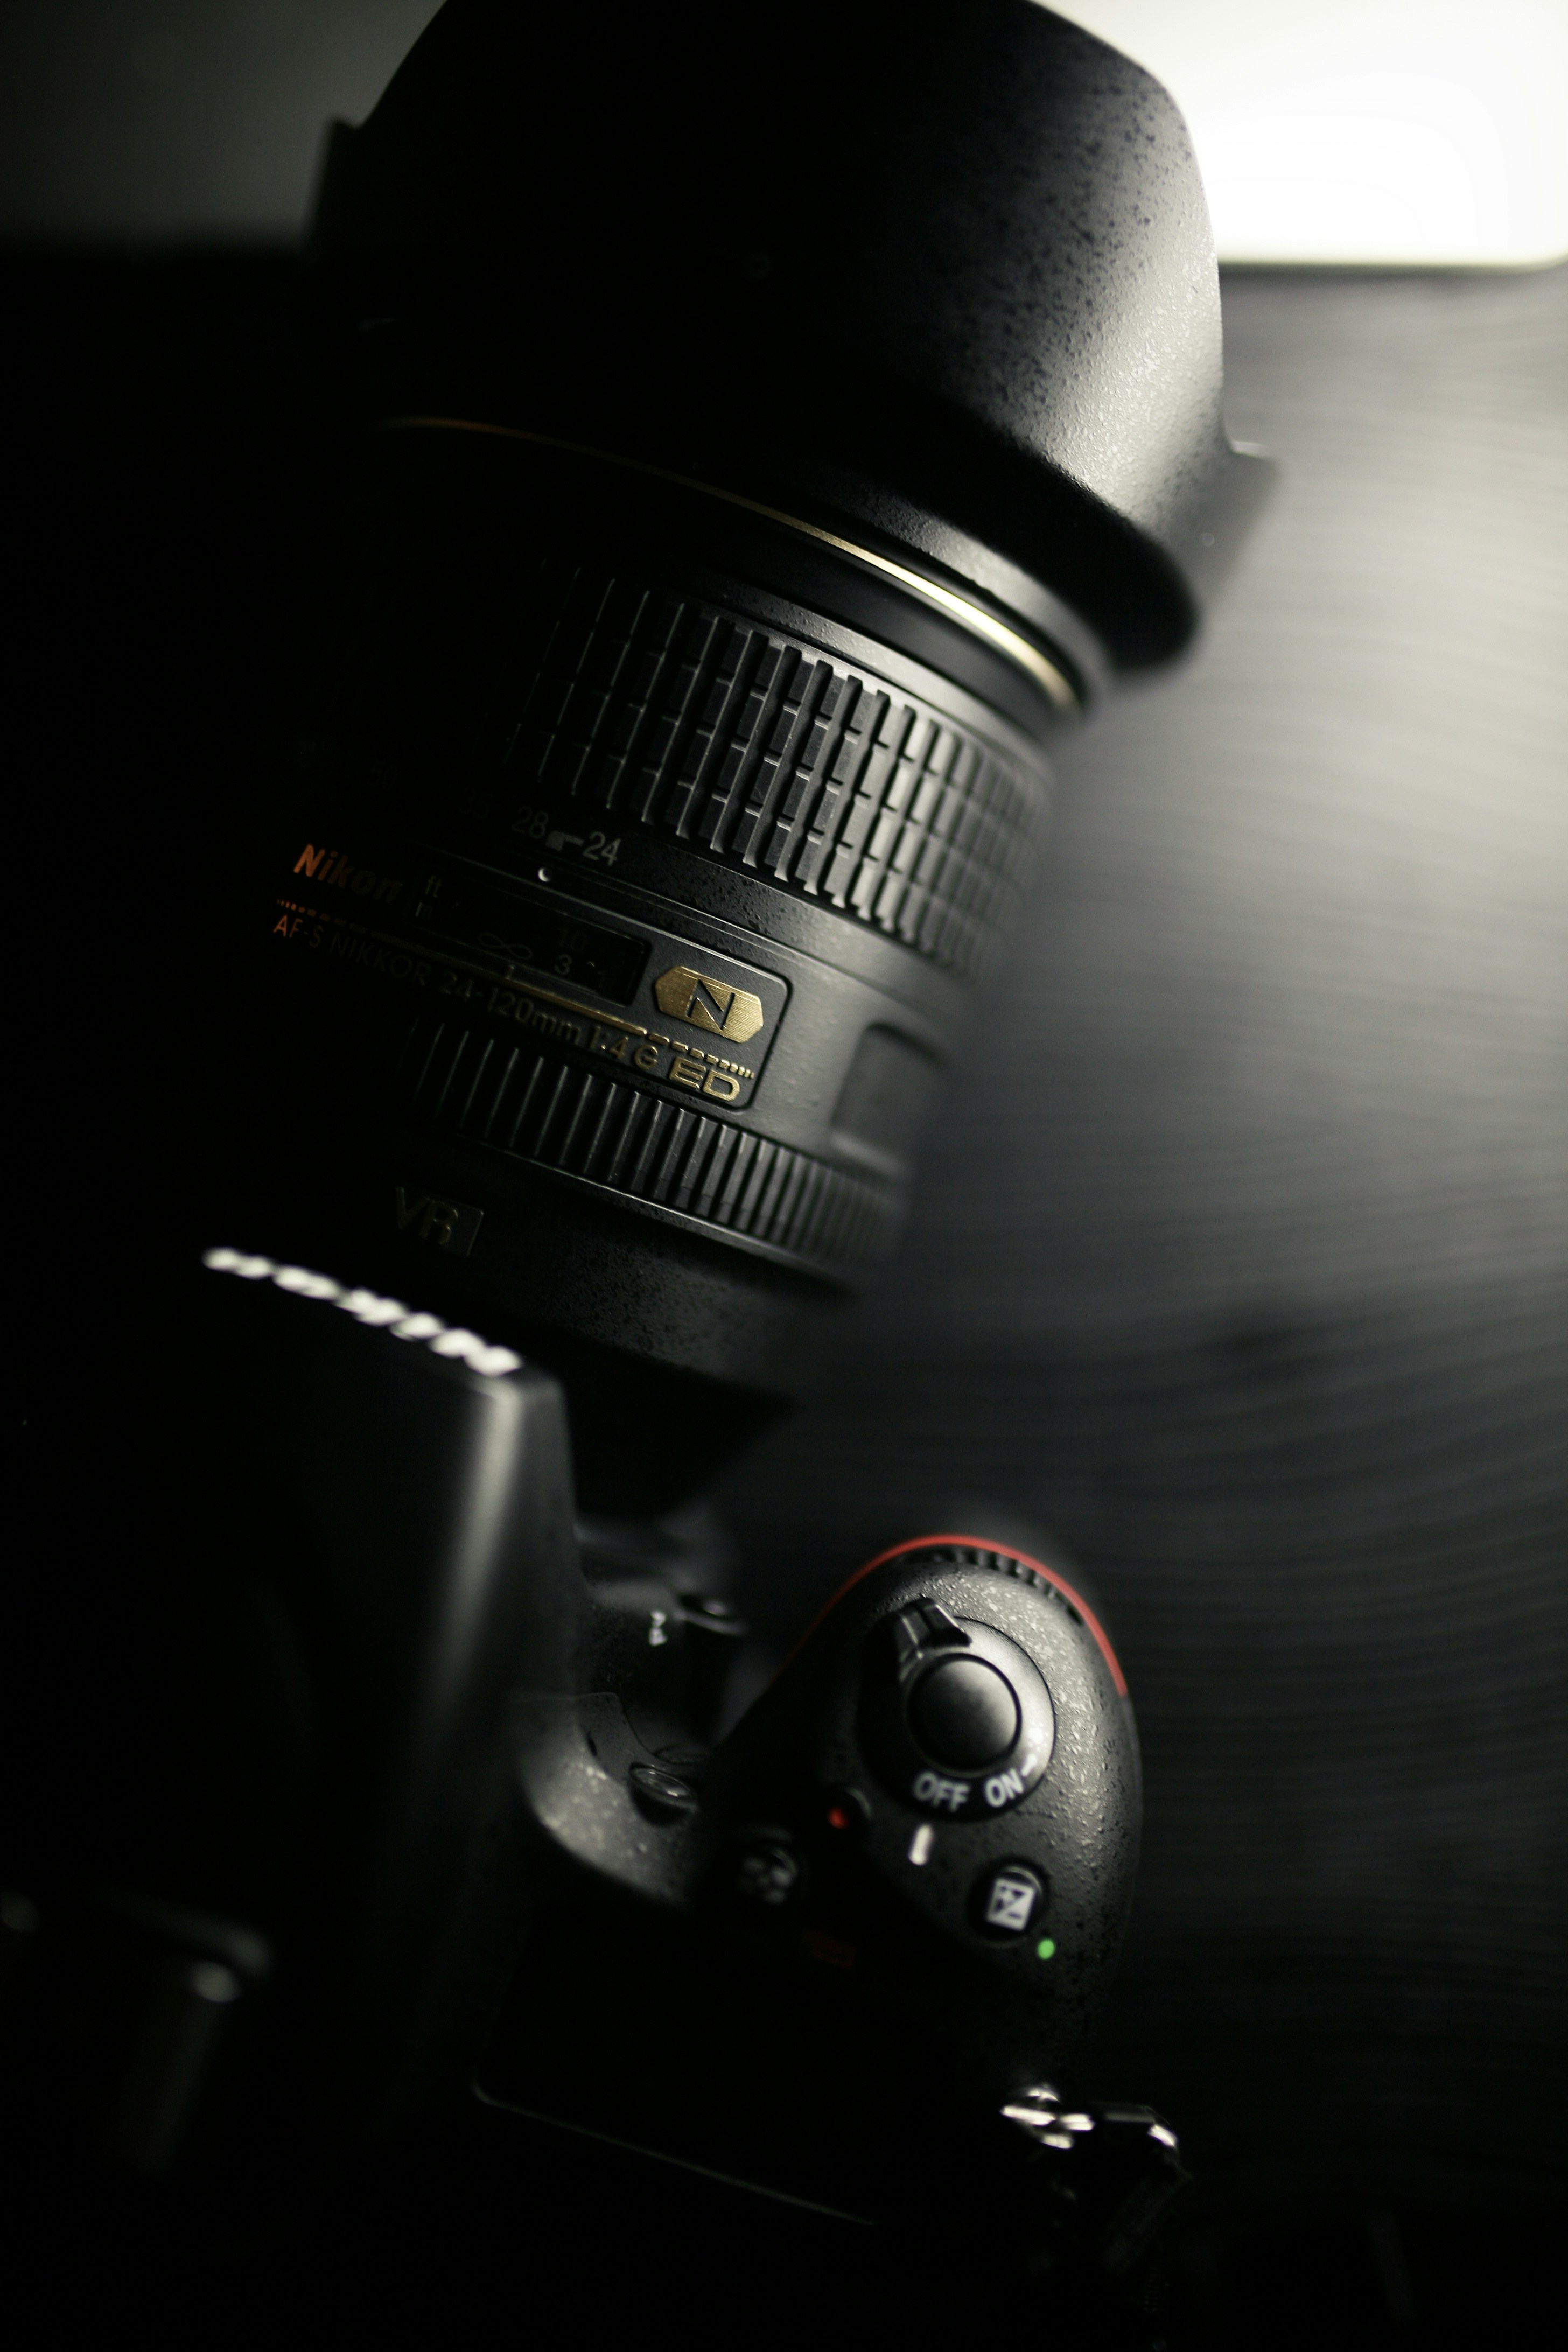
Choosing the Right Gear: SLR Versus Smartphone
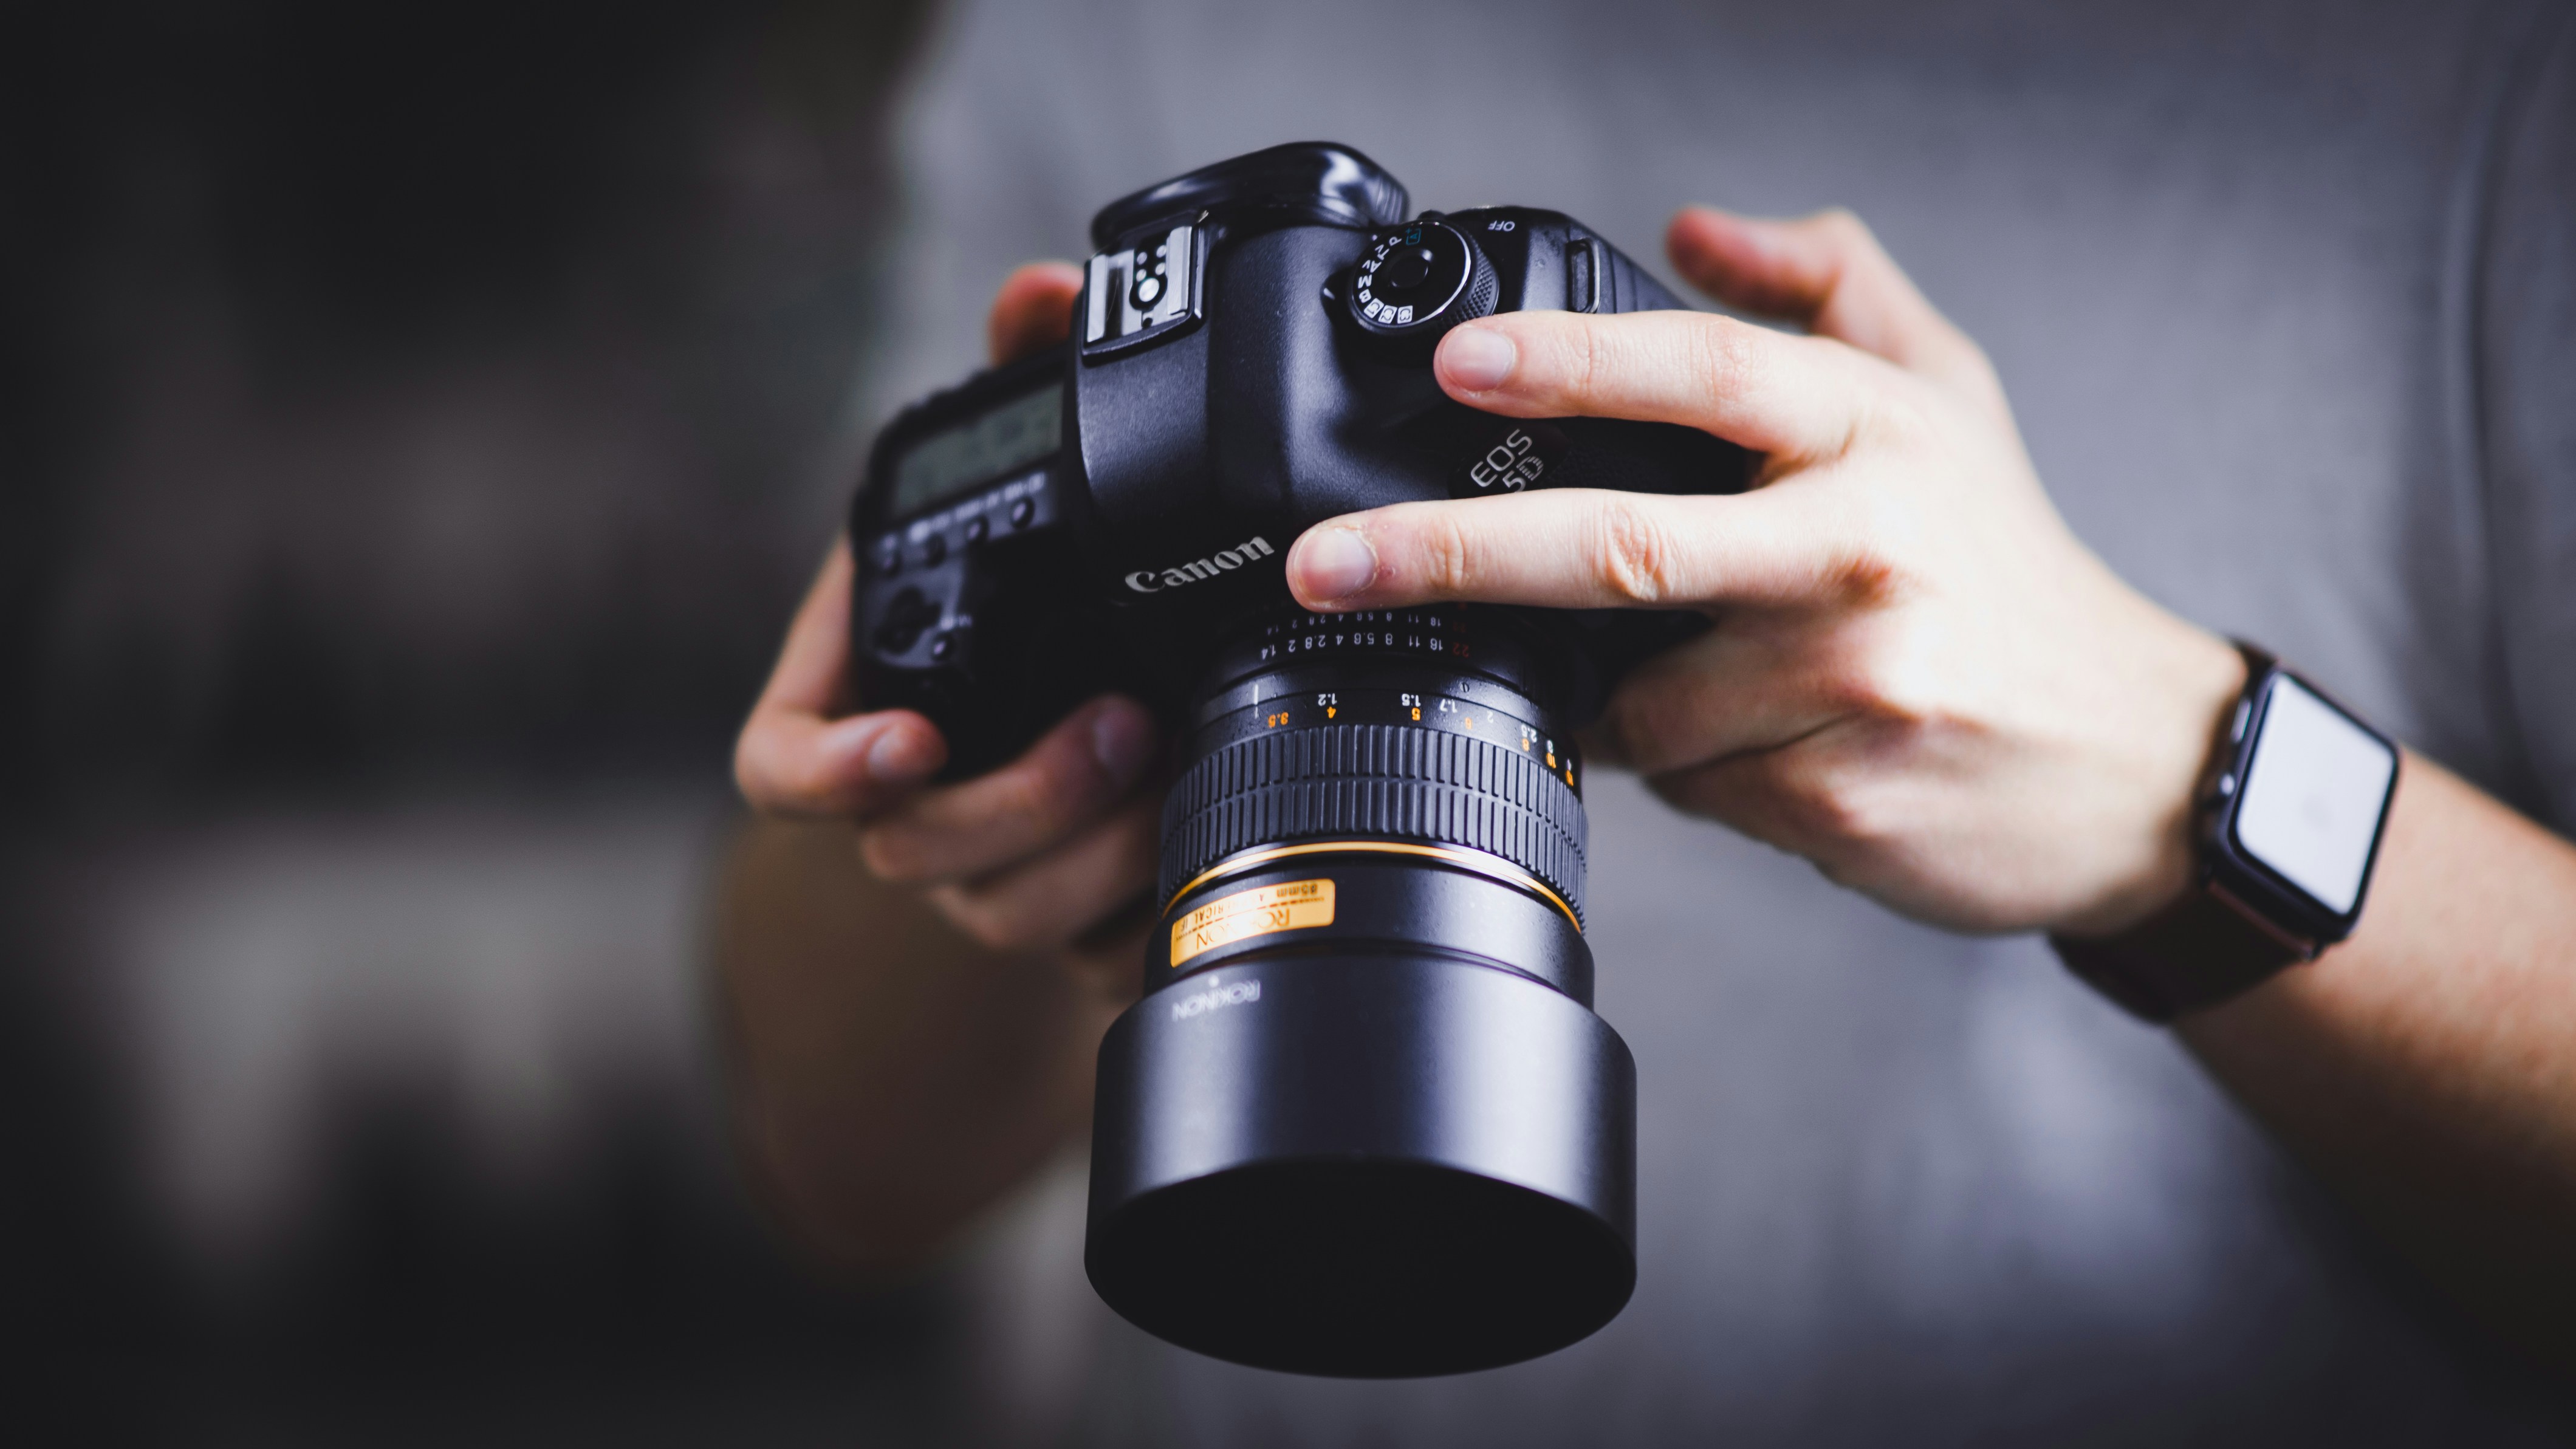
Embarking on the journey of BJJ photography, the choice between an SLR and a smartphone can feel akin to selecting your technique on the mats – each has its own advantages and unique challenges. The crisp, intense detail captured by a high-end Digital SLR camera, such as my old but trusty Canon 5D MKIII, can truly bring the raw emotion and power of a match to life. With interchangeable lenses, you can adjust your focal length to capture close-up submissions and wide-angle shots of the entire mat, each from dynamic angles. The versatility of prime and zoom lenses means your creativity knows no bounds.
However, don’t underestimate the power of the device often nestled in your pocket. Modern smartphones, with their increasingly sophisticated cameras, are formidable foes to traditional gear. My Canon may be the high end of professional gear (for its time), but the ease of slipping a smartphone from your pocket and shooting in an instant can sometimes be the edge you need.
Mobile photography apps now offer manual settings that rival some DSLR capabilities. Imagine adjusting exposure, shutter speed, and ISO on your phone, allowing you to craft the perfect shot even amidst the flurry of a fast-paced roll. Where to do lack is focal length ‘manipulation’—specifically, creating a narrow depth of field. However, AI manipulation in post is starting to remove that issue as well (though still not as well).
Nevertheless, the decision often hinges on your personal comfort and familiarity with your gear. Are you the seasoned photographer who thrives with the weight of a full sized camera slung over your shoulder, or do you find the spontaneity of a smartphone liberating? As with your BJJ journey, the perfect balance often lies in combining the strengths of each tool. The key is to understand the environment, anticipate the movements, and be ready to capture the essence of every gripping moment. Ultimately, it’s not just about the gear you wield but how you harness it to tell the story etched in every gripping exchange on the mat.
However, I am just going to say it—my Canon with a 50mm prime still looks ‘better’ than the S24—even with its ‘more megapixels’. So, how about having both, using both, or even more simply, learning to use what you have?
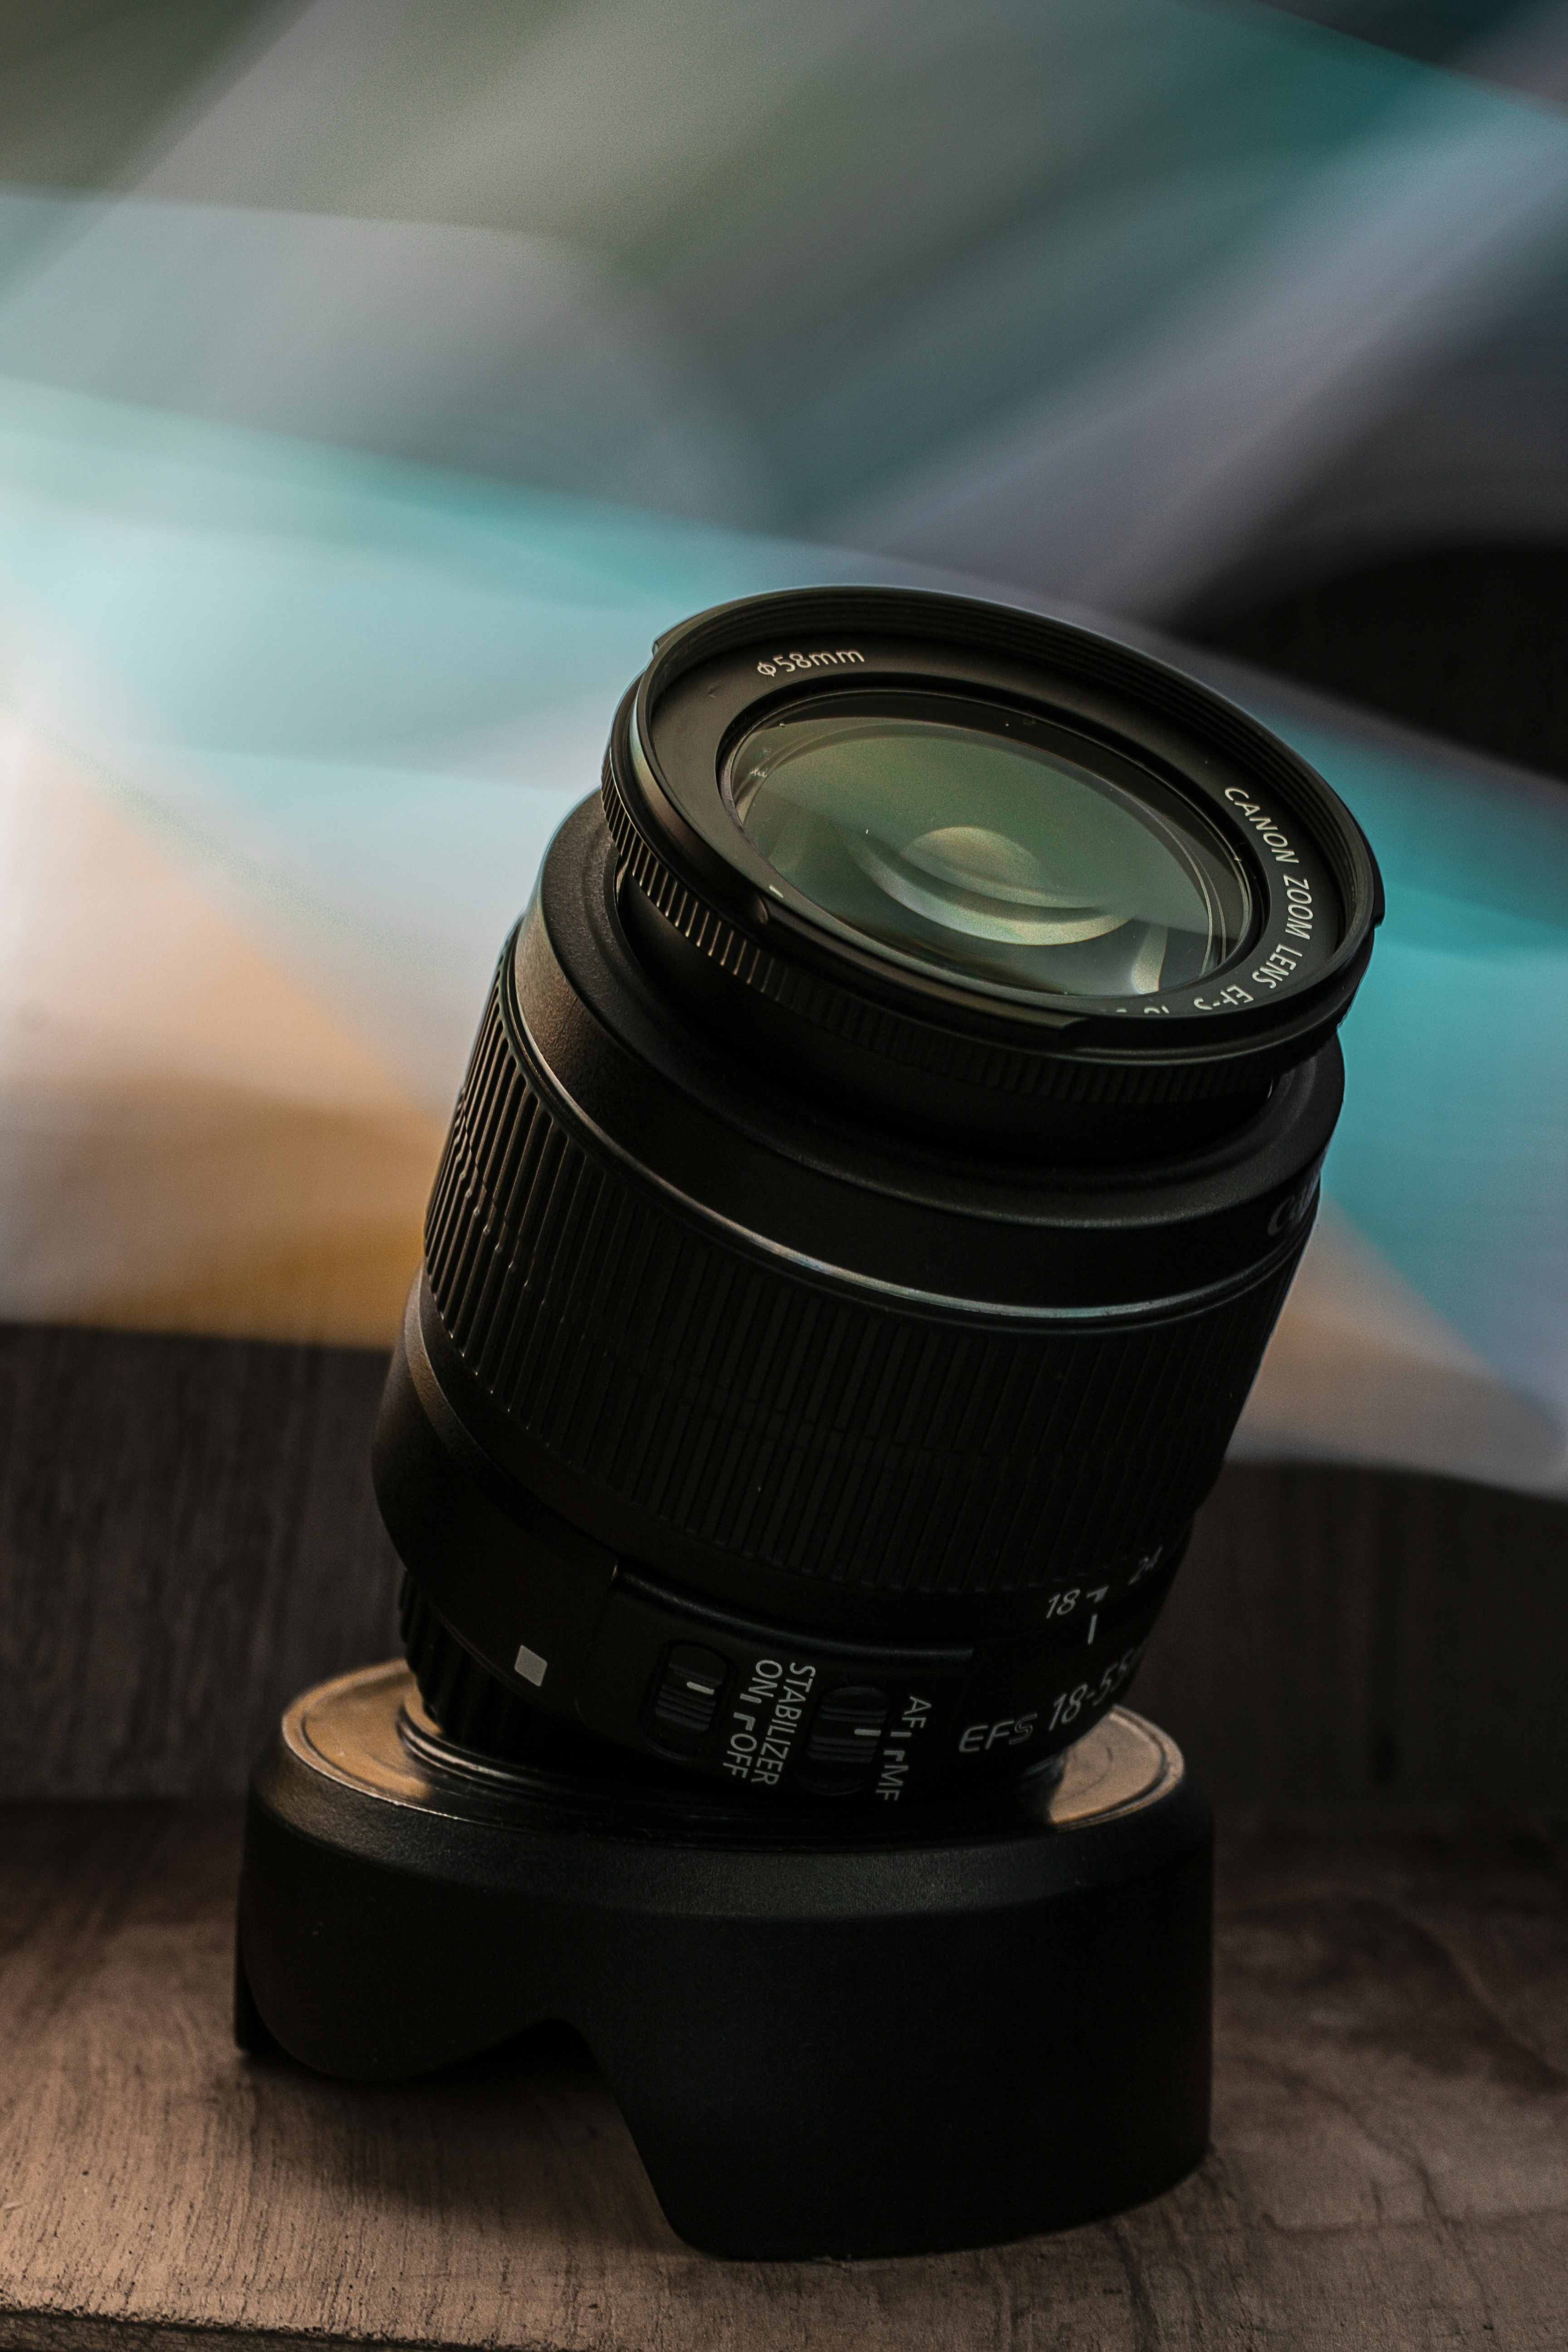
The Exposure Triangle
At the heart of every captivating photograph lies the delicate interplay of three fundamental settings: ISO, shutter speed, and aperture. Together, these elements form what photographers lovingly call the Exposure Triangle. Think of it as a symphony where each instrument must be perfectly tuned to create harmony. ISO is your camera’s sensitivity to light—dial it up for darker environments, but beware of the grainy noise that may accompany it. Shutter speed controls the duration your camera’s sensor is exposed to light; a faster speed freezes action, while a slower one can paint motion. The aperture, the eye of your lens, regulates the amount of light entering—wider openings (lower f-stops) let in more light and blur the background, focusing on your subject with striking clarity.
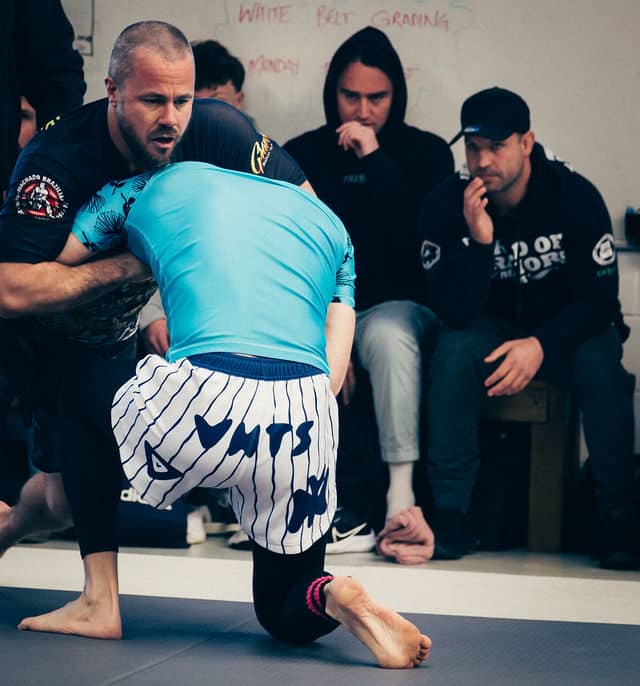
Mastering Lighting in the Gym
Despite what your eye might tell you, once you start taking photos in most gyms, you are going to realise there is a lot less light in there than you thought.
Light is one of the key requirements for capturing detail in photography. A photograph is, after all, in essence, captured light. In practical terms, this can mean less noise (cleaner images)and faster shutter speeds (sharper images).
This holds especially true in the fast-paced world of Brazilian Jiu Jitsu. Capturing the subtle nuances of a grappler’s movements requires precision and clarity. To achieve this, understanding and manipulating light is paramount, whether you’re wielding an SLR or just your smartphone.
First, consider the lighting conditions of the gym. Gym lighting can be notoriously tricky, often casting harsh shadows and creating uneven illumination. If you’re shooting with an SLR, leverage the ISO settings to bring more light into the sensor. However, be cautious—cranking up the ISO too high can introduce noise, degrading the quality. While I always try to use as low of an ISO as possible, a sweet spot typically lies between ISO 400 and 800, balancing brightness with image fidelity.
ISO, in essence, represents the sensitivity of your camera’s sensor to light. Think of it as a light-gathering ability, akin to the human eye adjusting between bright sunlight and a dimly lit room. A lower ISO value, such as ISO 100, means less sensitivity, which is ideal for bright conditions, while a higher ISO value, like ISO 3200, increases sensitivity for low-light scenarios. However, this sensitivity comes at a cost—the higher the ISO, the more digital noise or grain your images may exhibit. It’s a dance of light and clarity, balancing the need for a well-lit capture against the preservation of smooth, noise-free imagery
For smartphone photographers, it might seem like you’re at a disadvantage, but modern phones have powerful sensors. Use the HDR (High Dynamic Range) mode if available to better balance your photos’ light and dark areas. Additionally, some apps allow manual control over ISO and shutter speed, offering a more tailored approach to tricky lighting.
Another critical aspect is the direction of your light source. Always try to position yourself to maximise natural or artificial lighting to your advantage, keeping the subject well-lit and shadows minimal. Side lighting often adds depth and texture to the image, highlighting the physicality and motion in a grappling match.
In BJJ photography, mastering light isn’t just about visibility—it’s about storytelling. Shadows can add drama, while highlights can focus on a decisive moment, a bead of sweat, the strain of muscle, or the fleeting expression of triumph. To this end, being observant and adaptive to the ever-changing light conditions can transform a mundane shot into a compelling narrative.
On my Canon, I tend to set it to Manual mode – which lets me fix the Shutter Speed and Aperture settings. As discussed next, these two settings allow me to focus on and ‘stop’ dynamic movement; then, I allow the camera to automatically set the ISO to get an ‘average’ exposure. This allows me to control some aspects of the shot but not worry about exposure for every shot and angle – something I wouldn’t have time to consider, given the speed of the changing shots in the gym.
Tips for Capturing Dynamic Movements
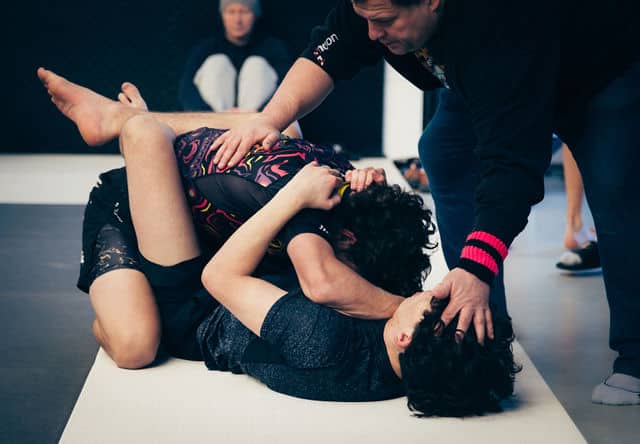
The shutter speed is the key to ‘stopping’ movement in Jiu Jitsu. While there is a place for smeared, blurred images artistically, most of the time, you will want to have a fast enough shutter speed to ‘freeze’ the action in place.
Shutter speed refers to the length of time the camera’s sensor or film is exposed to light. It’s a critical component in photography that directly influences motion capture and exposure. Measured in fractions of a second, such as 1/1000 or 1/250, a fast shutter speed allows for crisp, clear images of fast-moving subjects by minimizing blur, while a slower shutter speed permits more light to hit the sensor, beneficial for low-light situations but often resulting in a blurred effect if the subject is in motion. Balancing shutter speed with aperture and ISO settings, collectively known as the exposure triangle, is essential for achieving the desired photographic outcome, especially in high-action environments like Brazilian Jiu Jitsu.
Essentially, I am trying to utilise the fastest shutter speed I can, which, in conjunction with the Aperture I want to use (see below), will allow me, on average, to keep the ISO in a low enough band that I am comfortable working with.
Framing and Composition in BJJ Photography
Finally, the third part of the exposure triangle is the Aperture. Aperture allows you to have only part of your image in focus, drawing attention to the subject.
The aperture is essentially the ‘pupil’ of your camera lens—an adjustable opening that regulates the amount of light entering the camera. It is measured in f-stops, which denote the size of the lens opening; a smaller f-stop number like f/2.8 indicates a larger aperture, allowing more light to penetrate, whereas a larger f-stop number like f/22 corresponds to a smaller aperture, permitting less light.
Technically, the aperture not only controls the exposure but also directly impacts the depth of field in your photographs: a wide aperture (small f-stop) results in a shallow depth of field, where only a small portion of the image is in sharp focus, making it ideal for isolating subjects against blurred backgrounds. Conversely, a narrow aperture (large f-stop) produces a deeper depth of field, bringing more of the scene into clear focus.
This is a partially technical, partially artistic choice.
For example, you might use a larger aperture (smaller number) to throw the background out of focus and draw attention to the action. However – for a wider shot – you might want the spectators (and their expressions) in the background to remain focused so you can experience the interaction between the people rolling and the people watching. Use a bit of both!
Remember, though, that even though you might be tempted to use the largest aperture possible to get the smallest depth of field, it also means that you might end up with parts of your photo out of focus when you didn’t intend to, and an ‘out of focus’ subject (due to them shifting quickly) is likely a worse issue than a background that isn’t out of focus.
Highlighting Key Moments and Submissions
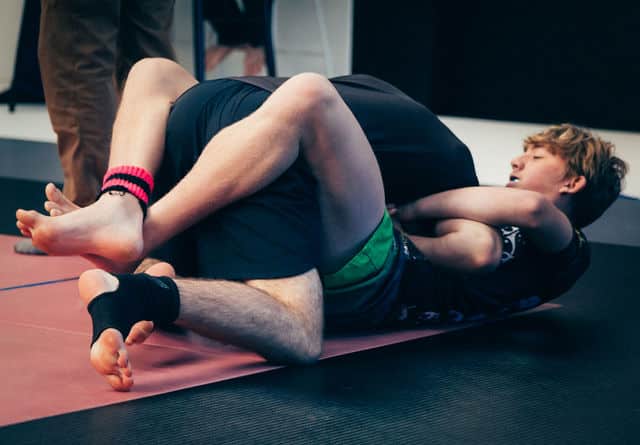
As the match unfolds, the mat becomes a theatre of human emotion and physical prowess. Capturing those peak moments—whether it’s the singular instant of a triumphant submission, the grit of a determined guard pass, or the explosive energy of a takedown—requires photographic skill and a profound understanding of the sport itself. Timing, here, is everything. One second too late, and you’ve missed the story; one second too early, and the narrative is incomplete.
Burst mode is a practical tool that can distinguish between an average and extraordinary shot. This feature allows your camera or smartphone to take a rapid series of shots with one press of the shutter release. This increases your likelihood of seizing that crucial moment when a fighter locks in a choke or reverses a sweep. Practising with burst mode can help you become attuned to the rhythm of BJJ bouts, giving your instincts a photographic edge.
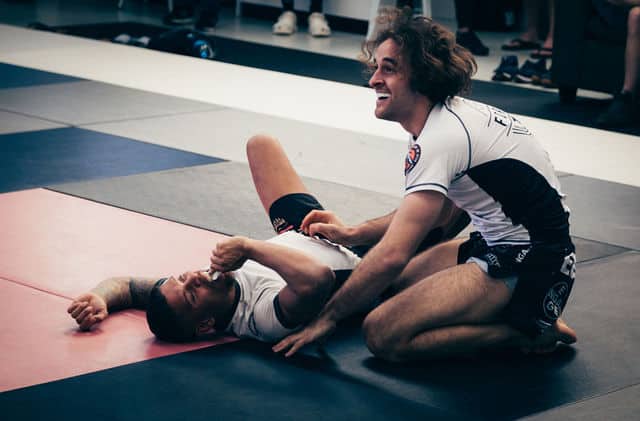
But beyond technique, these photographs have an emotional dimension. They are not merely records of athleticism; they are windows into the spirits of the competitors. A victory isn’t just in the raised hand—it’s in the exhausted smile, the relieved exhale, and the respectful handshake. To truly highlight these key moments, you must be mentally and physically prepared. Know the fighters, study their styles and anticipate their moves. Such preparation is the bedrock upon which great photography is built.
Don’t forget the power of different angles and perspectives. Capturing a submission from a low angle can accentuate the move’s dominance, while a high angle might better show the encounter’s spatial dynamics. Experiment with these perspectives to compellingly capture BJJ’s essence. Your creativity in framing these key moments amplifies their impact, making each shot a picture and a piece of art.
Remember, each photograph is a slice of the intense, captivating Brazilian Jiu-Jitsu dance. You can immortalise these fleeting moments of skill, strategy, and tenacity through your lens. Seize that power, and let your shots tell the stories that words could never fully convey.
Post-Processing Your BJJ Photos
Post-processing is where the raw magic of your captured moments is refined and transformed into stunning visual narratives. Regarding Brazilian Jiu Jitsu (BJJ) photography, this phase is both an art and a technical craft, requiring a blend of aesthetic sensibility and software proficiency. Whether you’re a seasoned photographer with an SLR or someone with a keen eye using a smartphone, understanding the tools at your disposal can elevate your images from mere snapshots to compelling stories.
Firstly, ensure you’re working with the highest-quality images your device can produce. For SLR users, this typically means shooting in RAW format, which retains all the intricate details and allows for extensive adjustments. Smartphone photographers may not have RAW capabilities, but modern phones have excellent resolution and dynamic range, making JPEG or HEIC formats a robust option.
Editing Software
Investing in good editing software pays dividends. Adobe Lightroom is a powerhouse for batch editing and organising photos, allowing granular control over exposure, contrast, and colour. If you’d prefer a free option, GIMP offers many capabilities that can rival paid software. For smartphone users, apps like Snapseed or VSCO provide impressive functionalities on the go.
Basic Adjustments
Start with basic adjustments: exposure, contrast, and white balance. Gyms often have challenging lighting conditions, and correcting the exposure can reveal details lost in shadows or highlights. Adjusting the contrast boosts the dynamic punch of your images, while a balanced white balance ensures accurate colour representation, so the white of the gi is crisp, and the mat retains its true hue.
Advanced Techniques
Dive into more advanced techniques to enhance your BJJ photographs. Clarity and sharpness are crucial for accentuating the textures of the gi and the determined expressions on athletes’ faces. Use the clarity slider to refine these textures without overdoing it, and apply sharpness selectively to retain a natural look. Cropping and straightening your images help refine composition, ensuring that key moments are perfectly framed.
Filters and Effects
While purists may argue against using filters, they can effectively enhance the mood of your images. Black-and-white filters can add a dramatic flair, highlighting martial arts’ intensity and timeless nature. Subtle vignettes can draw focus to the centre of your image, accentuating the grappling athletes.
Consistency is Key
Finally, consistency in your post-processing workflow ensures that your collection of images tells a cohesive story. Develop a signature style by consistently applying certain tones, contrasts, or crops. This streamlines your editing process and establishes a recognisable aesthetic for your work, making your BJJ photography stand out.
In essence, post-processing is where your technical skill meets your creative vision. It’s here that you breathe life into moments frozen in time, crafting images that resonate, inspire, and capture the intricate dance that is Brazilian Jiu Jitsu.
Safety Tips for Photographers on the Mat
Being on the mat with combat athletes requires an astute awareness of your surroundings and a respectful approach to your shared space. As exhilarating as it is to be in the thick of the action, safety remains paramount. Here’s how you can keep yourself and others safe while capturing the intense world of Brazilian Jiu Jitsu.
Stay Vigilant and Mobile: Always keep one eye on the rolling athletes. Their movements can be abrupt and powerful, necessitating quick reflexes to avoid collisions. Position yourself strategically and ensure you can react swiftly if an athlete heads in your direction.
Respect the Flow: Understanding the ebb and flow of a match can provide you with the foresight needed to stay out of harm’s way. Recognise when a submission attempt is about to transition into a sweep or escape and adjust your position accordingly. Your familiarity with BJJ can significantly assist in predicting and reacting to these moments.
Dress Appropriately: Wear attire that is non-intrusive and allows for free movement. Avoid loose clothing that could get entangled or distract the competitors.
Minimise Distractions: Ensure your equipment is secure and silent. Unnecessary noises or bright camera flashes can disrupt fighters’ concentration. If using an SLR, be conscious of the shutter sound and its impact in a quiet gym.
Communicate Clearly: Build a rapport with the athletes and coaches. Let them know your presence and intentions. A simple nod or hand signal can communicate your position to them, helping avoid mid-roll surprises.
Avoid the Line of Fire: Be mindful of the referee’s and competitors’ views. Do not obstruct anyone’s line of sight. Your goal is to capture the moment without inadvertently becoming part of the action.
Use Equipment Wisely: If using tripods or monopods, ensure they are placed where they won’t become hazardous. Compact equipment can be moved quickly if necessary but must be stable.
